How to Edit
Images in ThumbPress
Let’s have a look at how you can edit images with ThumbPress and
maintain a personalized touch.
Install and Activate ThumbPress & ThumbPress Pro
First, you need to install ThumbPress on your dashboard. To install and activate ThumbPress
Go to Dashboard > Plugins > Add New Plugin and search for ThumbPress in the search bar on the top right of the screen.
Click Install Now and then Activate ThumbPress.
Note: Image Editor is a premium ThumbPress feature. Get ThumbPress Pro to unlock this feature. After that, upload it to your site and activate the license.
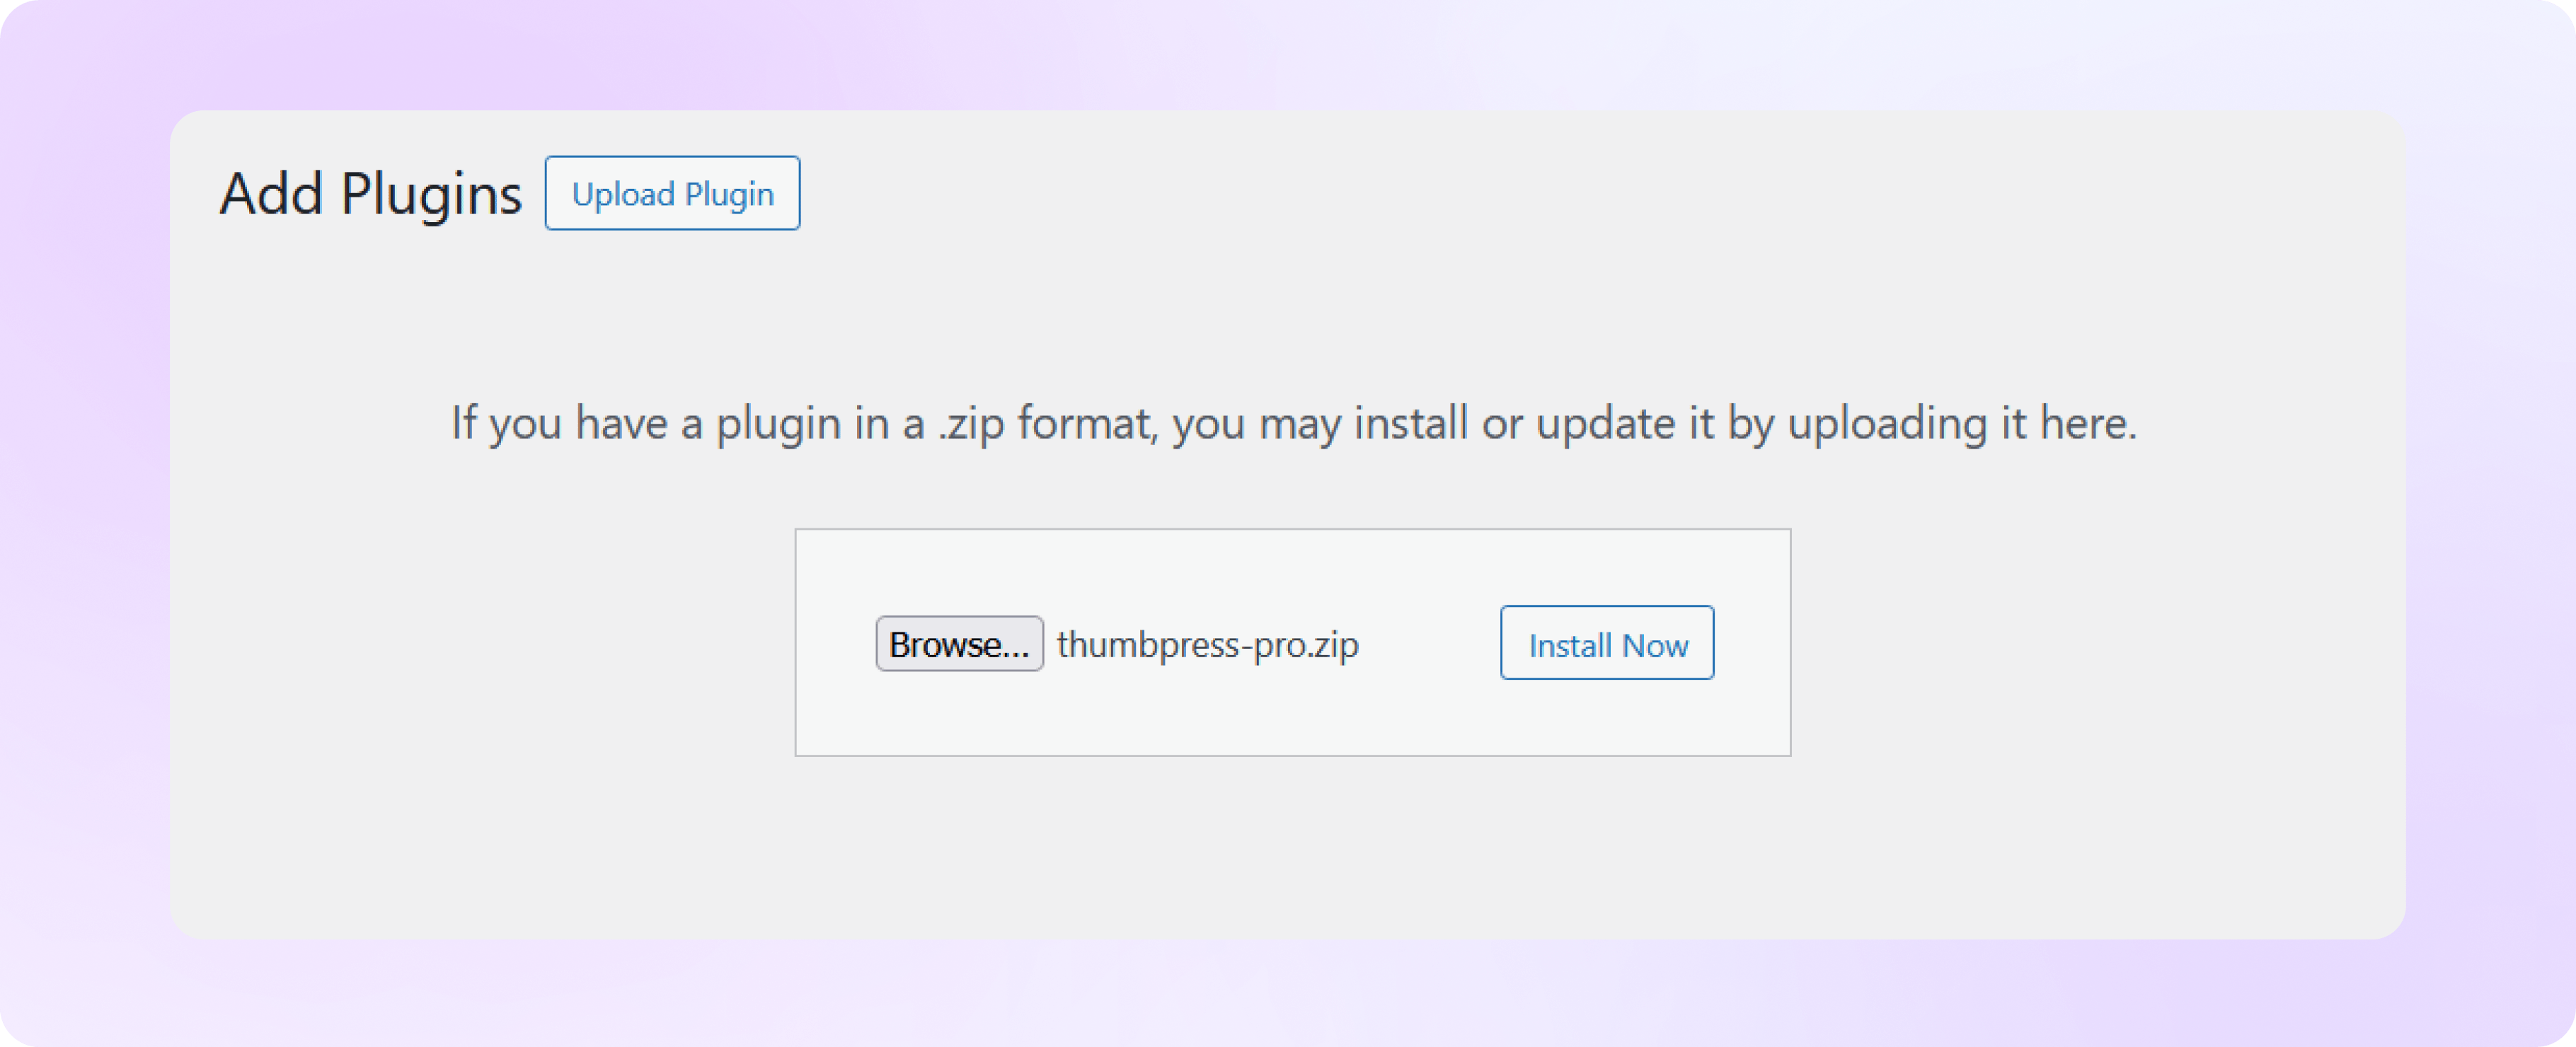
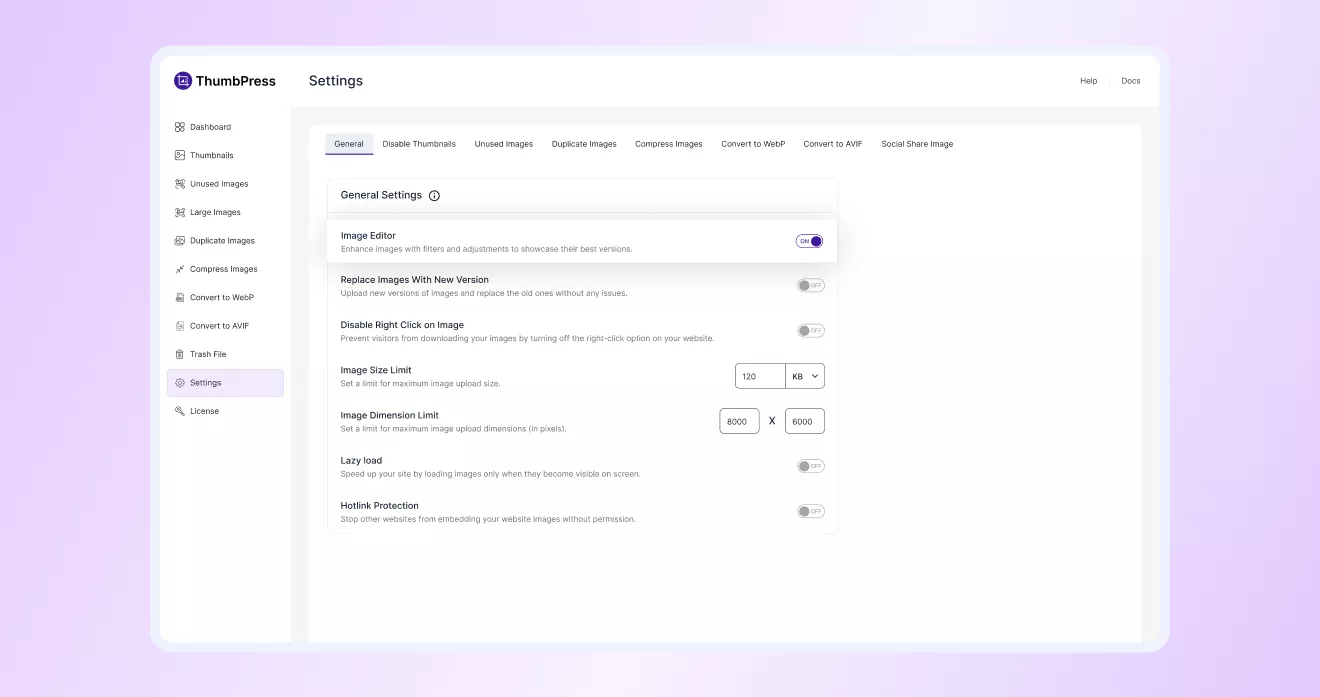
Enable Edit Images Option From Settings
Head over to the ThumbPress Settings > General option, enable the ‘Edit Images’ feature, and
hit the Save Settings button to save it all.
Select Image to Start Editing
After enabling the feature from the settings page, head over to your WordPress Media Library to select
the image you want to edit.
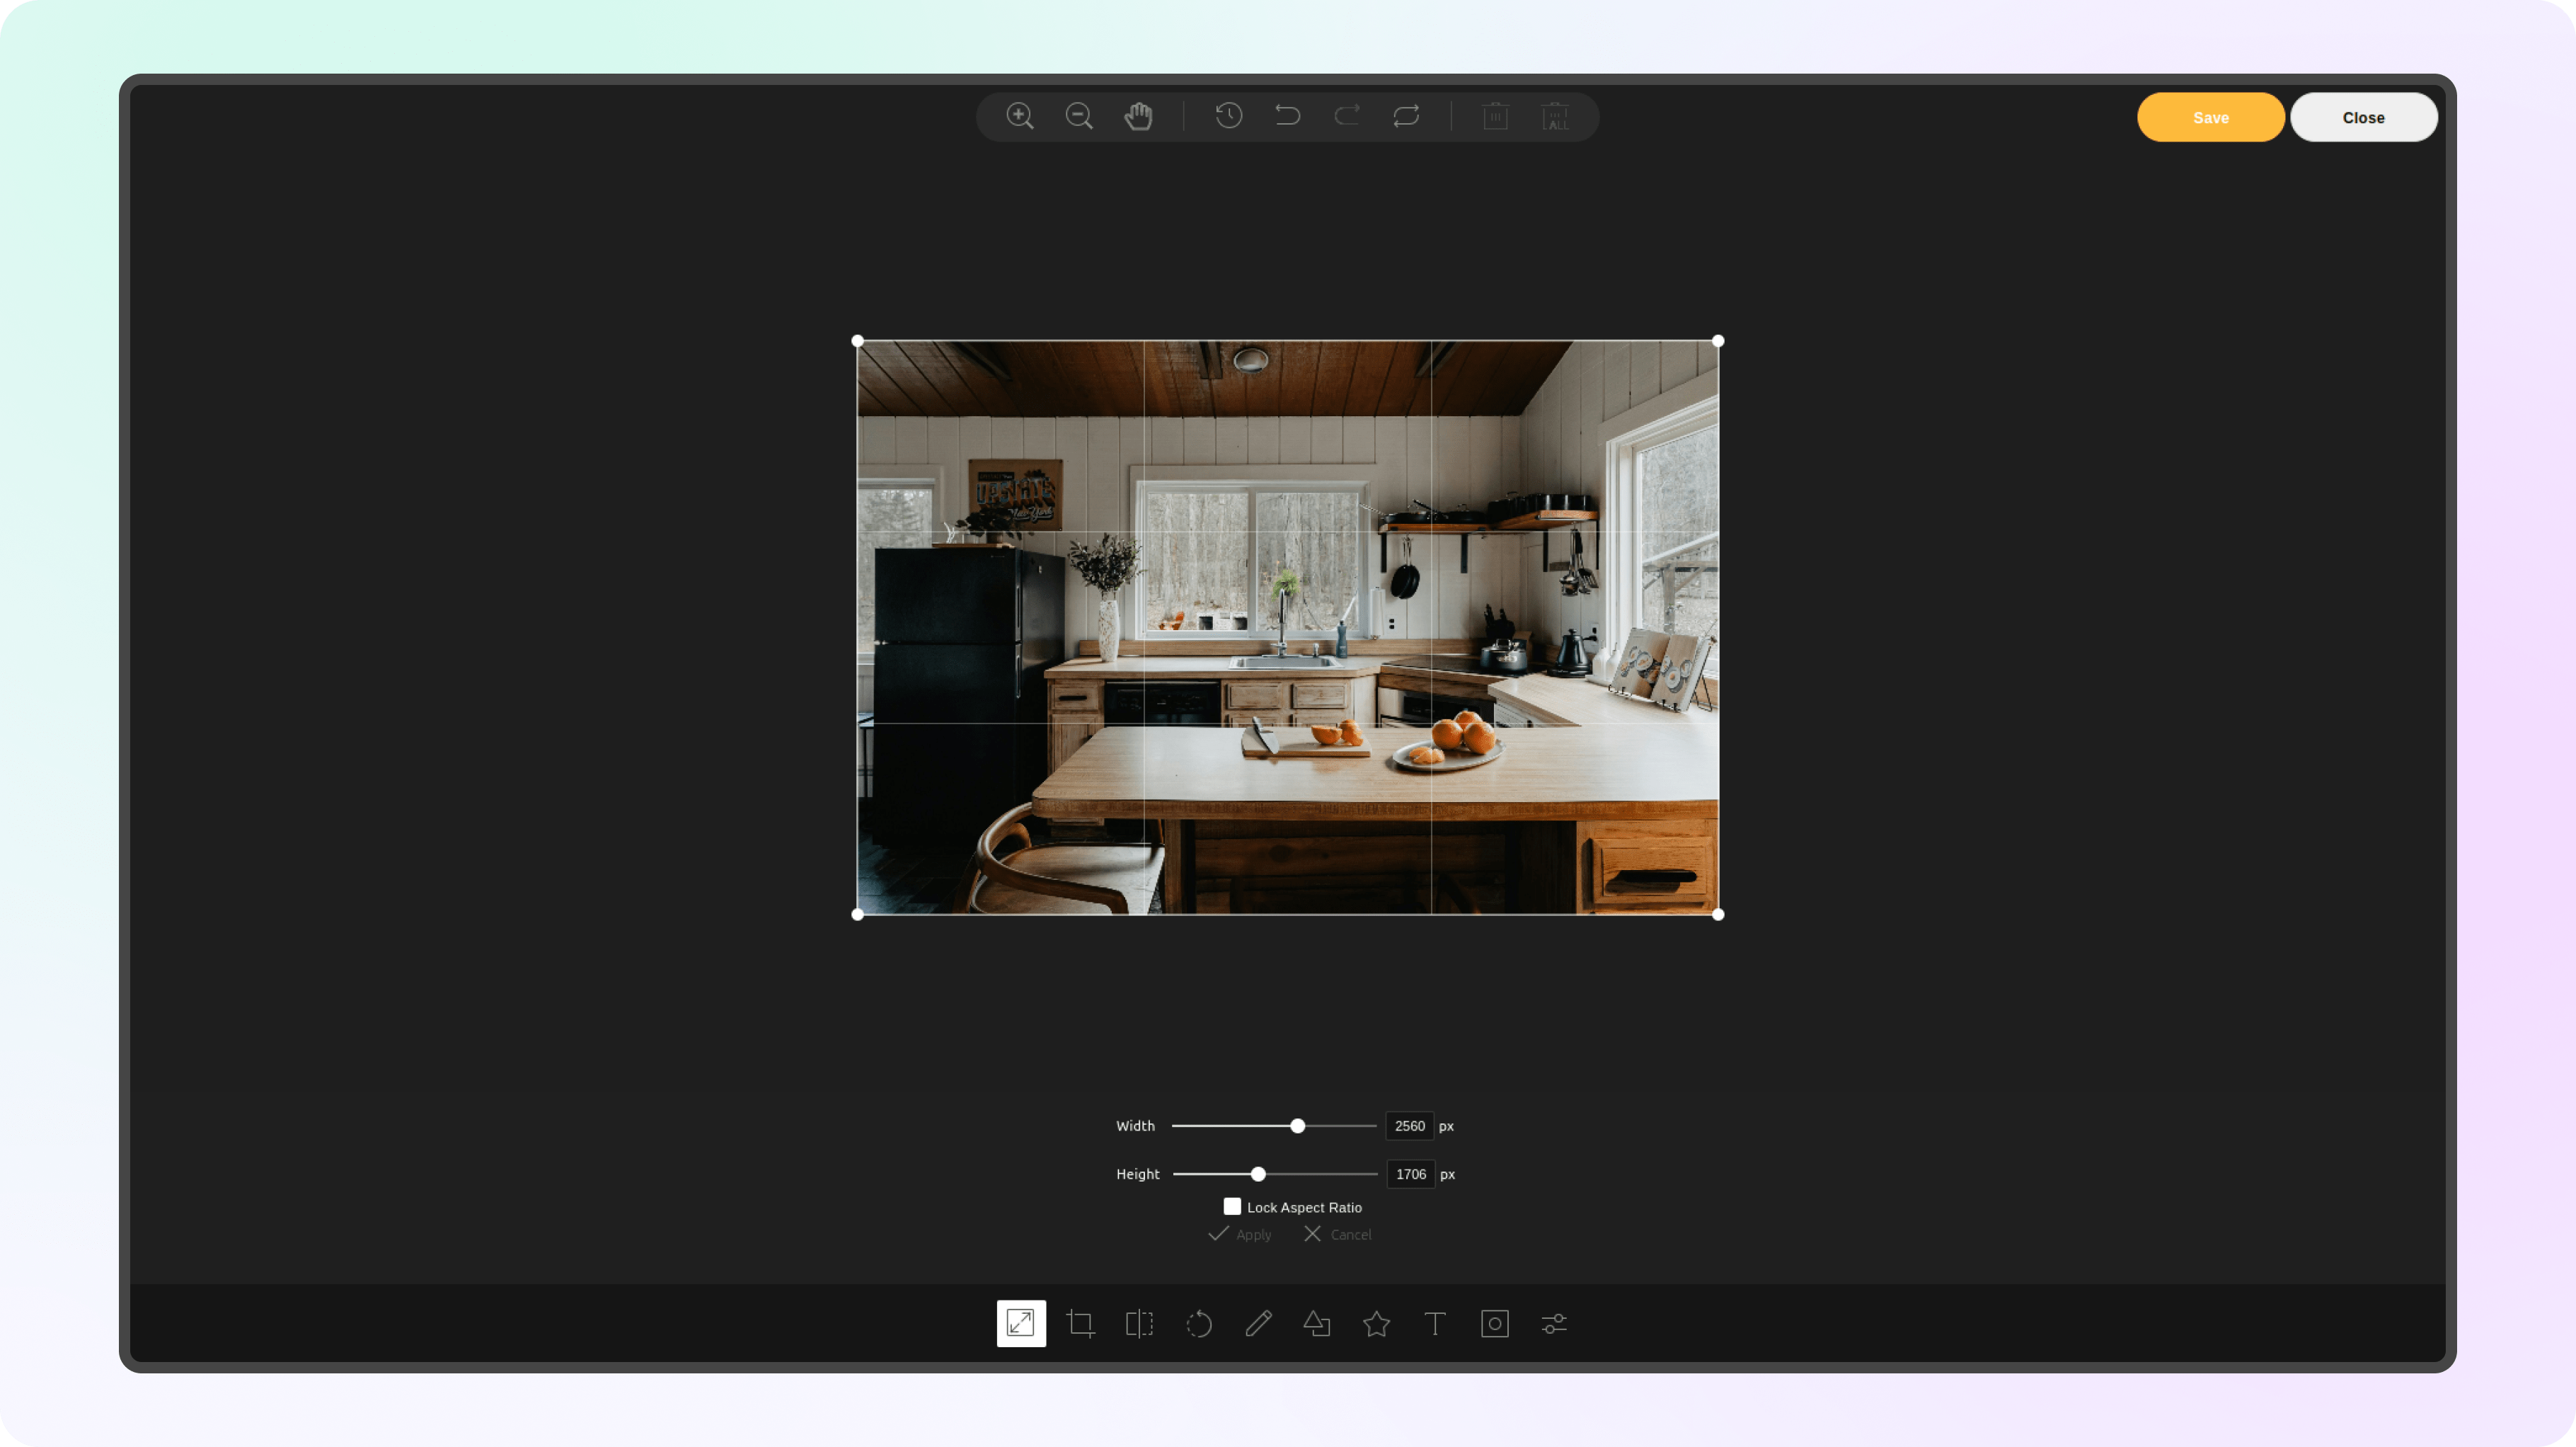
Adjust Image
ThumbPress has a wide range of editing options to explore to get the best results. You can adjust brightness, noise, color filter, pixelate, remove white, and do much more from the ‘Filter’ section.
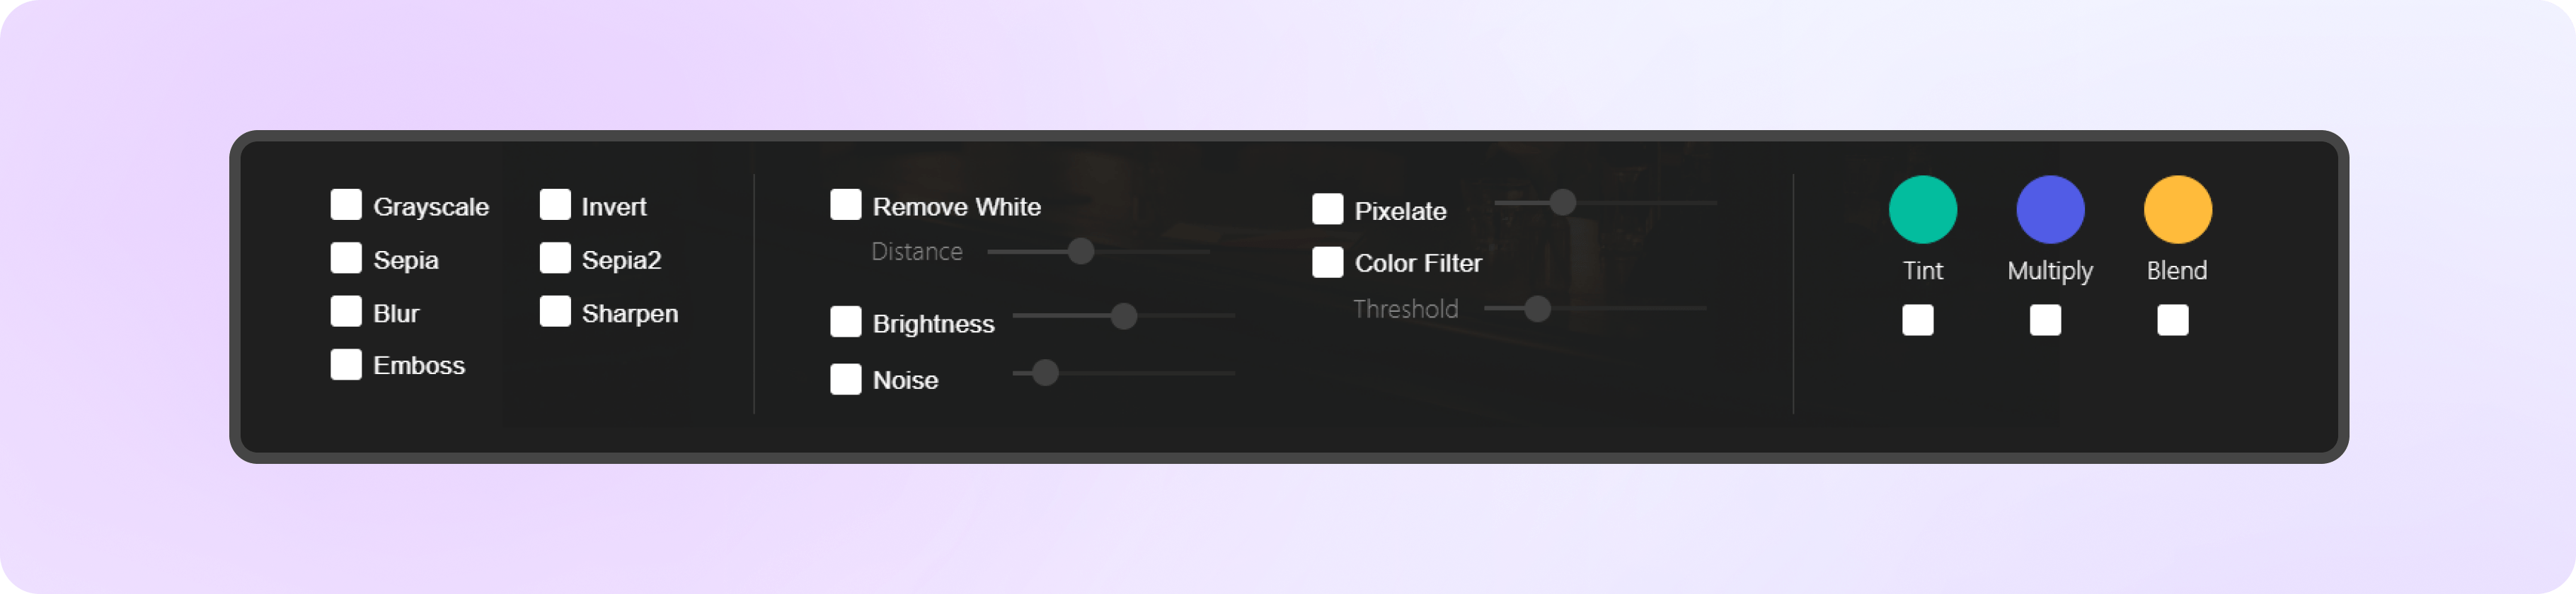
Apply Filter
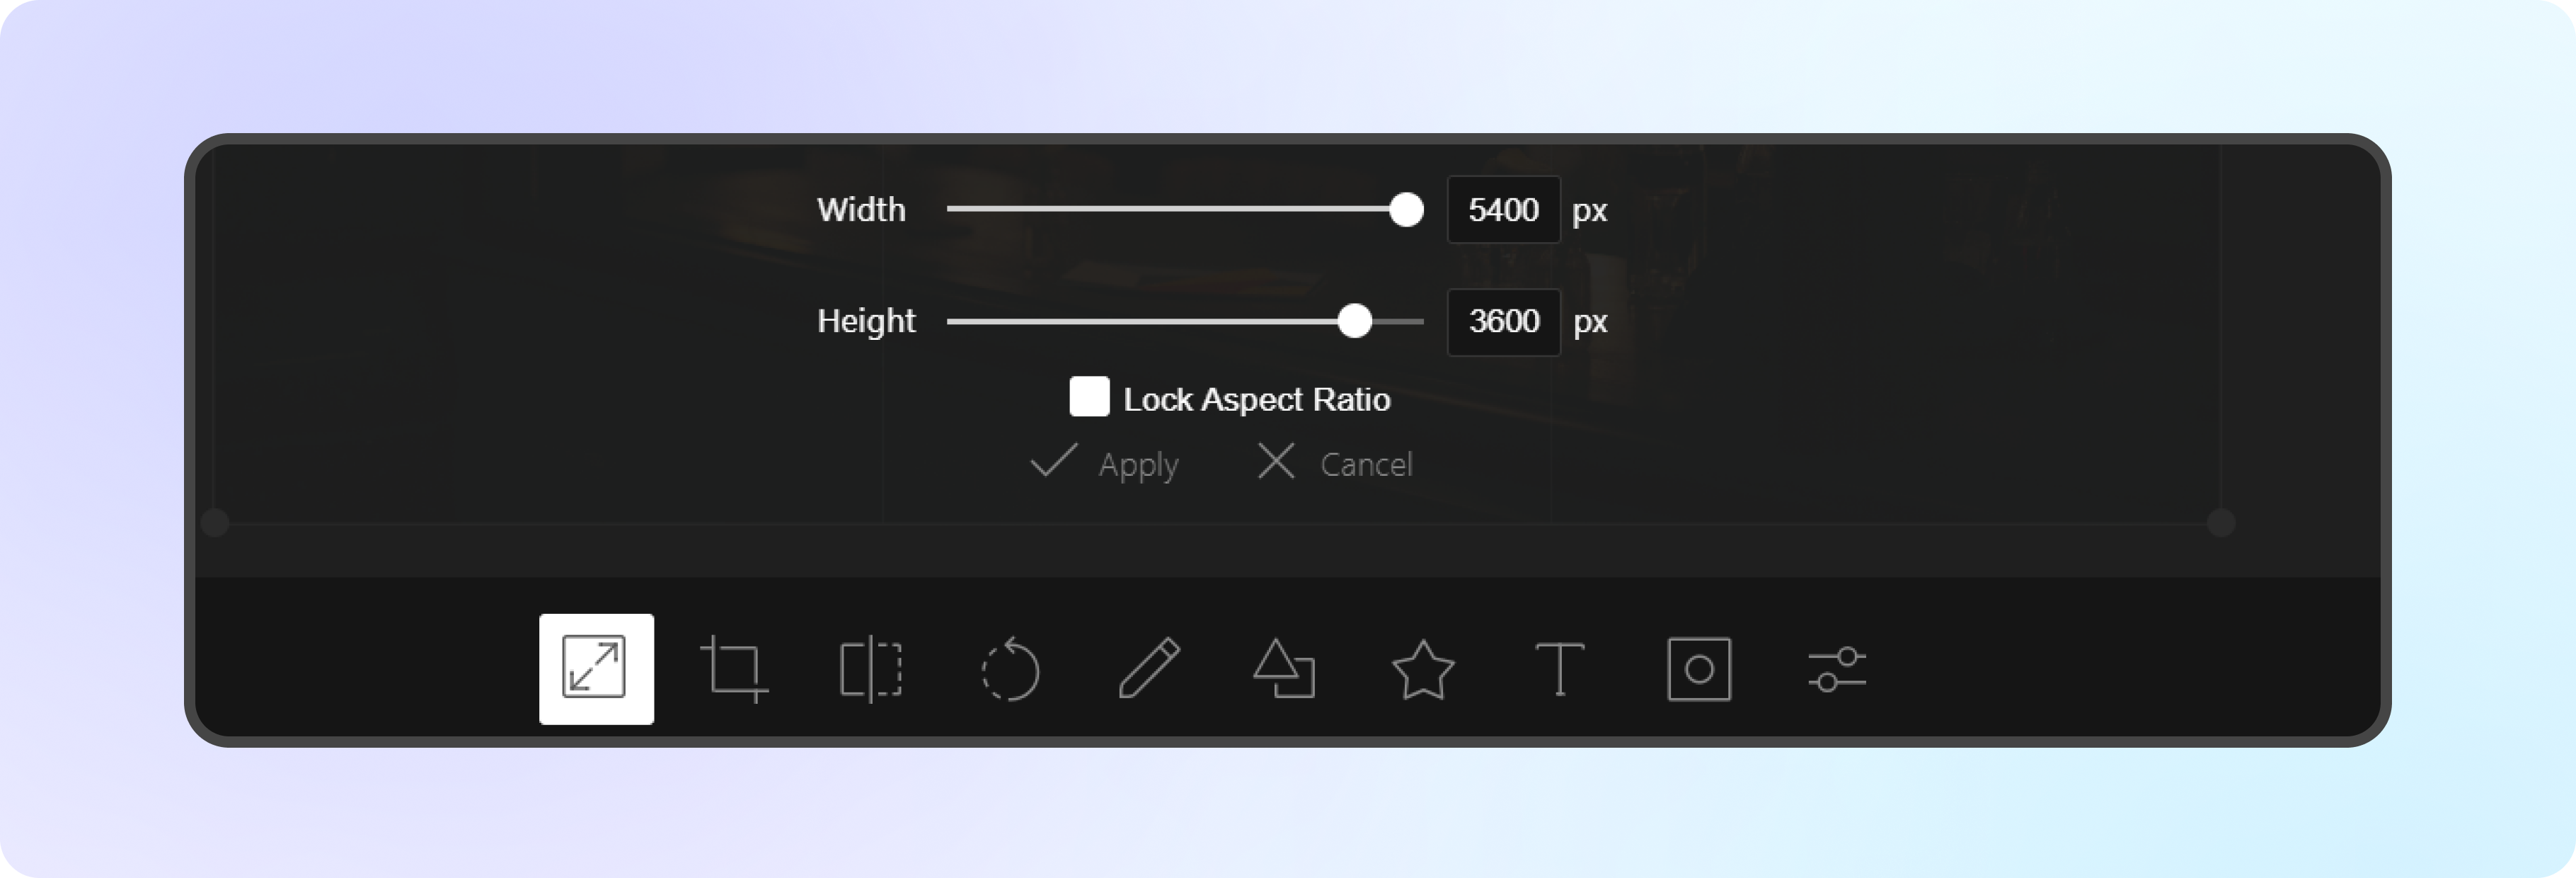
Adjust the ratios of your image by selecting the resize option and editing its height and width.
Add Text, Shape, Icon and More
Draw over your image using a freehand style or straight line. You can change the color and range depending on your needs.