How to Set Social Media Thumbnails using ThumbPress
Say goodbye to image-resizing headaches! With this handy feature of ThumbPress, you can easily adjust image sizes to perfectly fit different social media platforms, saving you time and effort. Follow the below steps to learn how to use this feature:
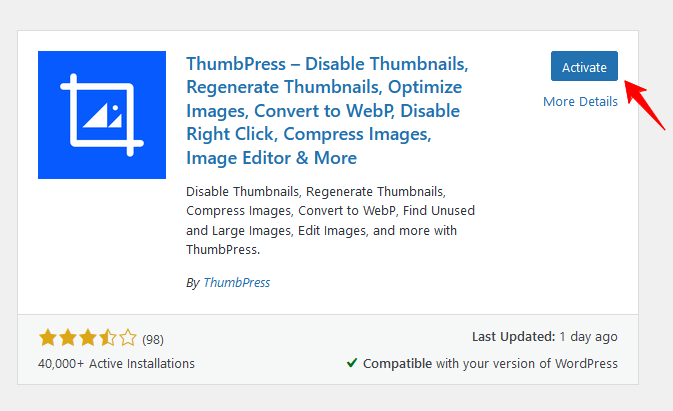
Step 1: Go to your site Dashboard >> Plugins >> Add New Plugin >> Search for ThumbPress. After that, install and activate it.
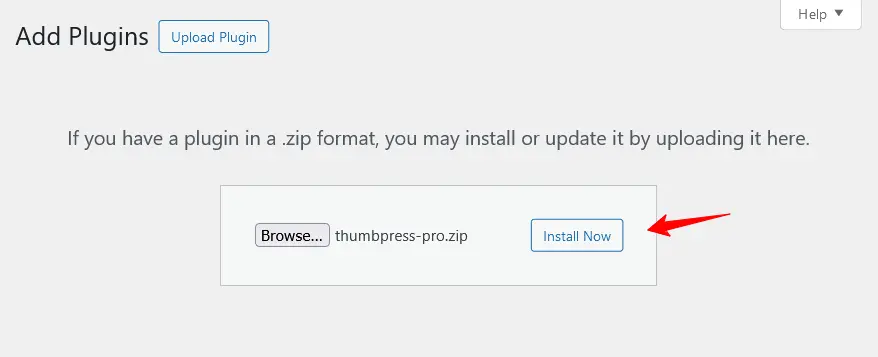
Step 2: Social Media Thumbnails is a Pro feature of ThumbPress. To set Social Media Thumbnails on your site you have to grab the premium package. After that, install and activate the pro version in your website.
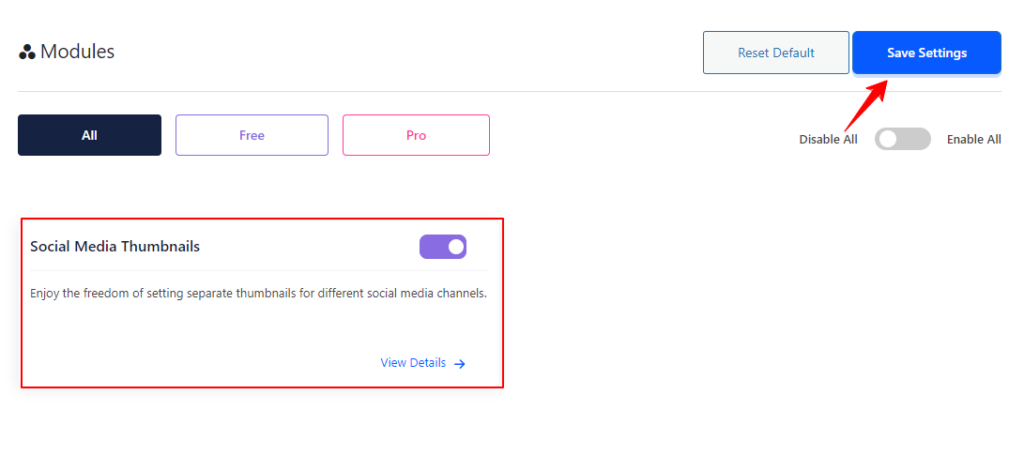
Step 3: Enable the Social Media Thumbnails feature from the Modules page. Go to ThumbPress >> Modules >> enable the Social Media Thumbnails toggle bar. Save the settings by clicking on Save Settings button.
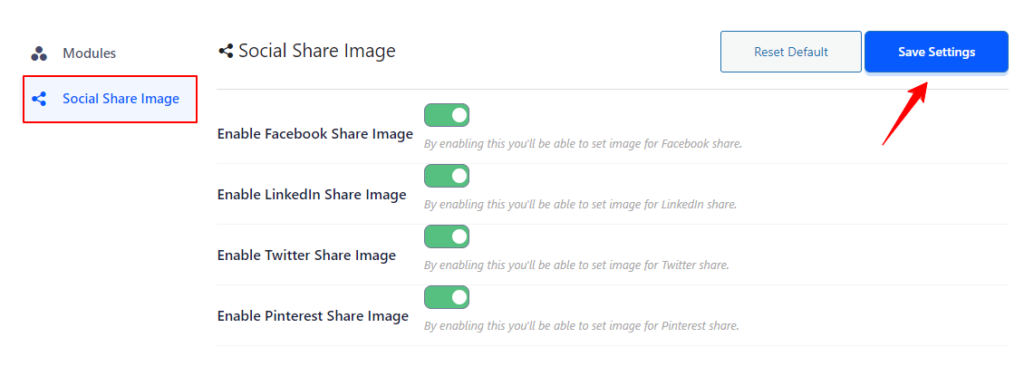
Step 4: Once you’ve finished the previous steps, a new submenu called Social Share Image will appear below the modules. Go to Social Share Image >> enable all the tabs >> click Save Settings.
Step 5: Now, go to your site Dashboard >> Posts >> open your preferred post >> click on the Upload Image. After setting the thumbnail, click Publish to save your changes.
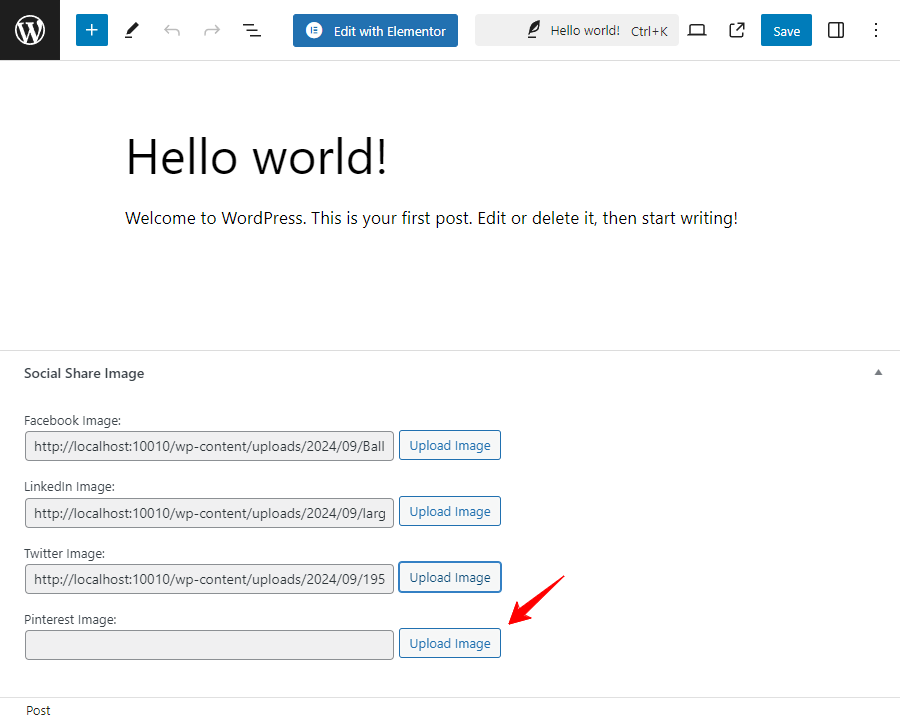
That’s it! You’ve completed the process of setting up different thumbnails for your social media platforms using ThumbPress. If you encounter any issues while setting up your shop page, feel free to reach out to our support team.
Was this doc helpful?

