How to Edit an Image Using the Image Editor of ThumbPress
With the ThumbPress plugin, you can easily edit your images directly in your WordPress dashboard, saving you time and hassle. Crop, resize, rotate, and apply filters with ease using the ThumbPress Image Editor. This handy tool streamlines the image editing process right within your WordPress site. Step-by-Step Guide to use the Image Editor feature of ThumbPress:
Step 1: Go to your site Dashboard >> Plugins >> Add New Plugin >> Search for ThumbPress.
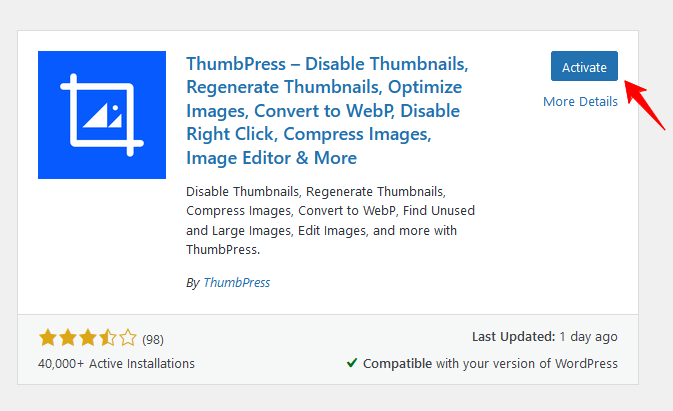
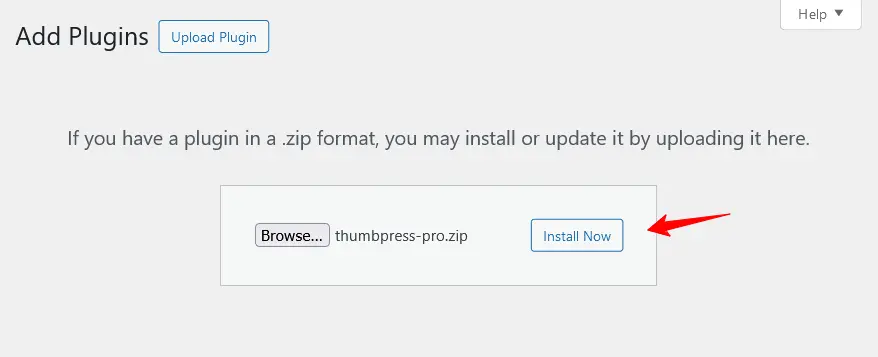
Step 2: Get your desired ThumbPress Pro package and activate the license on your dashboard. If you need to know the procedure for activating the license of ThumbPress, you can simply visit this link: License activation process of ThumbPress Pro
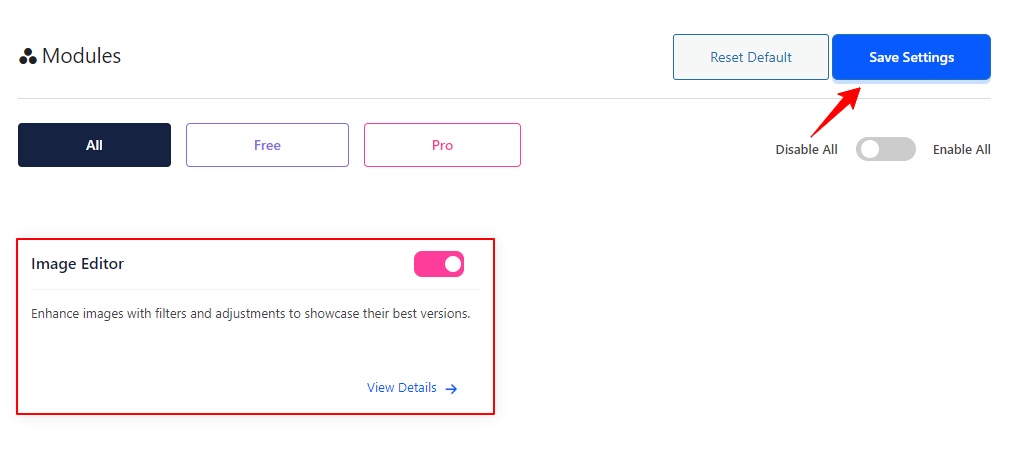
Step 3: You have to enable the Image Editor feature from the Modules page. Go to ThumbPress >> Modules >> enable the Image Editor toggle bar. After that, click on Save Settings button.
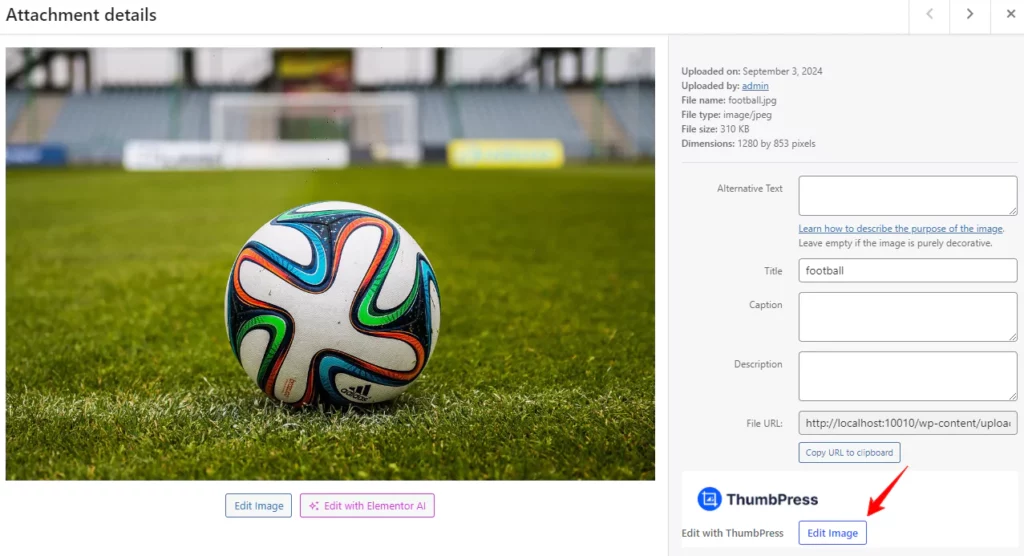
Step 4: Go to Media >> Library and choose an image. Then, click the Edit with ThumbPress button.
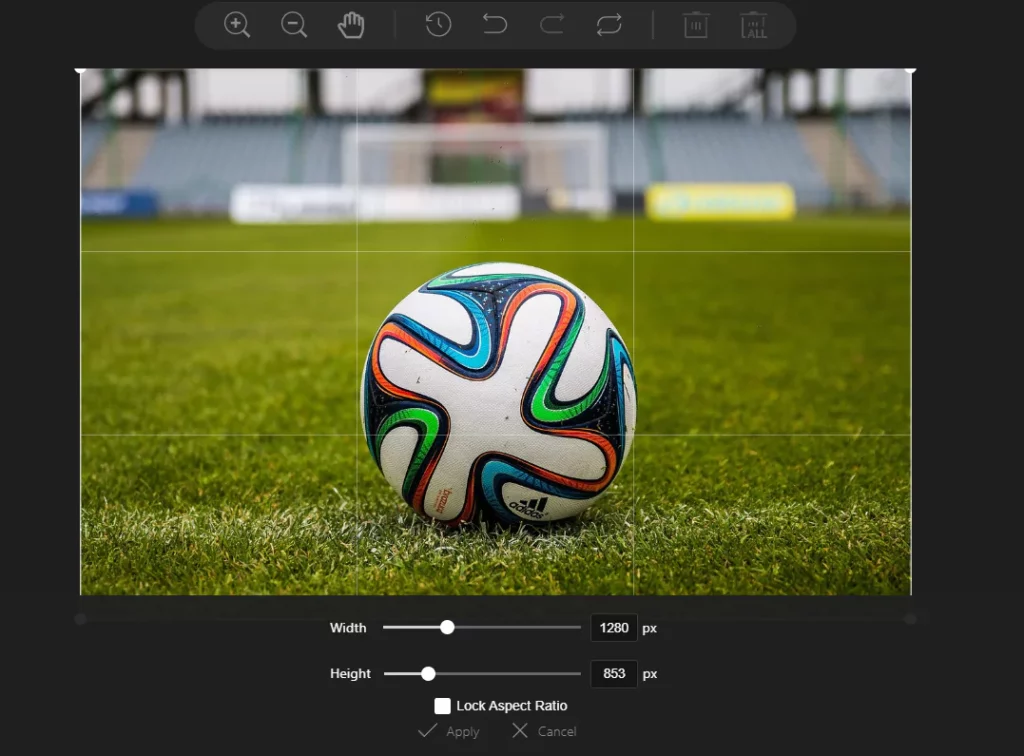
Step 5: You can customize every part of the image you choose to Edit:
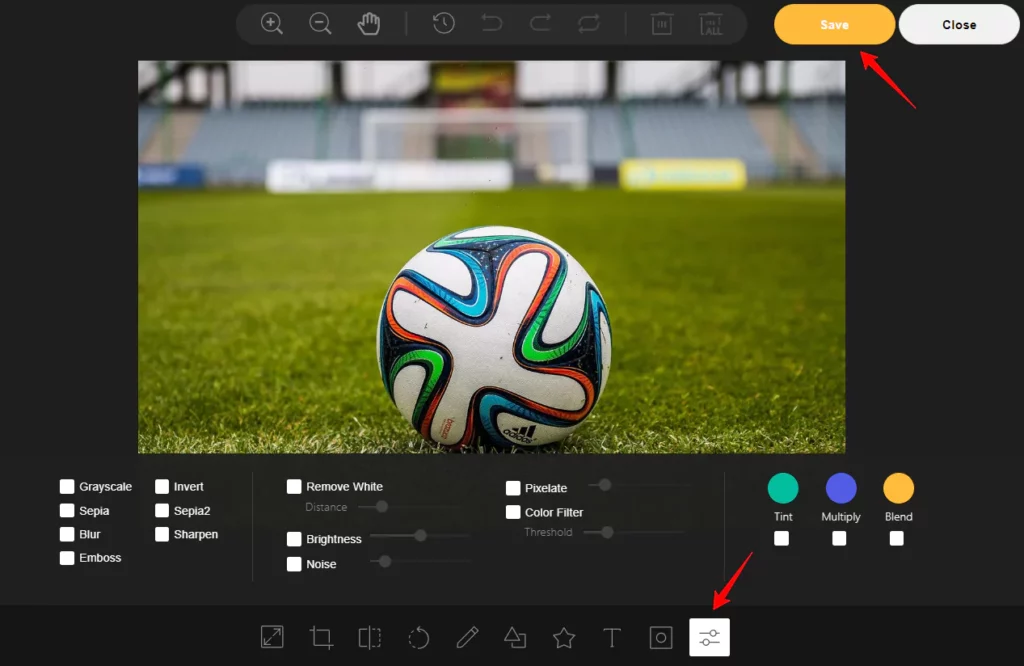
Adjust Image: In the ‘Filter’ section, you can tweak brightness, reduce noise, apply color filters, pixelate, remove white, and perform a variety of other adjustments.
Add Filters and Effects: Explore the filters in the Filters tab. Click on a filter to preview its effect on your image. When you’re happy with the result, click Apply to make the changes permanent.
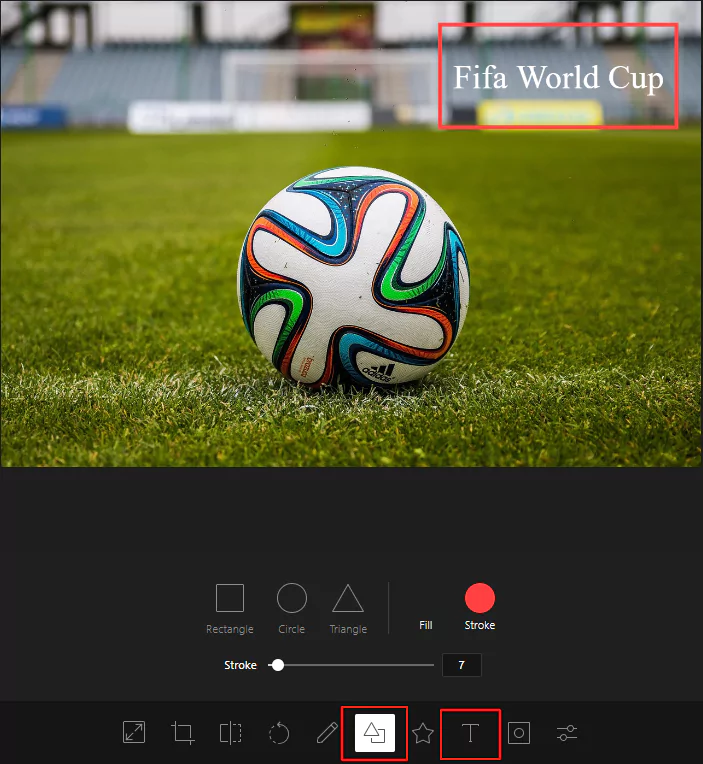
Add Text, Shape, Icon, and More: You can add text, shape, Icon, and more. You can draw on your image either freehand or with straight lines, adjusting the color and size to suit your needs.
Thus you can edit your desired image and enhance the visual appeal of your website. If you encounter any issues while setting up your shop page, feel free to reach out to our support team
Was this doc helpful?

