Convert Images to WebP in WordPress – Definitive Guide


Tired of sluggish website loading times?
We’ve all been there. Images are a double-edged sword – they add visual appeal but can also slow things down. WebP image formats are the secret weapon you need to deal with this problem!
They’re up to 26% smaller than PNGs and 25% smaller than JPGs, giving your website a significant performance boost. WordPress now supports WebP, but choosing the right plugin to convert your images is crucial.
This blog will unveil a safe and user-friendly way to convert your images to WebP, eliminating the hassle and keeping things simple. Let’s dive in and discover how to supercharge your website’s speed with WebP images!
Understanding WebP Image Format
WebP image format is often considered the hero, a next-generation image format that is created to dramatically improve website performance without sacrificing too much quality. Think of it like a super-efficient packing method for your website visuals.
WebP is a web image format developed by the web performance team at Google in 2010. This image format utilizes a clever blend of lossless and lossy compression techniques. Other image formats like PNG and JPG use either lossless or lossy techniques to make the size very small or to hold the details in place.
However, WebP combines both aspects and makes a blend, which results in a reduced image size and perfect detailed images. By incorporating WebP image formats in your website you’re going to unlock the doors to tremendous benefits.
- By using WebP image format on your website, you are going to rank in SEO. Website performance is a big aspect of search engine ranking and using small-sized images will give you an extra edge.
- As the number of mobile users is growing day by day, the WebP format compact size is perfect for optimizing websites for mobile users.
- Using smaller images means less data needs to be processed and downloaded. This is great for both you and the visitor, especially for people with limited data plans.
The popular browsers that support the WebP image format are:
- Chrome (Desktop and Mobile)
- Opera (Desktop and Mobile)
- Firefox (Desktop and Mobile)
- Safari and IOS (macOS 11 and later only)
- Microsoft Edge
Here are the mentionable browsers that do not support WebP:
- Internet Explorer 11
- KaiOS browser
WordPress supports WebP image format from their 5.8 version. From the 5.8 version to going forward, you can upload WebP images directly to your website. This means you can treat WebP files just like JPEGs, PNGs, or any other image format. This simplifies the process of using WebP images to improve your website’s performance.
Exploring a Powerful WebP Converter Plugin for WordPress
Regular image formats can slow down your WordPress website. Converting them to WebP can make a big difference in loading time, but it can be a pain. Uploading converted images one by one is also super time-consuming.
This is where ThumbPress comes in to save the day. ThumbPress has a fantastic feature called “Convert Images to WebP” which makes the whole process incredibly easy. You can convert all your existing images to WebP in just a few clicks, or choose to convert them one by one if you prefer more control. No more messing with external tools or spending hours uploading converted files – ThumbPress streamlines everything for you.
Let’s dive into how to use this handy feature!
Step 1: Install ThumbPress
The first thing you need to do is install ThumbPress in your WordPress dashboard. To do so,
Go To the Dashboard > Add New Plugin > Install ThumbPress

‘Convert to WebP’ is a free feature of ThumbPress and you can use it without getting any subscription package. After installing the plugin, activate it for further use.
But to enable a super smooth experience with ThumbPress, we highly recommend you get ThumbPress Pro. This will provide you with the best image management tools of all time.
Step 2: Start Using ThumbPress
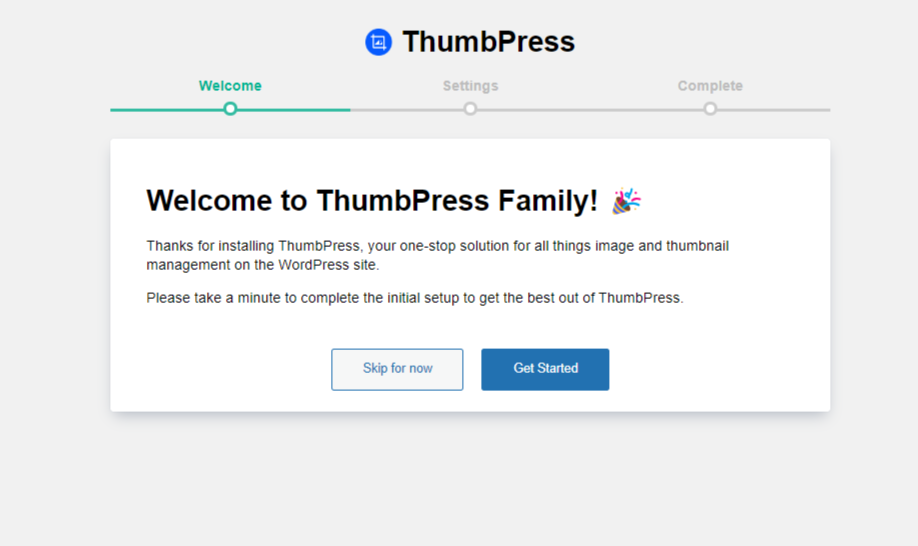
After you have completed the installation and activation, head over to Setup Wizard and set ThumbPress for your dashboard.
You can enable the Convert Images to WebP feature from the setup wizard settings page.
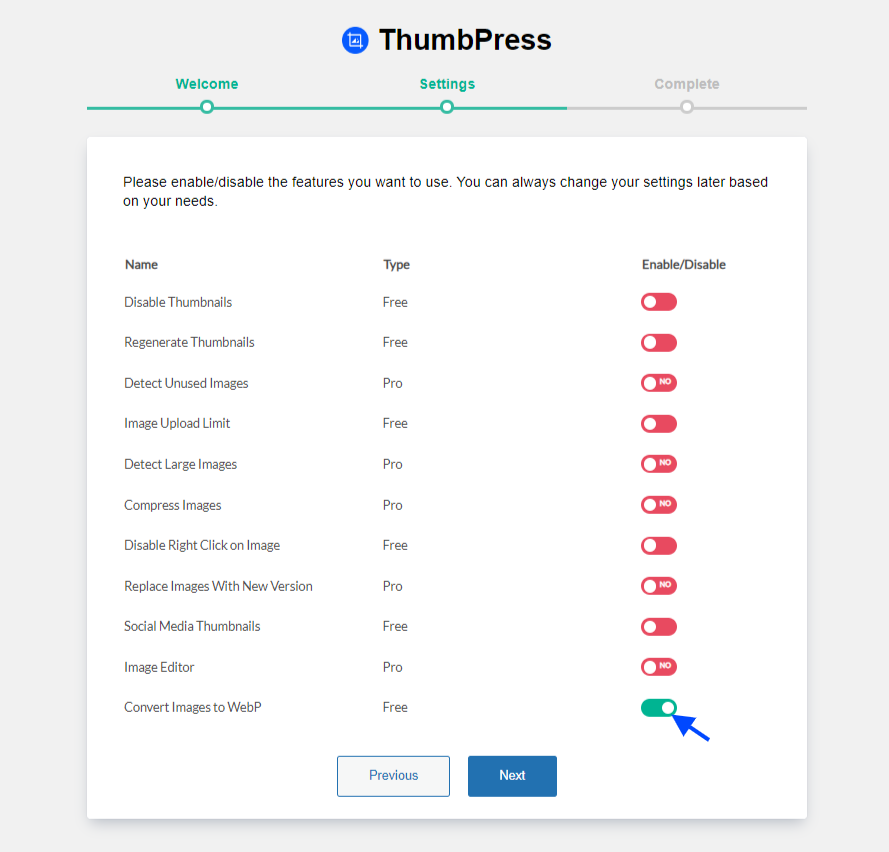
Enable the button and press ‘Next’ to finish the settings.
Or you can enable the feature from the Modules page too.
For that,
Head over to the Modules section to enable the ‘Convert Images to WebP’ feature.
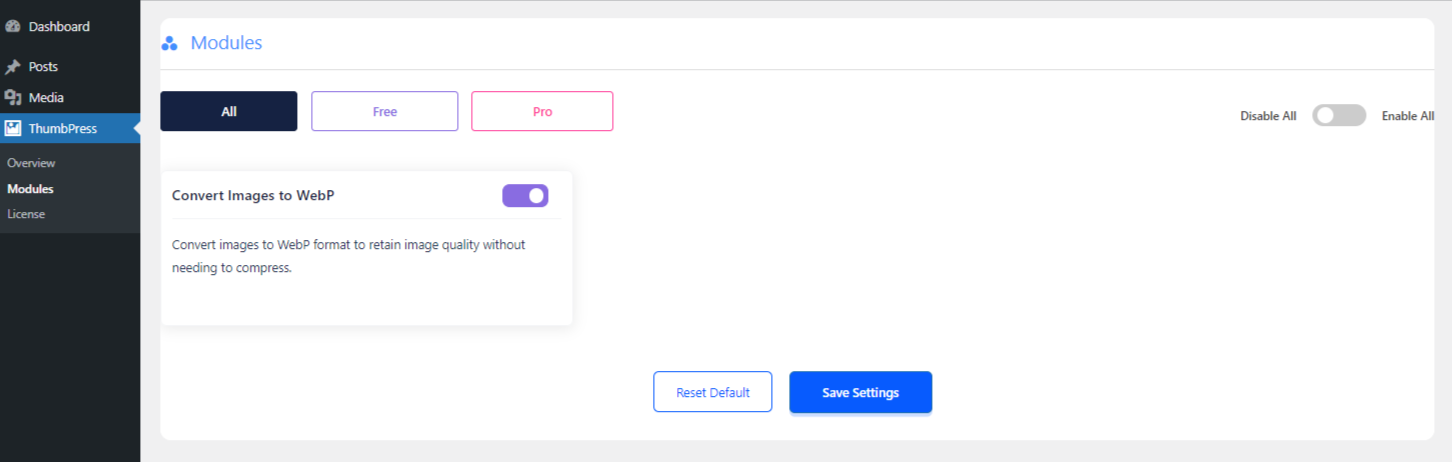
Hit Save Settings after enabling the feature. And move forward to convert images most easily.
Step 3: Convert Images into WebP on Upload
You can convert all your images into WebP at once or select one at a time from the media library. Also, you can enable WebP conversion while the image is being uploaded.
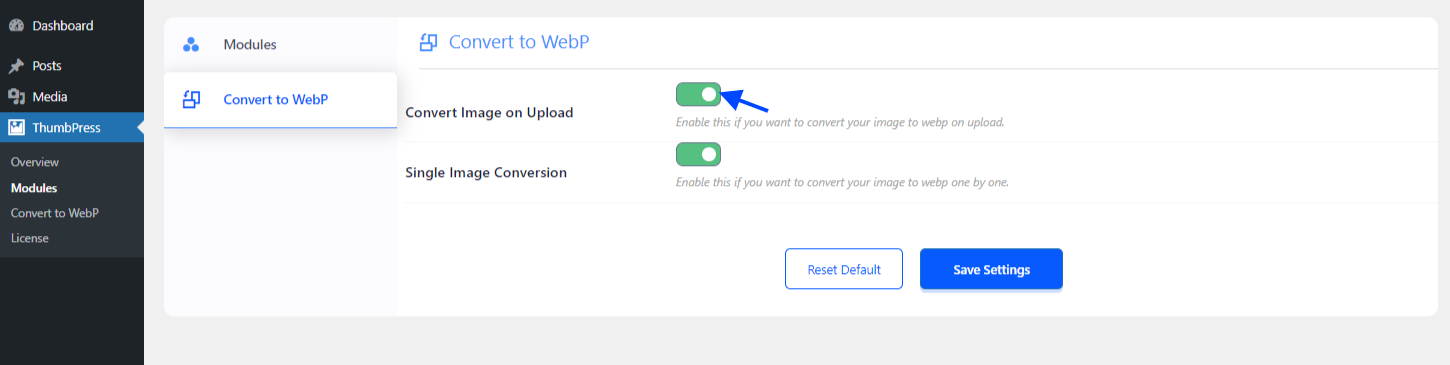
To convert images into WebP while they are being uploaded, you need to enable the ‘Convert Image on Upload’ button and then hit save settings.
Now whenever you upload any image on your website, it will be directly converted into WebP format.
Step 4: Convert Single Images into WebP
To convert single images into WebP from the media library, you need to enable the ‘Single Image Conversion’ option.
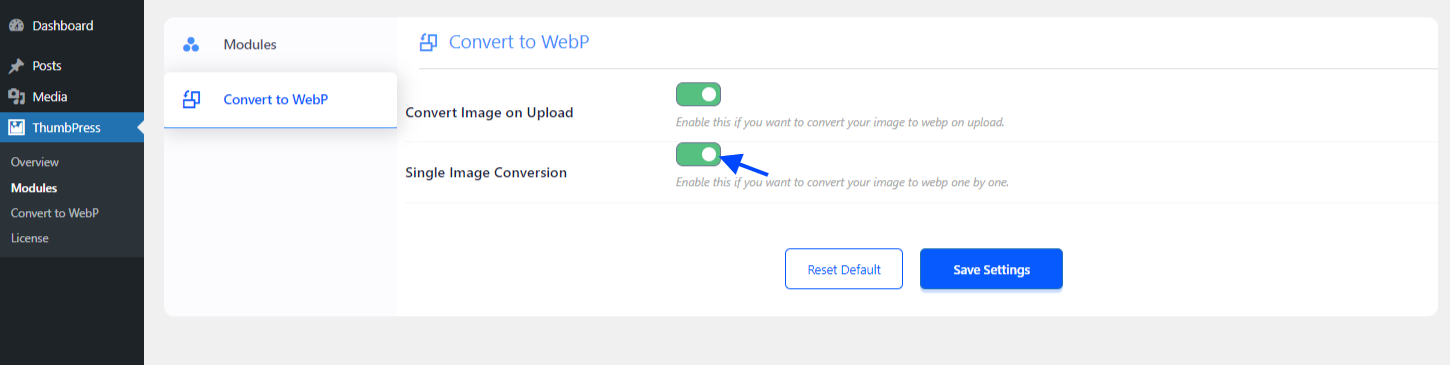
After enabling this option, you can find the convert image option in the media library and convert the images into WebP with just a click.
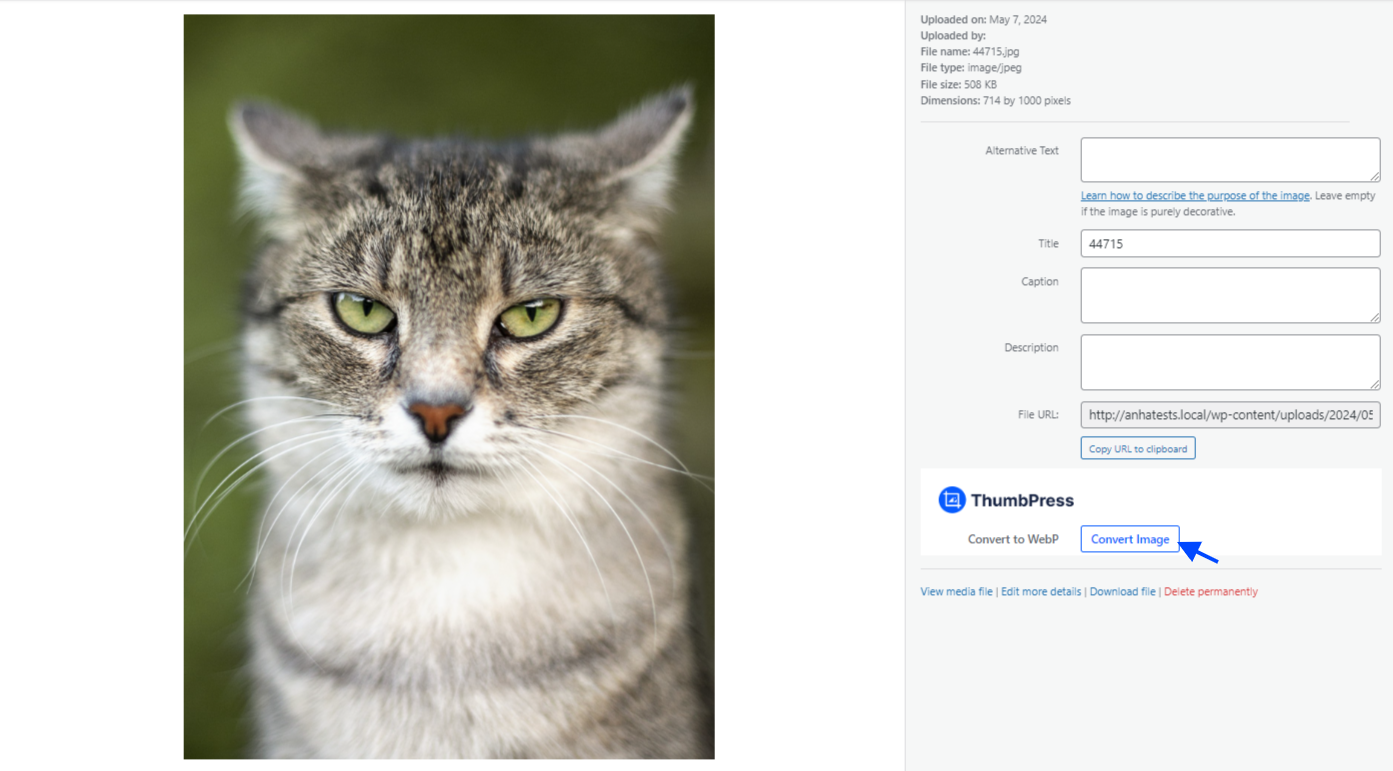
Just click on the ‘Convert Images’ button at the bottom corner and your image will be converted into WebP.
Step 5: Bulk Conversion in WebP
If you have a large number of existing images on your WordPress site and want to convert them all to WebP format, ThumbPress offers a convenient bulk conversion option. Simply navigate to the “Convert to WebP” section in the ThumbPress sidebar on your dashboard and click “Convert All.” This will initiate the conversion process for all your images.
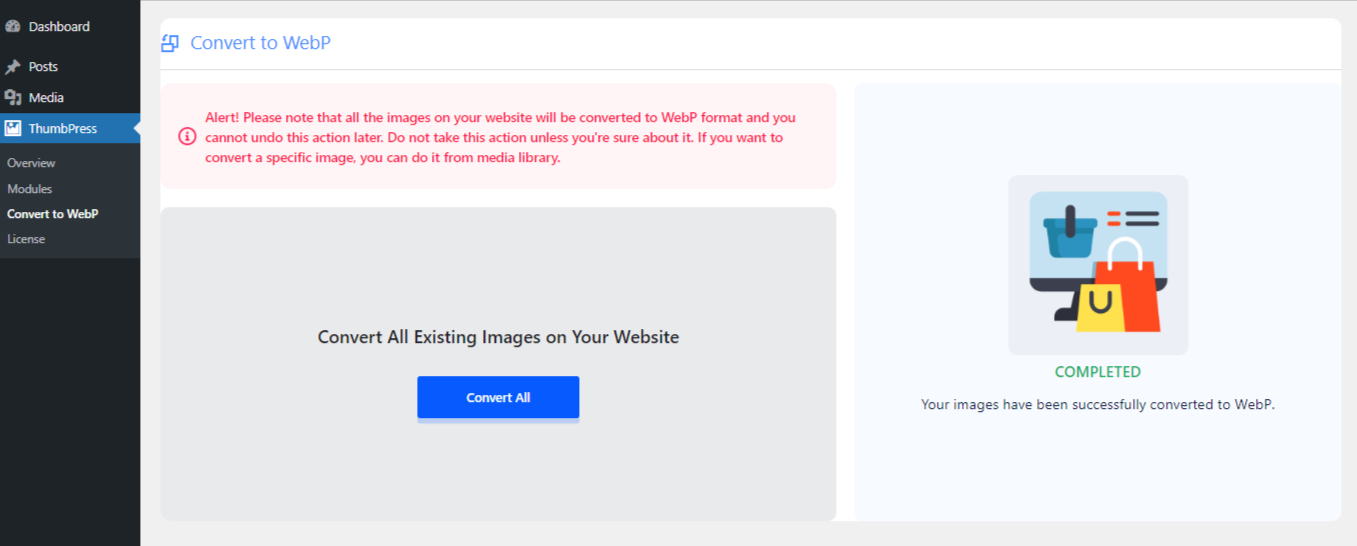
All your images from the media library will be converted into WebP.
Note: Back up your original image file before converting it into WebP. After you finish converting all your media files into WebP, you cannot revert them.
Now you are all done.
Converting your images to WebP with ThumbPress is a breeze. In just a few clicks, you can automate the conversion process for all your existing photos, saving you time and freeing up valuable server space.
Wrapping Up
Images are often the culprit behind slow-loading websites. WebP is a superhero image format that saves space without sacrificing quality. WordPress now supports WebP, making it easier than ever to optimize your site.
With a plugin like ThumbPress, the whole process gets even easier. This user-friendly tool lets you convert your images to WebP right from your WordPress dashboard. Studies show that WebP images can lead to a significant speed boost for your website. That means happier visitors and better search engine rankings!
So ditch the sluggish image blues. ThumbPress is a compact image management tool that even beginners can use. Give it a try and see the difference in your website’s performance.
Subscribe to Our Newsletter
Get the latest WordPress tutorials, trends, and resources right in your inbox. No Spamming, Unsubscribe Anytime.

Thank you for subscribing to our newsletter!