How to Compress Images in your website using ThumbPress
Reduce image file size without compromising their visual quality, giving your users a faster website experience. The Compress Images feature will help you reduce image file sizes efficiently without hampering its quality. Here are the steps to compress images on your website:
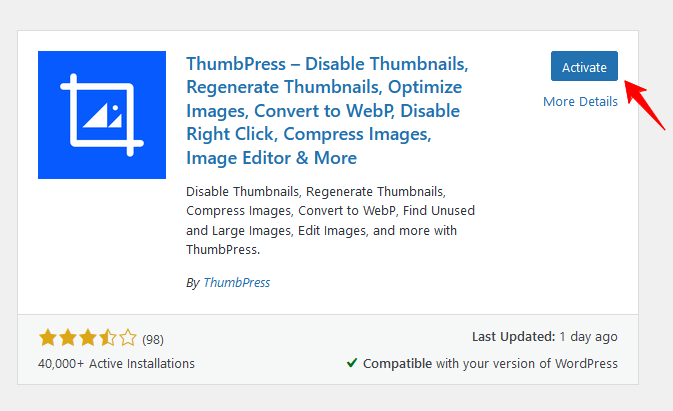
Step 1: First, Install and activate the ThumbPress plugin by going to Plugins > Add New.
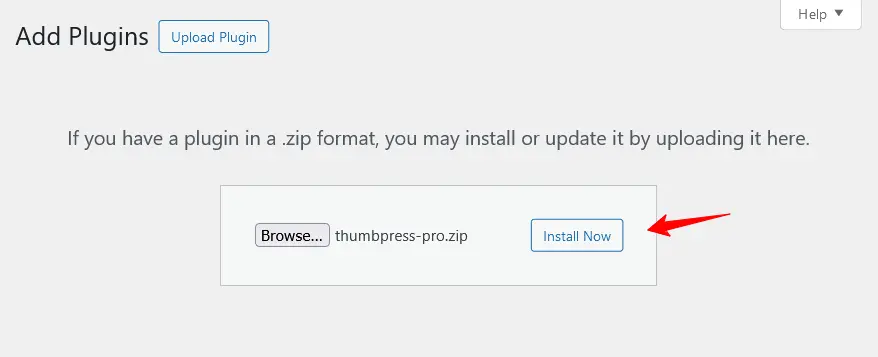
Step 2: Compress Images is a Pro feature of ThumbPress. To add Compress Images on your site you have to grab the premium package. After that install the pro version in your website.
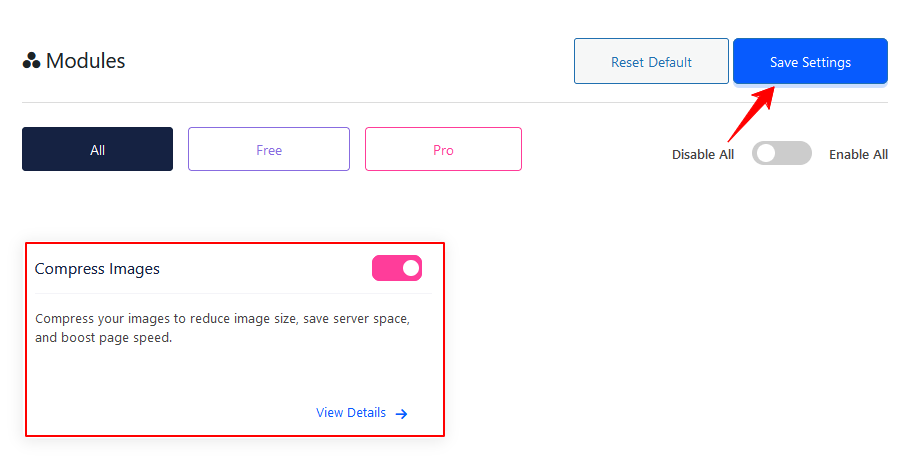
Step 3: Navigate to the ThumbPress > Modules to enable Compress Images and click Save Settings to apply the feature on your website.
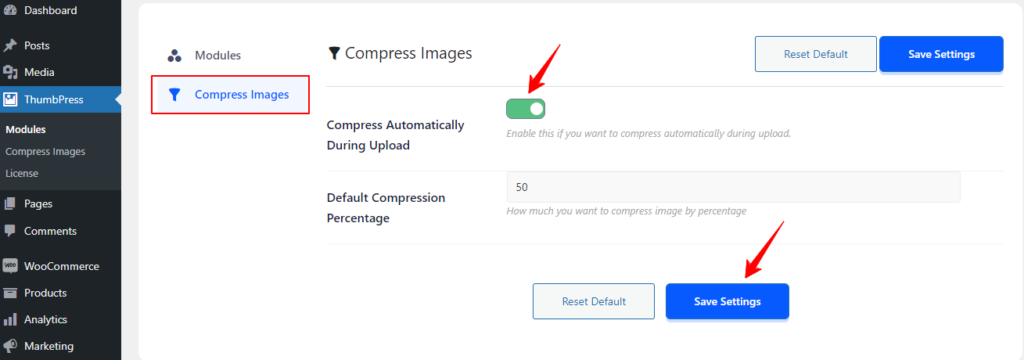
Step 4: To compress images while uploading, simply enable the button from settings and it will automatically compress all the images whenever you upload one. Press save settings.
Step 5: In the Compress Images section, you can compress images in bulk, individually from the media gallery, or while uploading. For bulk compression, go to the compress images option, choose how many images to compress at once, and click the Compress Now button.
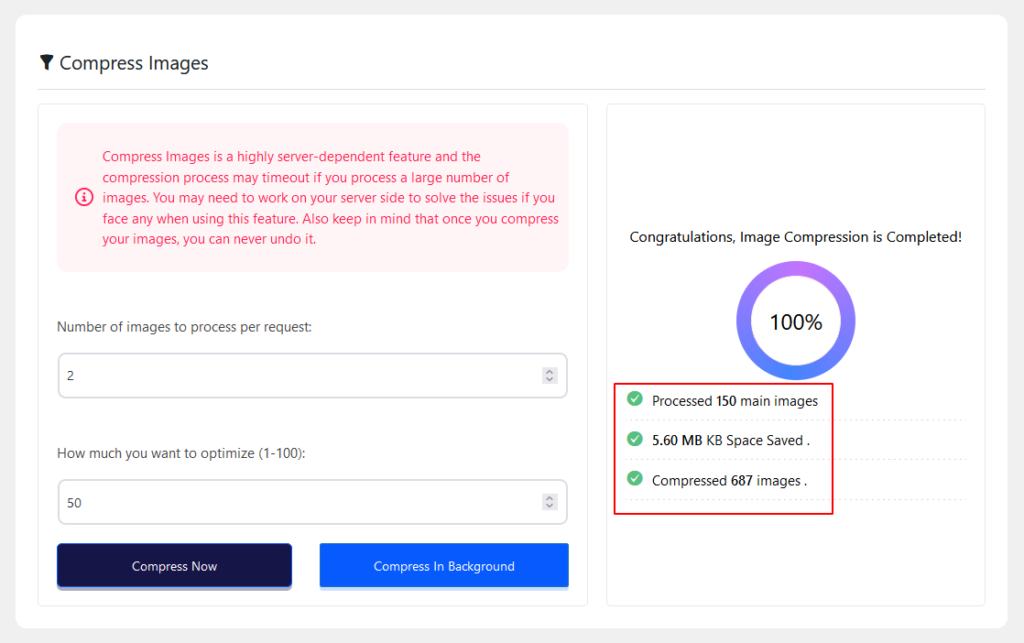
And done! Now you can compress images from your media library and get faster site speed effortlessly. If you require any assistance feel free to reach out to us from our Support Live Chat.
Was this doc helpful?

