How to Replace an Image Using the Replace Image with New Version Feature in ThumbPress
ThumbPress lets you update existing image files in your media library without affecting the links pointing to them. Simply choose the file you want to replace, upload the new one, and the new file will take its place with the same filename.
To replace images in WordPress, you’ll need to install ThumbPress and its premium version, ThumbPress Pro, as replacing images is a feature only available in the Pro version. Here is how you can use this feature:
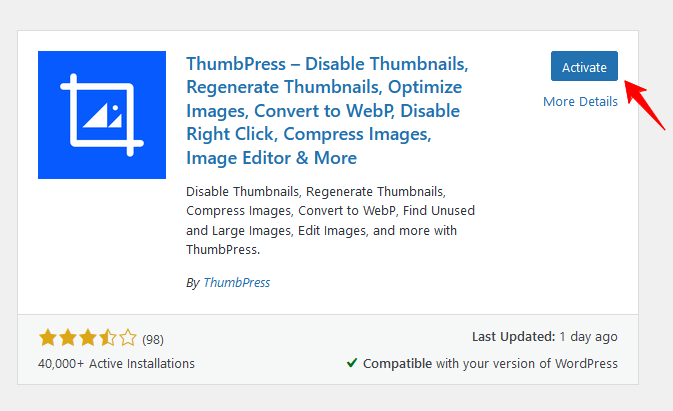
Step 1: Go to your site Dashboard >> Plugins >> Add New Plugin >> Search for ThumbPress. After that, install and activate it.
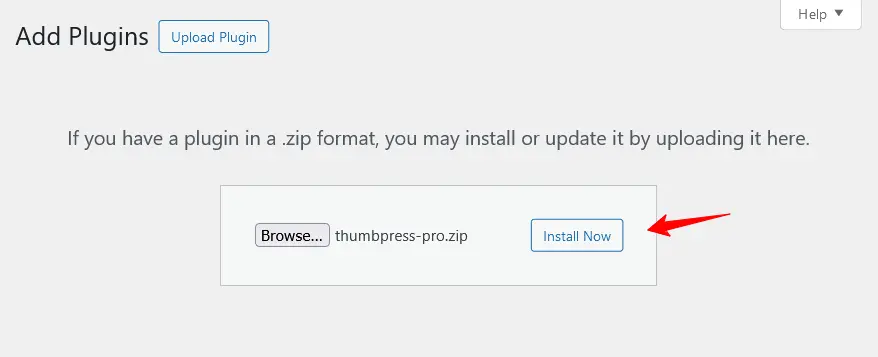
Step 2: Get your desired ThumbPress Pro package and activate the license on your dashboard. If you need to know the procedure for activating the license of ThumbPress, you can simply visit this License activation process of ThumbPress Pro.
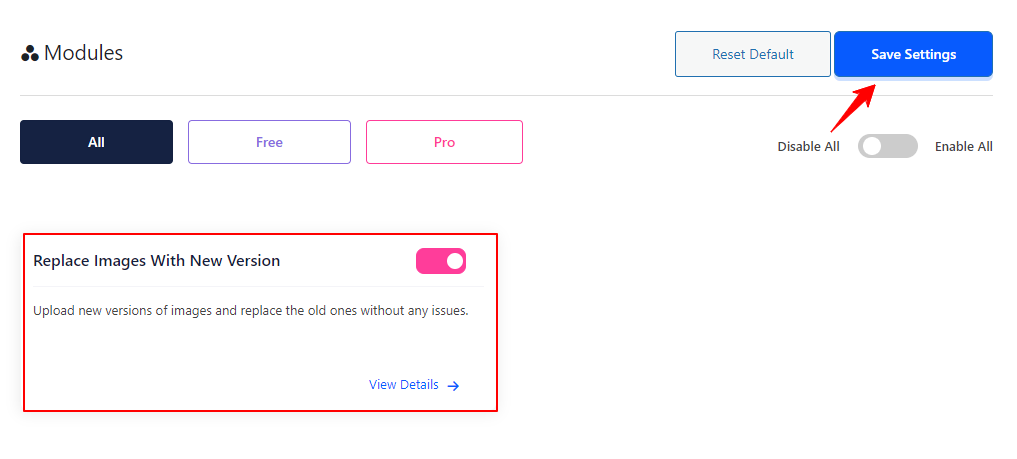
Step 5: Enable the Replace Images with New Version feature from the Modules page. Go to ThumbPress >> Modules >> enable the Replace Images with New Version toggle bar. Save the settings by clicking on Save Settings button.
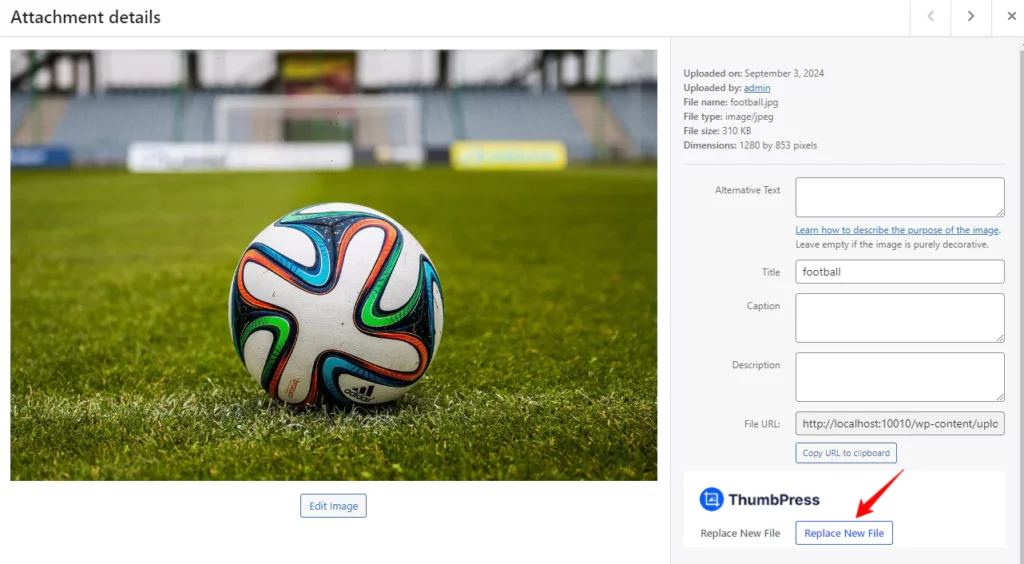
Step 6: Go to Media Library >> open an image you want to replace >> click on Replace New File.
Step 7: Click the Browse button to select the new file you want to replace. To complete the process, click the Replace button to upload the new image to your website.
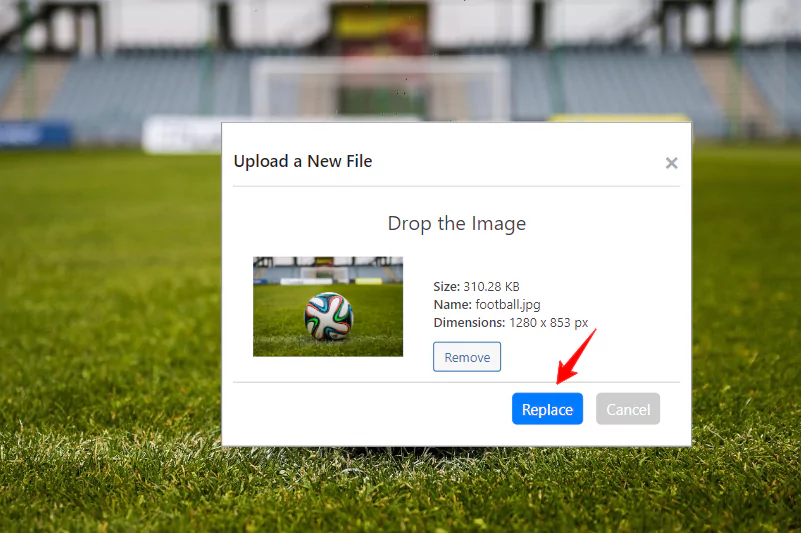
That’s it! You’ve successfully replaced the image. If you encounter any issues while setting up your shop page, feel free to reach out to our support team.
Was this doc helpful?

