How to use Convert images to WebP using ThumbPress
The .webp format is a widely supported, compressed image format that is gaining popularity on the web. By using .webp for your images, you can make your web pages load faster without losing image quality. ThumbPress has brought this benefit to you. By using the “Convert Images to WebP” feature of ThumbPress, you can easily convert your images to WebP with just a click. Not only that, but you can also convert images one by one or convert them in bulk from your media library using ThumbPress.
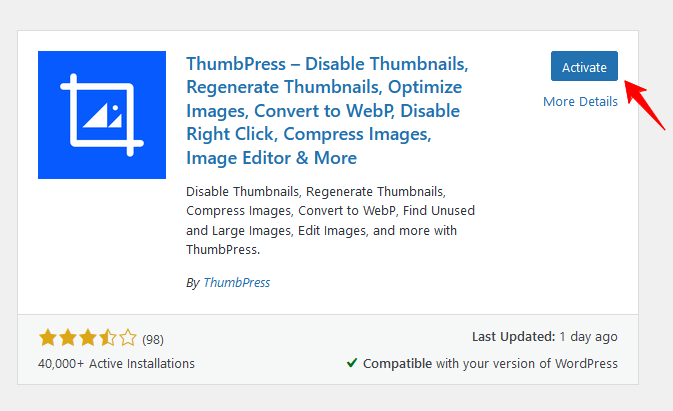
Step 1: Go to your site Dashboard >> Plugins >> Add New Plugin >> Search for ThumbPress. Now, Install ThumbPress and Activate it.
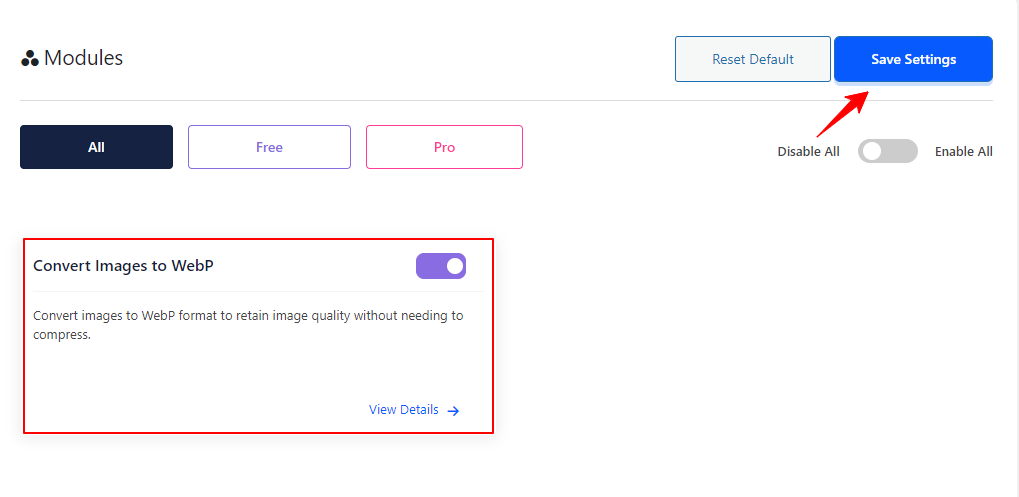
Step 2: After that, go to ThumbPress >> Modules >> Enable the toggle bar of Convert Images to WebP and press the Save settings button.
Step 3: To automatically convert images to WebP format during upload, simply enable the Convert Image on Upload option and save your settings. And, to convert individual images to WebP from the media library, activate the Single Image Conversion option.

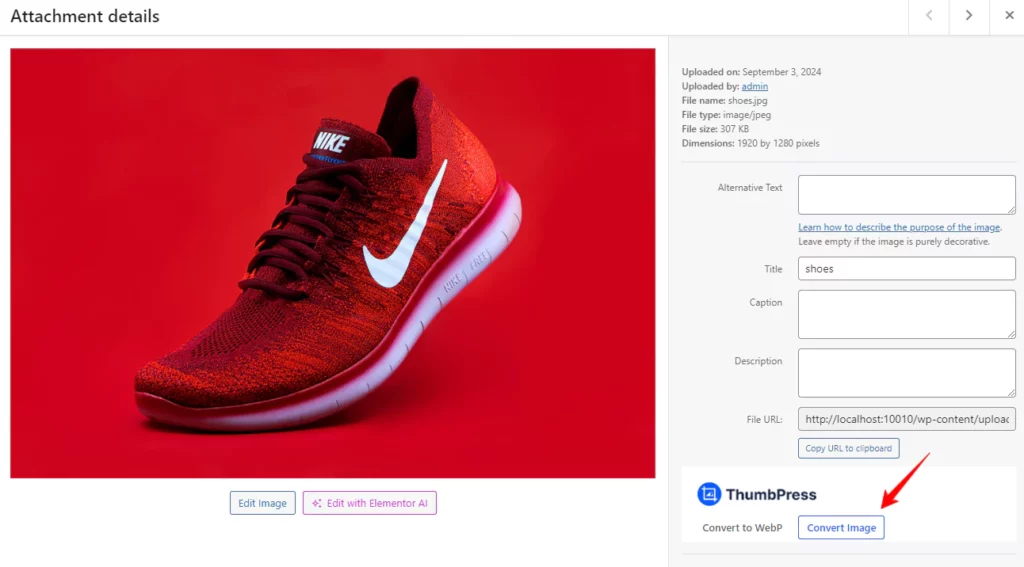
Step 4: Now, to convert an image to WebP, open the image in the Media Library and click the “Convert Image” button at the bottom. The conversion will happen instantly.
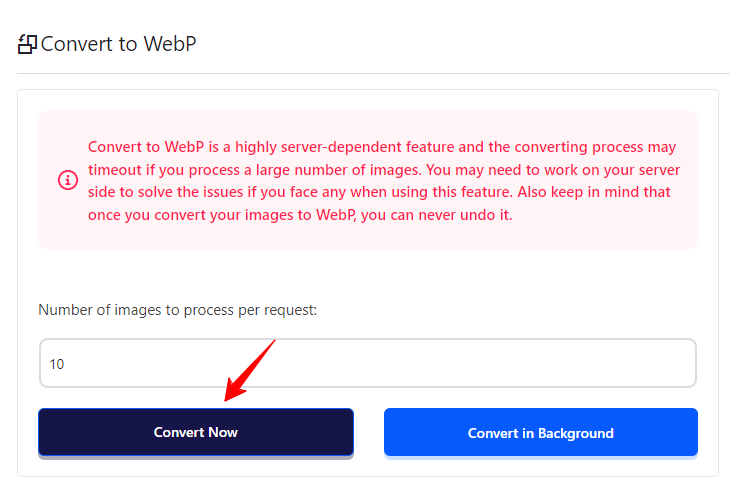
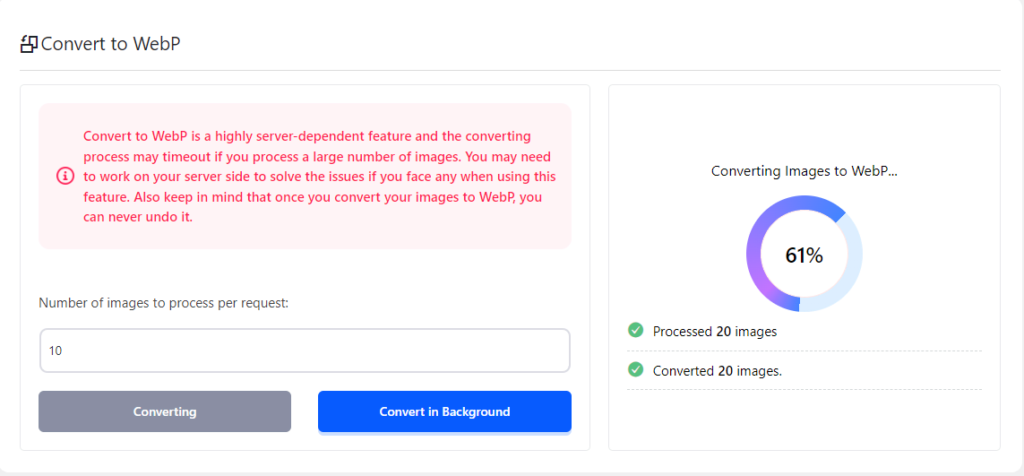
Step 5: To convert images in bulk, go to the Convert to WebP page. There, you’ll see the Convert All button. Click it, and all the images in your media library will be converted to WebP format.
That’s how you can convert your website images into WebP format.
Note: Make sure to back up your original image files before converting them to WebP. Once all your media files are converted to WebP, the process cannot be undone.
If you encounter any issues while setting up your shop page, feel free to reach out to our support team.
Was this doc helpful?

