How to Compress Images
with ThumbPress
Let’s have a look at how you can compress images using ThumbPress and
improve overall website performance.
Install and Activate ThumbPress Pro
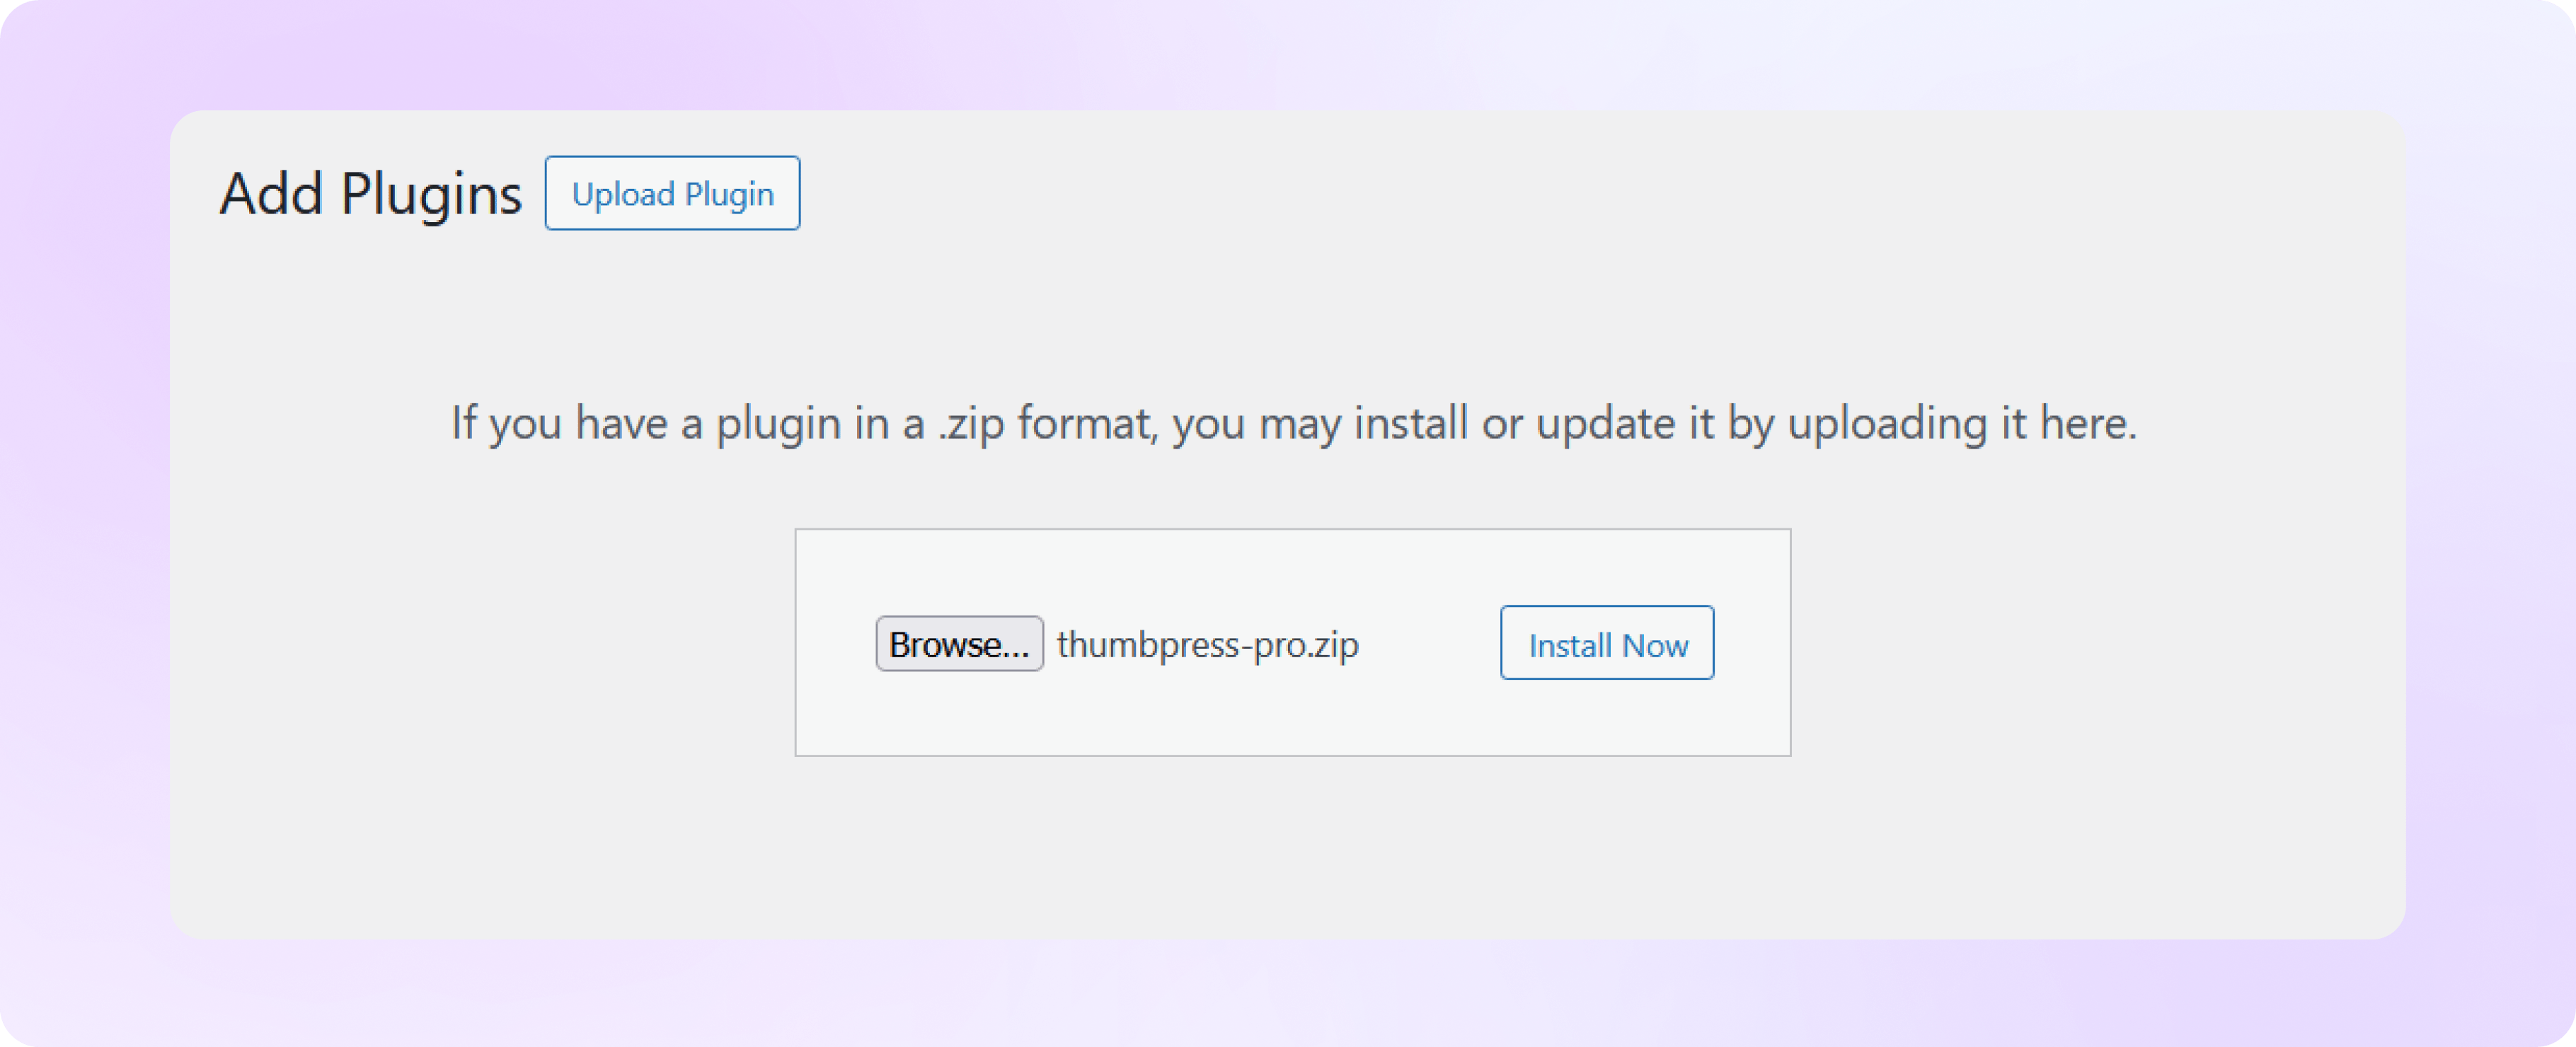
First, get a ThumbPress Pro subscription here. Then, go to your Dashboard > Plugins > Add New Plugin and
click the Upload Plugin button to add the pro plugin to your dashboard.

Enable Compress Images From Settings
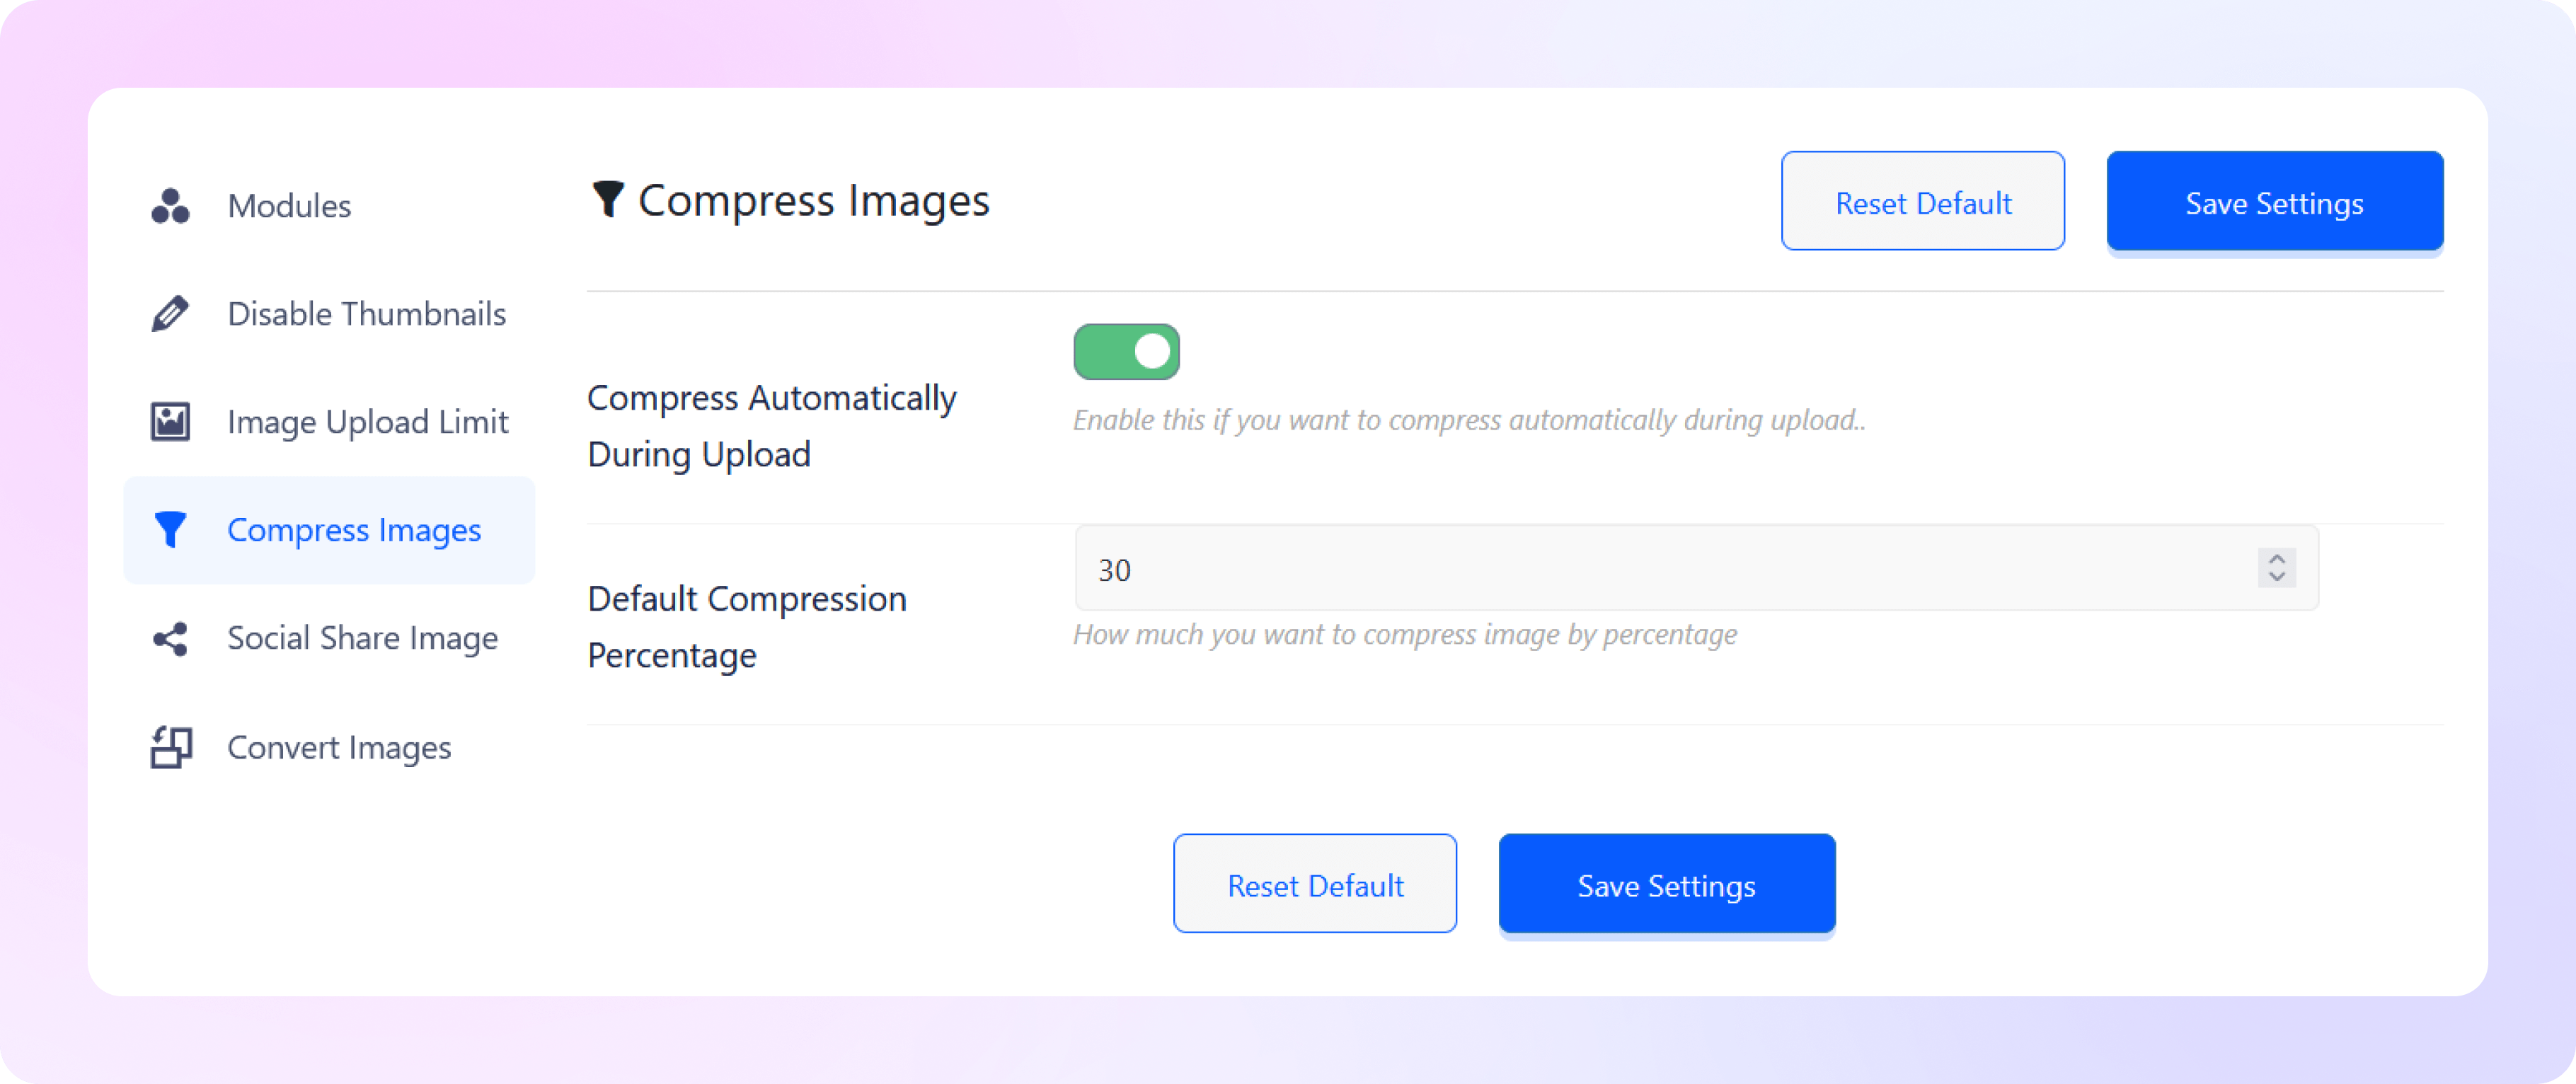
Head over to the ThumbPress settings option, enable the ‘Compress Images’ option, and hit the save settings button
to save it all. Settings > Enable Compress Images > Save Settings
Note: Compress Images’ is a Pro feature and you must have ThumbPress Pro to enable this feature from the settings page.

Compress All Images at Once
In ThumbPress you can compress images in bulk, one by one from the media gallery and compress images while uploading.
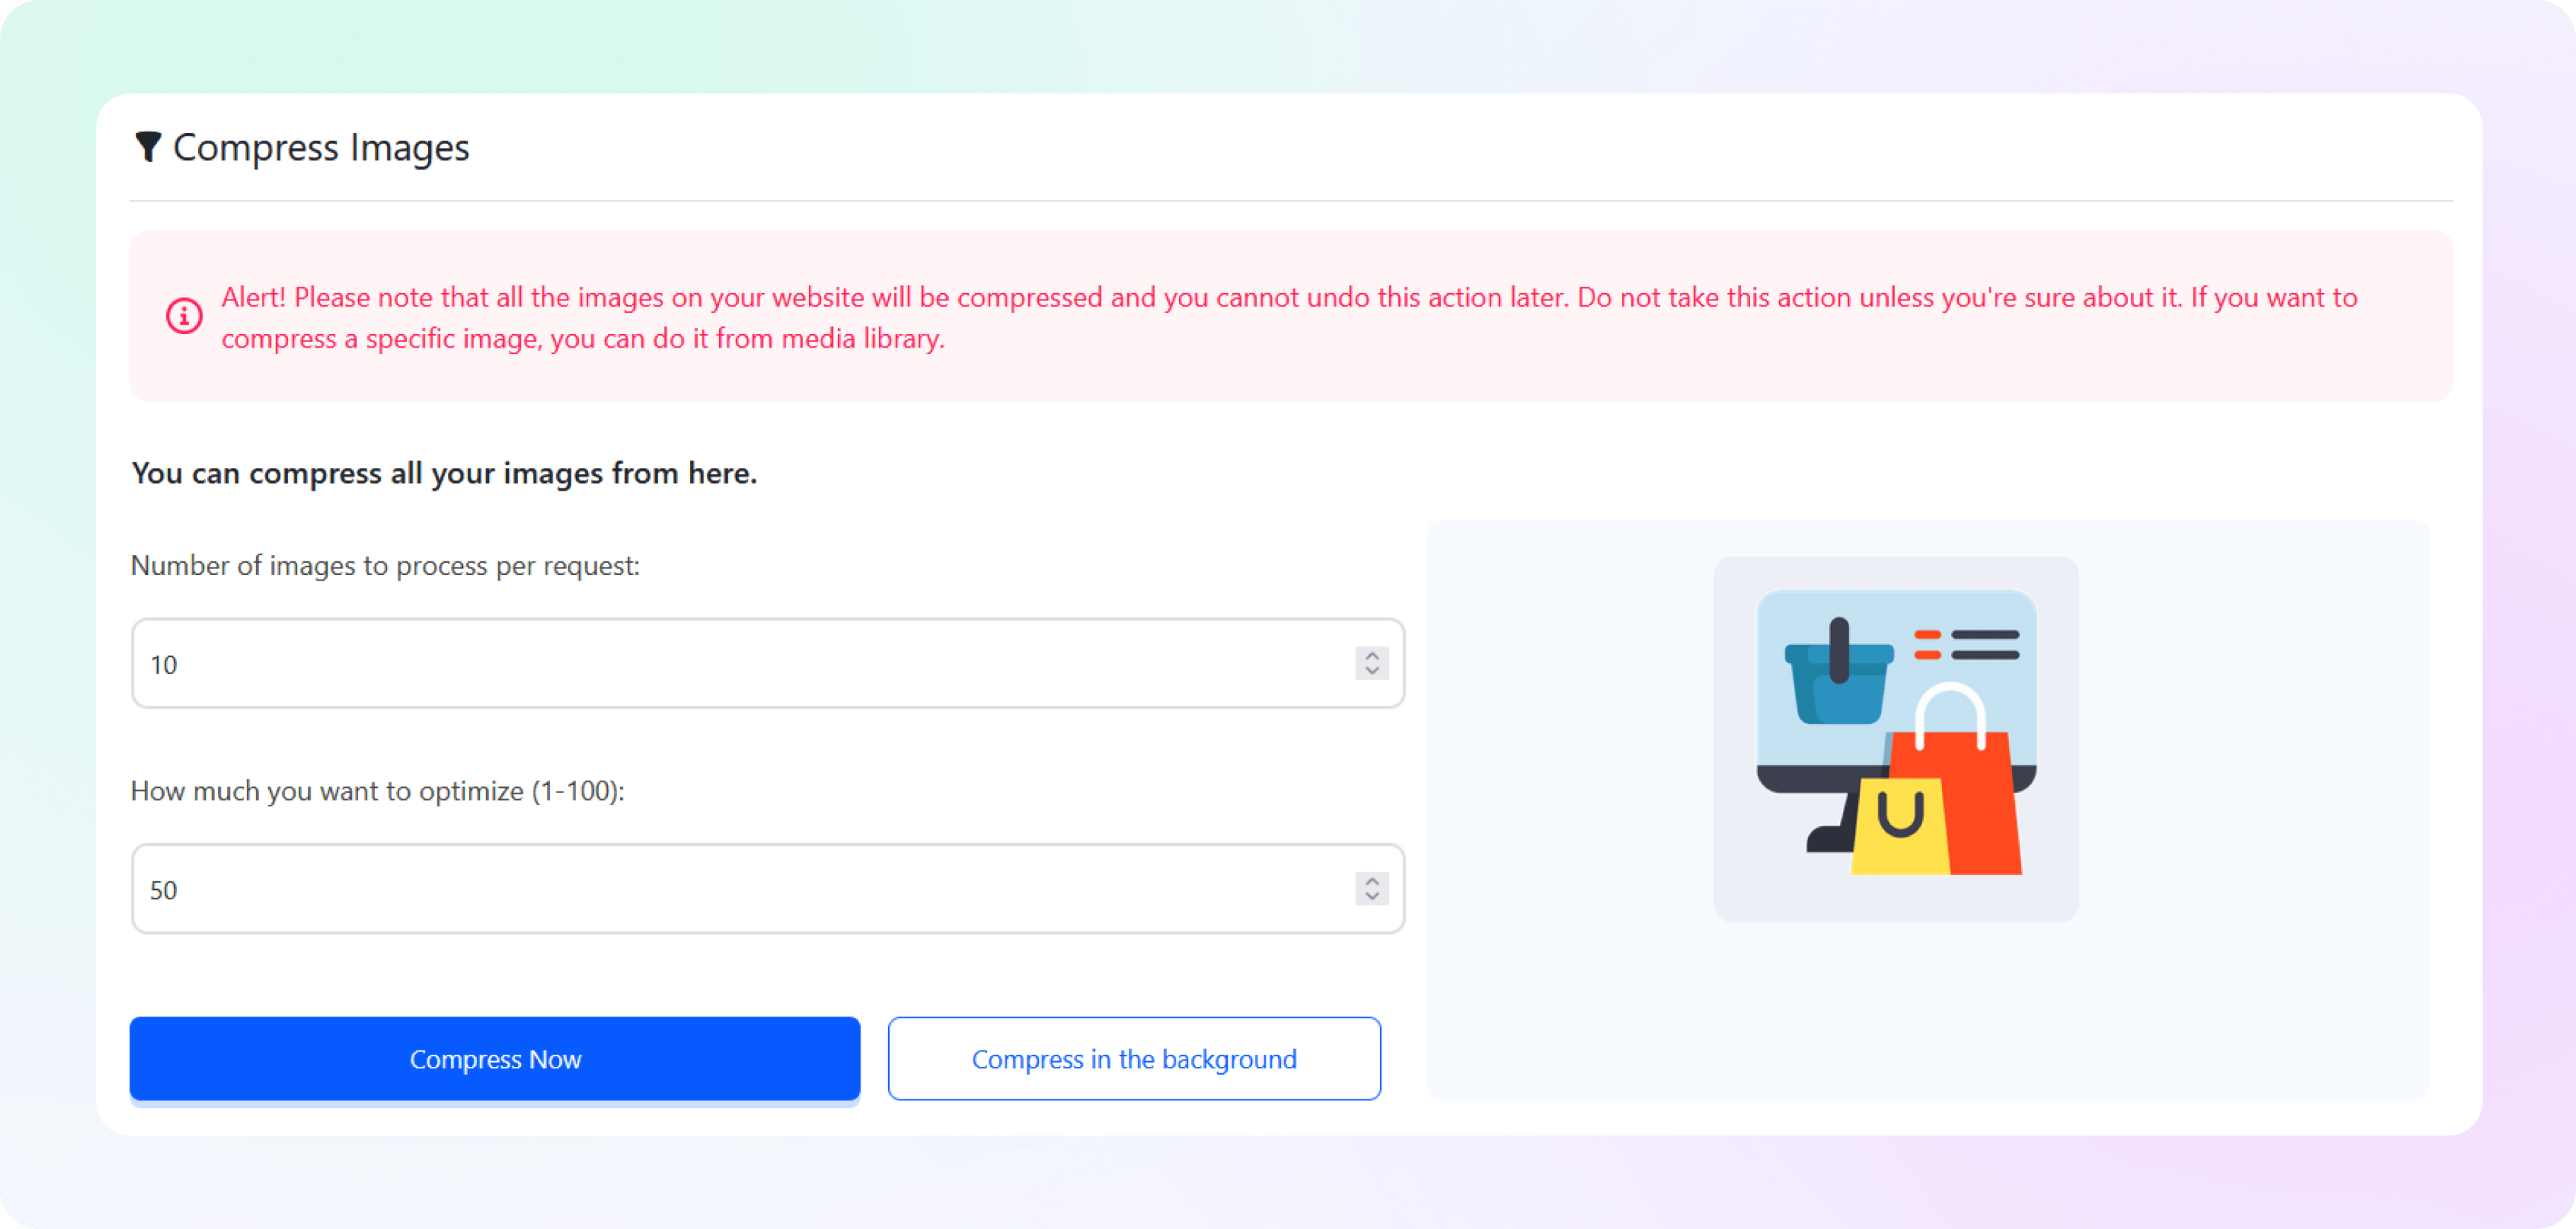
As for the bulk compression of images, head over to the compress images option and set how many images you want to compress at one request.
Just set your desired numbers and hit the compress button.

Compress Images While Uploading
To compress images while uploading, simply enable the button from settings and it will automatically compress all the images whenever you upload one.
Press save settings afterward. Compressing images might take some time and you cannot close that tab until it’s done. To avoid this inconvenience you can hit ‘Compress in Background’. Compressing images in the background will give you the flexibility to move around and do all other tasks. And done! Now you can compress your uploaded images, individually or in bulk, from the dashboard and your media library.


