How to Set
Social Media Thumbnails
Learn how to set social media thumbnails for each uploaded image
using ThumbPress and boost your brand identity in a flash!
Install and Activate ThumbPress
First, you need to install ThumbPress on your dashboard. To install and activate ThumbPress
Go to Dashboard > Plugins > Add New Plugin and search for ThumbPress in the search bar on the top right of the screen. Click Install Now and then Activate ThumbPress.

Enable Social Media Thumbnails Feature
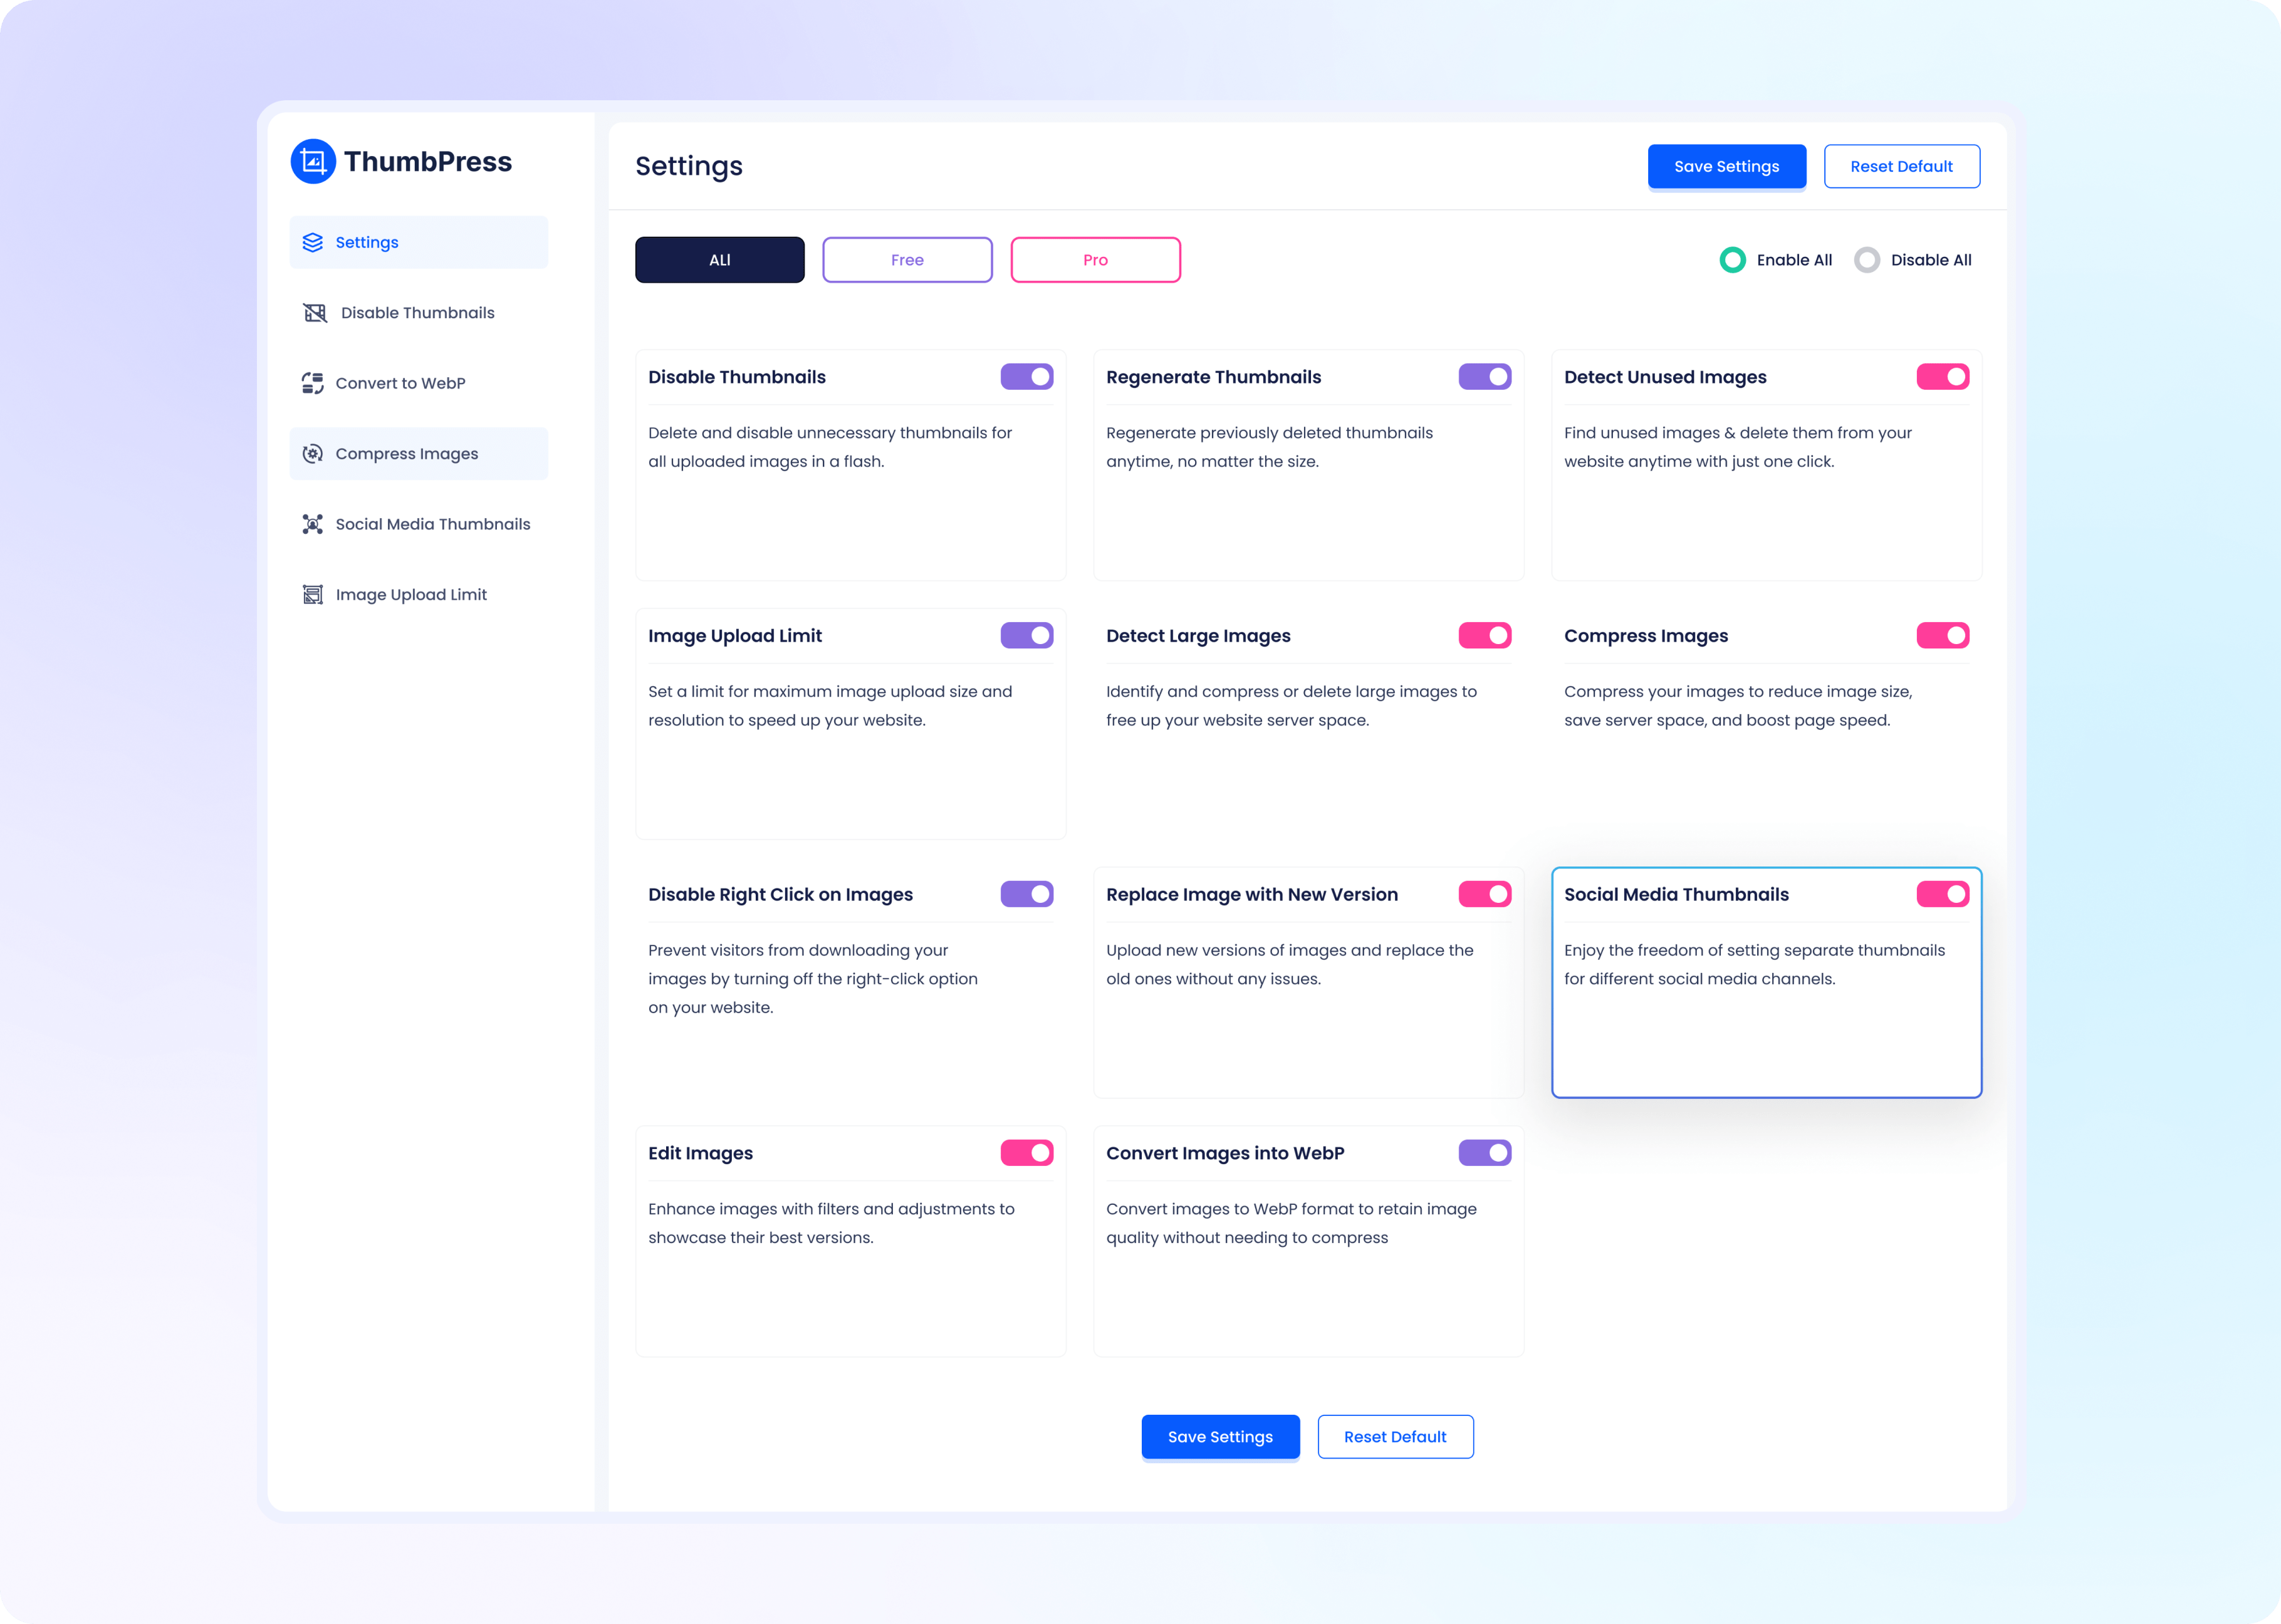
Navigate to ThumbPress > Settings to enable ‘Social Media Thumbnails’ and
click Save Settings.

Set Thumbnail for Select Platform
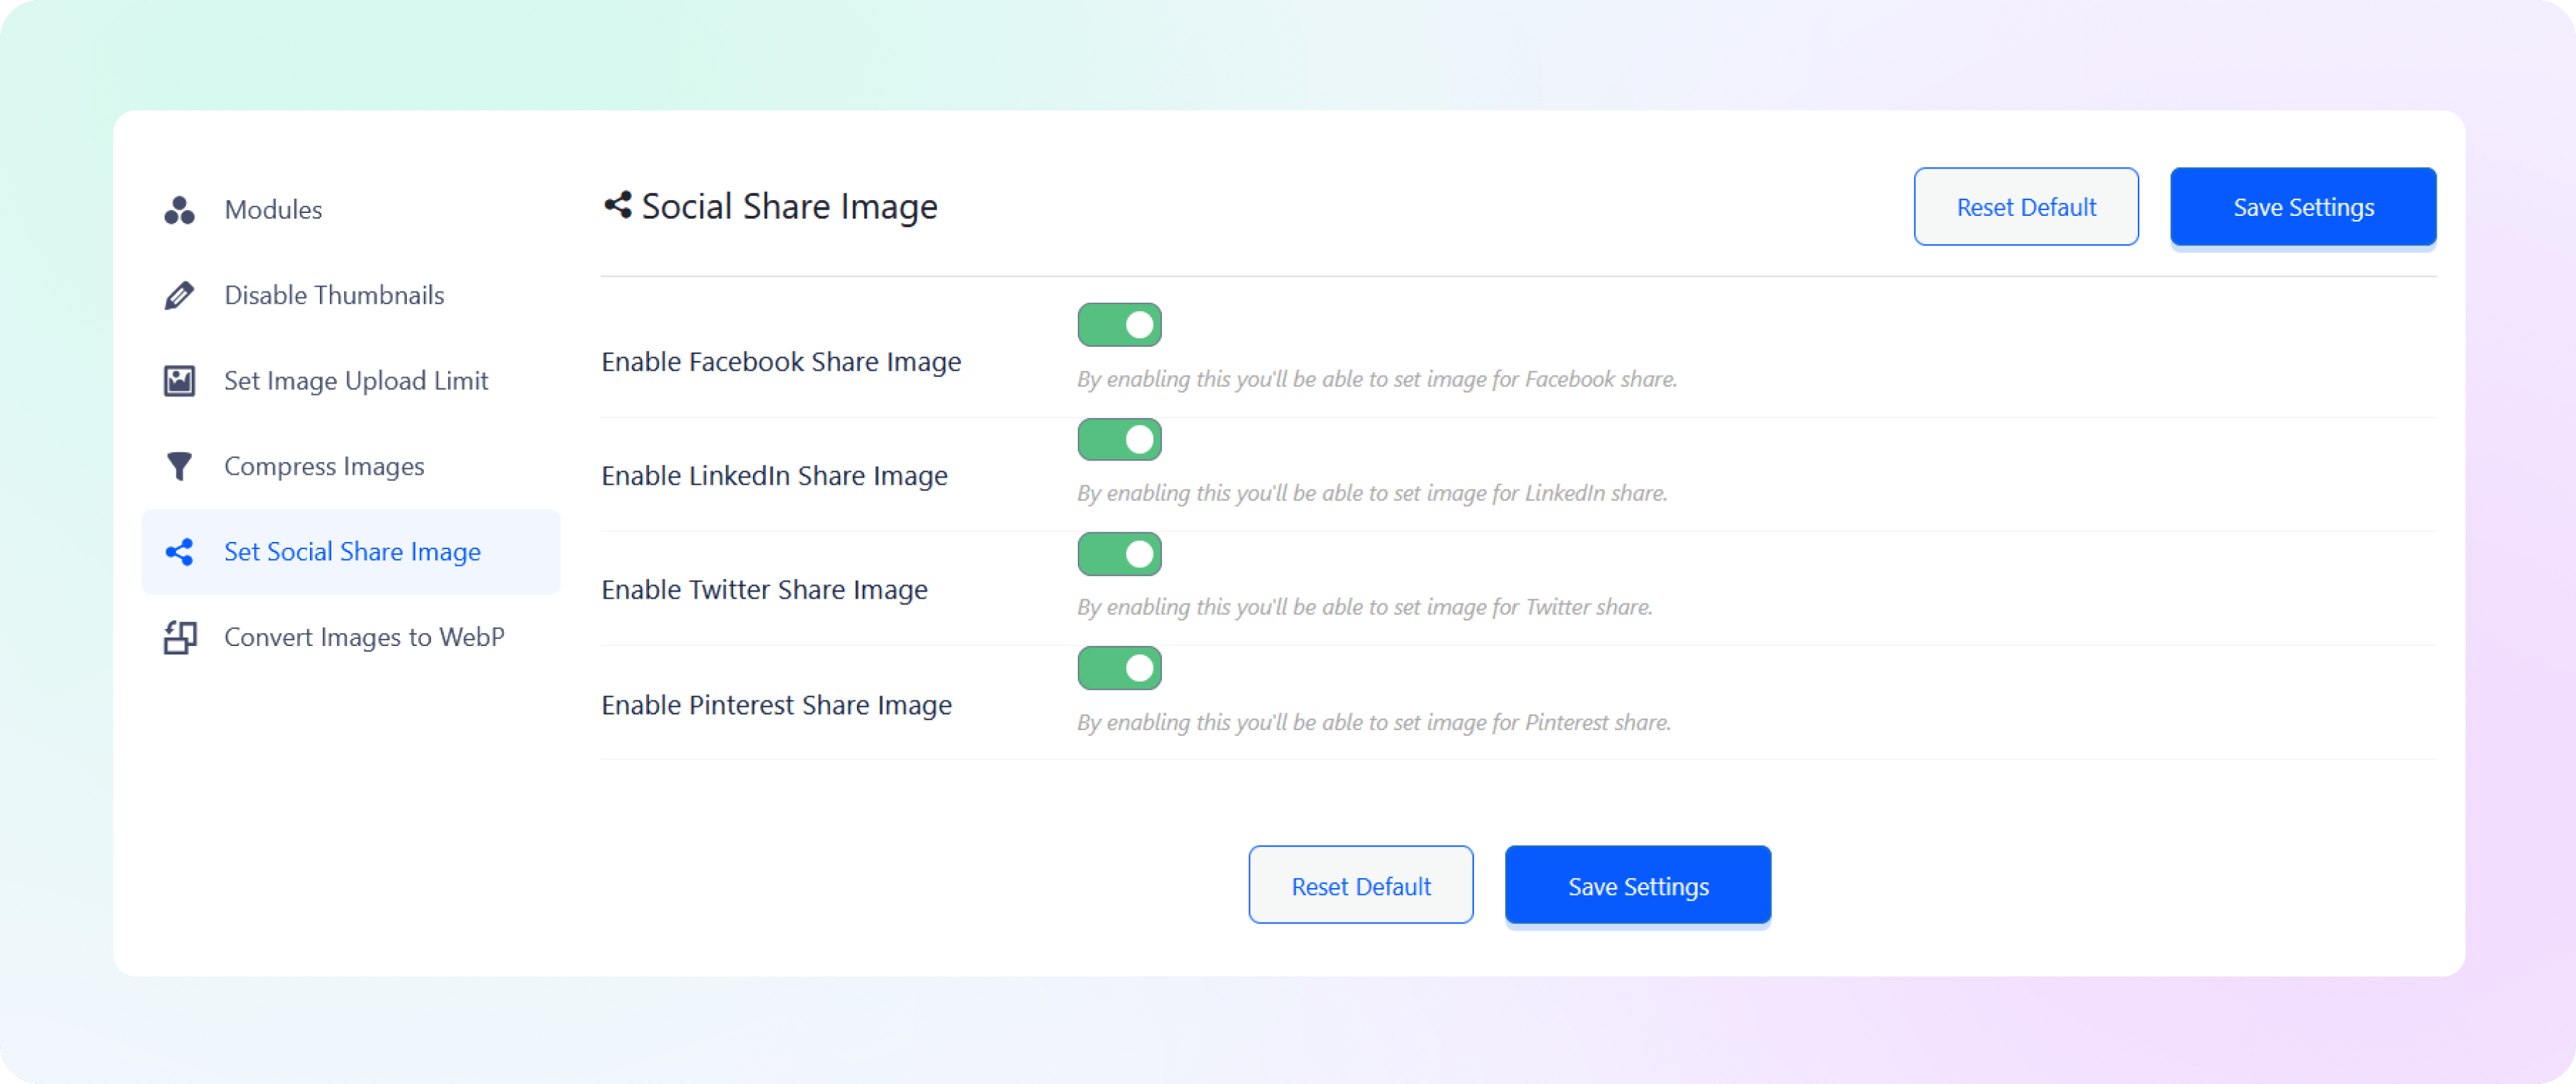
In the ‘Social Media Thumbnails’ section, use the toggle switch interface to enable which
social media platforms you want to set thumbnails for. Click on the Save Settings button to apply the changes. Now you can automatically
set and share thumbnails designed for each platform, every time you upload a feature image!

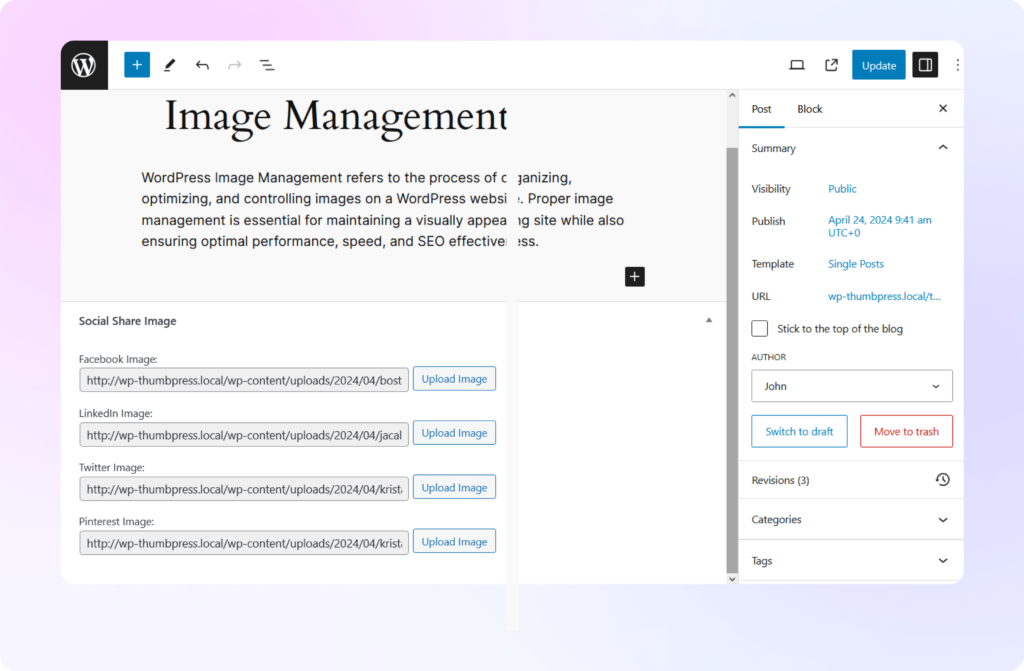
Upload Thumbnails from Post Editor
Upload your custom thumbnails for each platform you have enabled and automatically share them once your post has been published. Now you can upload the thumbnails you have created and set them for each platform, directly from the post editor!


