Optimize Images for WordPress – A Complete Guide
Did you know optimized images can speed up your website and get you to the top of search engine rankings?
Images are a significant part of your website, they can make your content engaging or drag it down all together. To make images your greatest asset, you just need to optimize them appropriately. Many WordPress users find it difficult to optimize images due to a lack of built-in tools in WordPress.
In this blog, we will discuss every aspect of image optimization in WordPress. Follow us to the end to discover all the essential tips and tricks, provided by industry experts!
5 Reasons to Optimize Images for WordPress
Optimizing images for your WordPress website can drastically change your online presence. Here are five reasons to optimize images for WordPress –
- Speed Up Your Website: Unoptimized images can slow down your website, making it too heavy to load faster. Optimizing images will make them lightweight without sacrificing quality, eventually increasing your website speed.
- Better SEO: Most search engines favor fast-loading websites and make slow-loading websites less visible to users. If you optimize your images carefully, they will rank in the searches faster. In the process, you will have more users see your images and increase website traffic.
- Increase User Experience: When images are optimized, users can see clear, sharp images without any delay. Visitors don’t want to wait for a page to load for long; optimizing images will reduce the wait, and the bounce rate on your website will decrease.
- Save Server Space: Optimized images let you use your server space efficiently. By optimizing them, you can reduce image weight and size, so you won’t have to spend a fortune on your server space.
- Better Performance on Mobile: Optimize your images for mobile so mobile-users can run it without delay. Mobile devices generally takes more time to load images; the time will double if you have unoptimized images on your website.
Optimize Images for WordPress Before Uploading
Did you know you can optimize your images before uploading them to your WordPress website? Here are some pre-upload optimization methods to follow –
Use Proper Image Formats
Before uploading images, you must determine which format best suits your WordPress website. There are several image formats to choose from. Users generally use JPG or PNG to create a fast-loading website.
Recently, WordPress has been pushing for WebP, the lightest image format. To load your images faster, it’s better to convert them to WebP format. Various image formats, apps, and websites can help you with the process.
Resizing Images
The easiest way to optimize your images is to resize and change their dimensions. Using larger images on your website will quickly eat up your server space.
WordPress has an assigned measurement for each kind of image, which you can use to avoid any obstacles. You can also learn about the best image sizes for websites to get a better insight on this matter.
Compress Images
You can reduce the size of your image by compressing it enough to keep it appropriate for your website. Generally, images consume a large portion of your server space, so you can reduce its size as much as you want.
However, there is no need to compromise on their quality while you compress images. There are two kinds of image compression, Lossy, and Lossless; you can choose any of the two based on your needs.
If you are willing to compromise some of the data, then go for lossy image compression; if not, lossless image compression is the way to go. Various tools and plugins, like TinyPNG, allow you to reduce the size of your image to your preference.
Optimize Images for WordPress After Uploading
How you display your images is also a huge part of image optimization and equally contributes to a fast-loading website. Here are some image optimization that you need to do after uploading images to your website:
Lazy load Images
Lazy loading images is a great idea to ensure your website loads faster. This process gradually loads images as users scroll through the page. If you have an image-heavy page, loading them all at once will slow down your loading time.
Enabling lazy load on your website will ensure that users see a new batch of images in the visible area of the page as they scroll. This will keep your website fast-loading and provide a great user experience.
Use a CDN
Using a CDN positively contributes to your website’s speed. This global system of servers ensures your content, including images, videos, and other content, loads faster.
Using a Content Delivery Network (CDN) can significantly improve data loading times by serving content from a server located closer to the user. Many hosting providers include CDN services as part of their offerings, but you also have the option to configure a CDN separately.
Clean Media Library
Keeping your media library clean on a daily basis is a great practice in increasing website speed. Having a clean workspace allows you to use your server efficiently and have a good grip on your WordPress website.
3 Best Image Optimization Plugins for WordPress
Using a plugin makes image optimization for WordPress a straightforward process. A compact WordPress plugin also lets you to optimize all the images from your dashboard.
Here are the three best image optimization plugins that you can use for your WordPress website –
ThumbPress

Do you wish to manage and optimize all your images from one place? ThumbPress is your ultimate solution for efficient image management and website speed optimization.
ThumbPress is designed to fulfill all your image optimization needs. It seamlessly integrates with your website and takes care of your images.
Here are some of the incredible features you get with ThumbPress –
- Disable Thumbnails: Get rid of unnecessary thumbnails and save valuable server space. By disabling thumbnails, you can easily take full control of your website and avoid generating unnecessary thumbnails.
- Regenerate Thumbnails: ThumbPress has a feature that allows you to regenerate your thumbnails anytime, so you do not have to worry about missing thumbnails on your website.
- Social Media Thumbnails: Setting up social media thumbnails individually is a pain. With the Social Media Thumbnails feature, you can set all the thumbnails from your dashboard at once. This way, you do not have to return whenever you share your content on social media.
- Image Upload Limit: ThumbPress has an image upload limit feature that allows you to set a specific size for all your images. No one can upload larger images than the size you have set. This feature especially comes in handy when your website has multiple users.
- Convert Images into WebP: The new WebP format is popular for its lightweight nature, making it a favorite for image conversion. While there are various tools available, this one stands out for its convenience, allowing you to convert JPG and PNG images to WebP directly from your dashboard.
- Disable Right Click on the Image: ThumbPress also protects your images from theft. The right-click disabling feature allows you to do just this.
- Detect Large Images (Pro): This feature detects oversized images and compresses or deletes them to free up server space. It allows you to manage consistency with your image size.
- Detect Unused Images (Pro): Unused images occupy a lot of space on your website. You can detect all of them with one click and eliminate them to increase server space.
- Compress Images (Pro): Optimize and compress image sizes without hampering image quality, directly from the ThumbPress dashboard. This new feature allows you to compress images to meet your site’s specific demands.
- Replace Image (Pro): With this pro feature, you can replace old images with new ones to keep your content up to date. You can replace all the images at once and keep their links intact to keep the images relevant.
- Image Editor (Pro): Edit images directly from ThumbPress to save time and space. This exciting image editor feature allows you to apply different filters to your images and adjust various aspects. Present your images in the most captivating ways to attract customer attention better.
What We Loved
- It has a very simple, user-friendly interface.
- There’s a wide range of features to choose from, each with unique functionality.
- All the image optimization tools are under one umbrella.
- This plugin gives great value for money.
What We Didn’t Like
- There are too many image optimization features, which may be overwhelming to manage for beginners.
Price
ThumbPress is a freemium plugin. Pro plans start at $39/year, and lifetime subscription packages start at $99.
Optimole
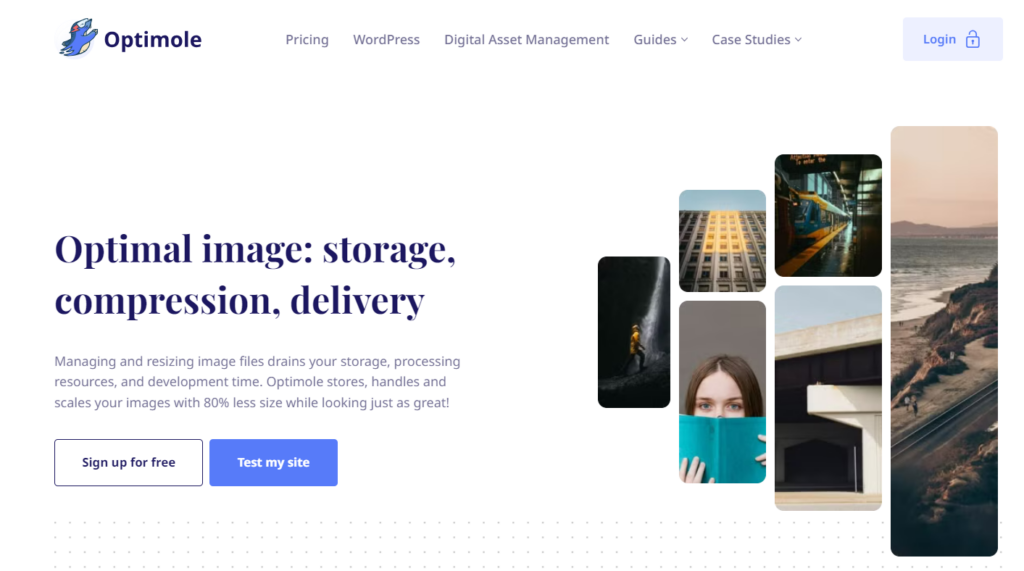
Optimole is a great plugin for optimizing images and saving them directly on the cloud. This plugin starts optimizing images immediately after you install it on your dashboard.
Optimole goes beyond basic image optimization features and offers built-in CDN, lazy load, and page builder support. This comprehensive set of tools provides a complete solution for image optimization.
What We Loved
- You can optimize your images in real-time.
- This saves images in cloud storage without burdening website storage.
- Your images will be degraded to lower quality during slow internet times.
What We Didn’t Like
- You lose all the optimized images once you delete the plugin.
- There’s a very limited feature in the free version.
Price
Optimole offers a limited free plan and premium subscriptions starting at $19.08/month, which is also limited to 40000 visits.
EWWW Image Optimizer
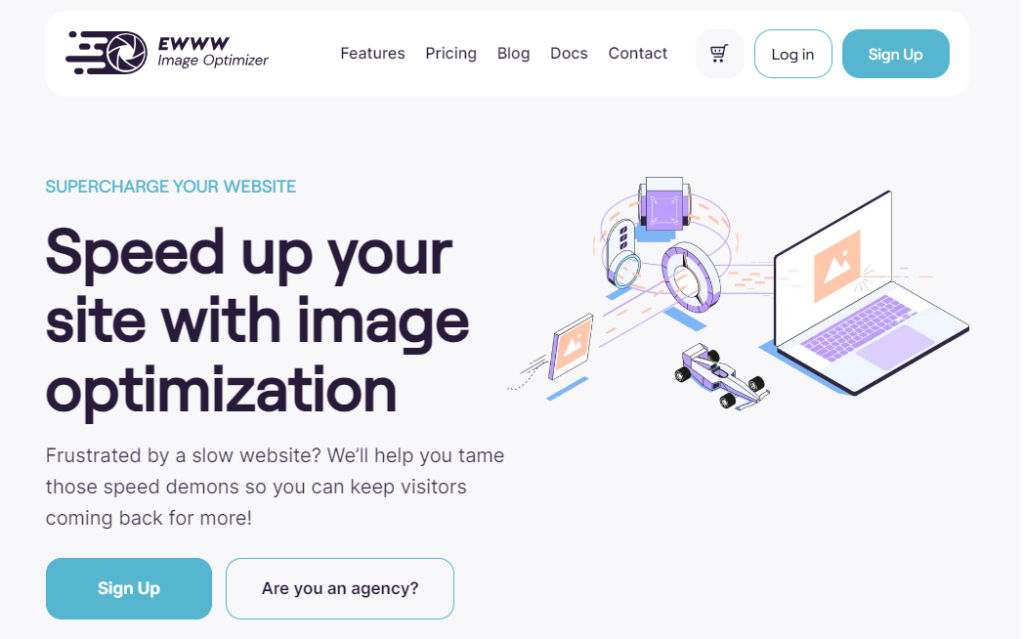
EWWW increases your website speed by optimizing images. This plugin automates several features to reduce your burden.
Ewww automates new upload optimizations, optimizing previous images, and converting to a suitable format. This is a compact image optimization tool to help you with the image optimization process.
What We Loved
- Intelligently convert images to a suitable format.
- No size limits exist, so you can work with different image sizes.
- The premium plugin lets you compress different image formats in various ratios.
What We Didn’t Like
- You might face noise problems in JPG compression.
- Image quality drops when converted into WebP.
Price
EWWW is a freemium plugin with a premium plan starting at $7/month only.
Conclusion
By following the strategies outlined in this guide, you can significantly reduce image file sizes, improve load times, and boost your search engine rankings.
Tools like ThumbPress can simplify the image optimization process, making it easy to compress, resize, and manage your images effectively.
By investing time and effort into the image optimization process, you can create a faster, more visually appealing, and successful website.
Frequently Asked Questions (FAQs)
1. What image formats should I use for my WordPress site?
The choice of image format depends on the type of image. Use JPEG for photographs and images with many colors, offering good compression with minimal quality loss.
PNG is best for images with transparency or when you need high-quality graphics. WebP is an excellent modern alternative that provides better compression while maintaining quality.
2. How does image optimization affect mobile users?
Optimizing images is crucial for mobile users as it reduces the data load, leading to faster page loading times. Mobile users often have slower connections and limited data, so smaller, optimized images ensure a smoother browsing experience and prevent high data usage.
3. Is it possible to optimize images that are already uploaded to my WordPress site?
ThumbPress, EWWW Image Optimizer, or Optimole are plugins that allow you to bulk-optimize all the images in your media library, ensuring that even older uploads are compressed and optimized.
4. How often should I optimize images on my WordPress site?
Optimizing images regularly is a good practice, especially if your site frequently uploads new content. Plugins can automate the process for new uploads, but you should also periodically check and re-optimize existing images, particularly after major website updates or theme changes.
5. Can image optimization affect image quality?
When done correctly, image optimization should not significantly affect image quality. Most tools and plugins offer different compression levels, so you can choose a setting that balances file size and image quality.
Lossless compression retains the original quality, while lossy compression reduces file size more but may slightly decrease quality.
Subscribe to Our Newsletter
Get the latest WordPress tutorials, trends, and resources right in your inbox. No Spamming, Unsubscribe Anytime.

Thank you for subscribing to our newsletter!

Table of Content
- 5 Reasons to Optimize Images for WordPress
- Optimize Images for WordPress Before Uploading
- Use Proper Image Formats
- Resizing Images
- Compress Images
- Optimize Images for WordPress After Uploading
- Lazy load Images
- Use a CDN
- Clean Media Library
- 3 Best Image Optimization Plugins for WordPress
- ThumbPress
- Optimole
- EWWW Image Optimizer
- Conclusion
- Frequently Asked Questions (FAQs)


