How to Make Images Load Faster on Website – A Comprehensive Guide
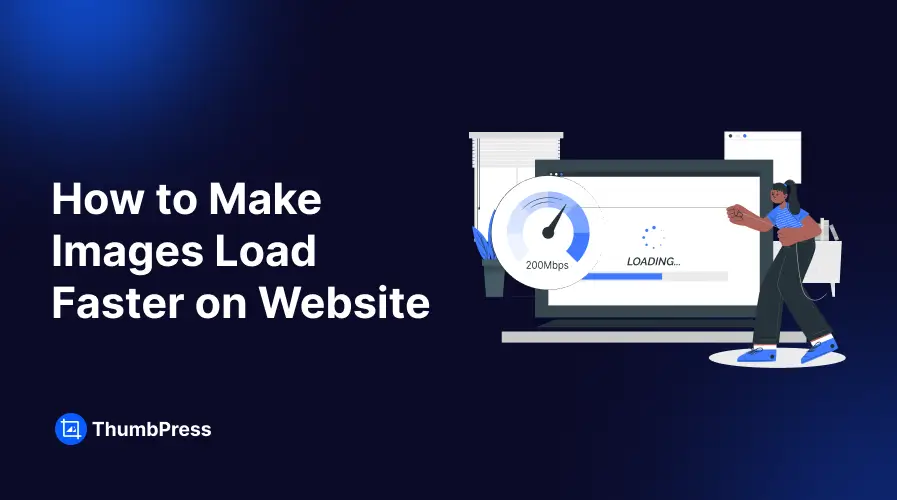
As websites get faster and user expectations climb globally, patience for slow loading times plummets. With a sea of options just a click away, visitors won’t waste precious time waiting on a website to catch up.
And if your website relies on high-quality images, chances are that it loads slower than you want it to. Fortunately, there are plenty of ways to remedy this problem.
This blog will show you how to make images load faster on website, including the best practices and the image optimization plugins to help you along this journey.
Ready to make your site blazing-fast? Let’s get started!
Why Image Optimization Matters?
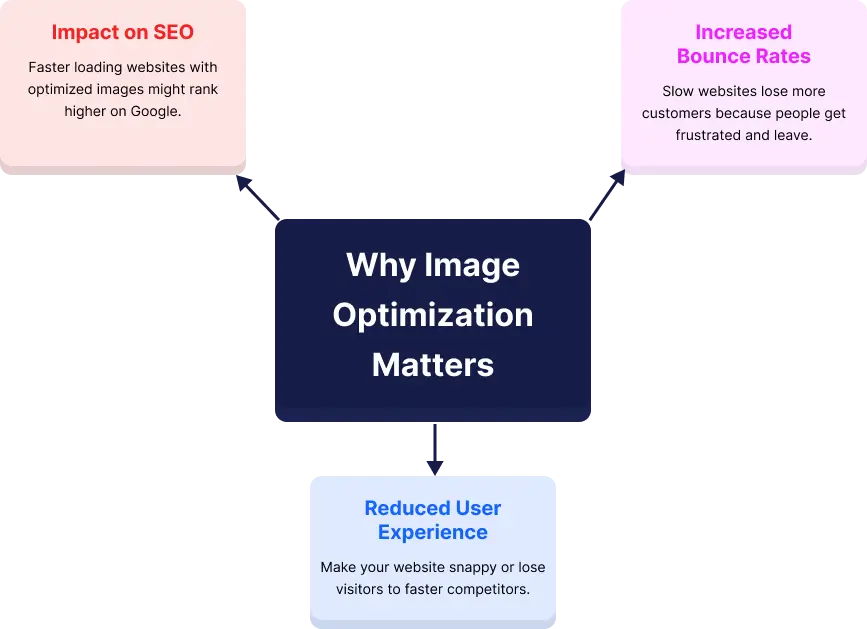
Eye-catching images, as essential as they are, can also be a double-edged sword. When a user visits a website with high-resolution photos – they’re often greeted with slow-loading fragmented content and broken images.
This frustrating experience can have a significant damaging impact, such as –
Increased Bounce Rates
A bounce rate is the percentage of visitors who leave your website after viewing only one page. Slow loading times directly contribute to high bounce rates, meaning you’re losing potential customers before they even get a chance to explore your offerings.
Studies show that a delay of just one second can decrease conversion rates by 7%.
Reduced User Experience
Slow loading times lead to impatient users. Around 40% of users will abandon a website if it takes longer than 3 seconds to load, according to Kissmatrics.
If yours takes longer, they’re more likely to abandon ship and head to a competitor’s site that loads faster.
Impact on SEO
While not a direct ranking factor, Google prioritizes websites that offer a good user experience, which includes fast loading speeds. Optimizing images can contribute to a slight SEO boost.
8 Simple Ways to Make Images Load Faster
Want a simple solution to slow-loading websites? Here are 8 easy methods on how to make images load faster on website –
1. Edit Image Size and Dimensions
In terms of image size, think of a large poster shrunk down to fit a magazine. The important information stays the same, but unnecessary details are removed. This is similar to resizing images for your website.
On the other hand, adjusting the dimensions (width and height) in pixels to match the exact display size can help you reduce the file size without compromising visual quality.
Here’s how you can adjust image dimensions –
- Check the Required Size
Find out the maximum dimensions an image will be displayed on your website. Use tools like your website’s CSS or inspect element feature to find these dimensions.
- Resize Before Uploading
Use image editing software, or online tools to resize your images to these dimensions. Remember to maintain the aspect ratio to avoid distortion.
- Use Plugins
If you’re using a CMS like WordPress, powerful plugins can automatically resize images to your specified dimensions during upload.
Check out our blog here for the ideal plugin to make this process easier.
2. Select the Right Image Format
There’s no one-size-fits-all solution when it comes to image formats. Different formats offer varying trade-offs between file size and image quality. Here’s a breakdown of the most common ones –
- JPEG (JPG)
Ideal for photographs with a lot of colors and subtle variations. Uses lossy compression, meaning some quality is sacrificed for smaller file sizes. Perfect for product images, blog post photos, etc.
- PNG
Uses lossless compression to preserve image quality but it often results in larger file sizes. This is great for graphics with sharp lines, text, logos, or images that require transparency.
- WebP
A modern format that offers superior compression compared to JPEG while maintaining similar quality. While not all browsers support WebP yet, WordPress has recently embraced this format.
3. Compress Images
Image compression helps reduce the file size of your images without significantly affecting their quality. There are two types of compression: lossy and lossless.
- Lossy Compression
Lossy compression reduces file size by removing some data, which may slightly affect image quality. This compression type can significantly reduce file size, which is perfect for speeding up your site.
Common formats that use lossy compression include JPEG and WebP.
- Lossless Compression
Lossless compression reduces file size without affecting image quality. This compression type helps you retain the original quality, which is ideal for logos or images with text.
Common formats that use lossless compression include PNG and GIF.
Check out our blog on the best image compression plugins to find the perfect one for your website here.
4. Make Images Responsive
Responsive images mean that your website delivers the appropriately sized image for the visitor’s device, whether it’s a desktop, tablet, or smartphone.
High-resolution images intended for desktop screens can slow down mobile devices, while images optimized for mobile might appear blurry or pixelated on larger screens. Responsive images address this issue by serving the most suitable image based on the device’s specifications.
Using the ‘srcset‘ attribute in HTML allows you to add responsive images and provide an optimal viewing experience across all platforms.
5. Enable Lazy Loading
When a webpage is loaded, images and other resources are normally loaded all at once, regardless of whether they are immediately visible to the user. If you’re unsure how to make images load faster on website, lazy loading is the easiest method.
Lazy loading puts off the loading of images that are not in the viewport until the user scrolls down to them and reduces the amount of data that needs to be loaded initially, speeding up the rendering of the page.
To do this, you need to use JavaScript libraries or built-in HTML attributes like ‘loading=”lazy”‘ for modern browsers.
6. Get a Good CDN
A Content Delivery Network (CDN) distributes your website’s content across multiple servers around the world. When a user visits your site, the CDN serves images and other static content from the server closest to them, which reduces latency and speeds up load times.
CDNs like Cloudflare, Amazon CloudFront, and Akamai, all have powerful services that can cache and deliver your images quickly and give a faster experience for users regardless of their location.
7. Use Reliable Hosting
If you have a reliable, high-performance hosting plan, your website images and other resources will be readily available and efficiently delivered to users.
When choosing a hosting provider for better loading speed, consider the following factors –
- Server Uptime: Make sure they have high availability with minimal downtime. Look for uptime guarantees of 99.9% or higher.
- Bandwidth Allocation: Ensure sufficient bandwidth to handle your site’s traffic, especially during peak times, to prevent slowdowns.
- Server-Side Optimization: Look for features like caching, SSD storage, and optimized server configurations.
- Security Features: Ensure the hosting provider offers protection against Distributed Denial of Service (DDoS) attacks, which can slow down or take your site offline.
8. Enable Browser Caching
Browser caching stores static files like images, CSS, and JavaScript on a user’s local computer after the first visit. When the user revisits your site, the browser loads these files from the local cache instead of downloading them again from the server, which significantly speeds up page load times.
You can turn on browser caching by setting cache control headers in your server’s configuration or using plugins if you’re running a CMS like WordPress.
Top 3 Image Optimization Plugins
If you’re wondering how to make images load faster on a website, follow the methods outlined above.
To speed up the process, here are three top image optimization plugins to help you in your journey to achieving a fast and responsive website –
1. ThumbPress
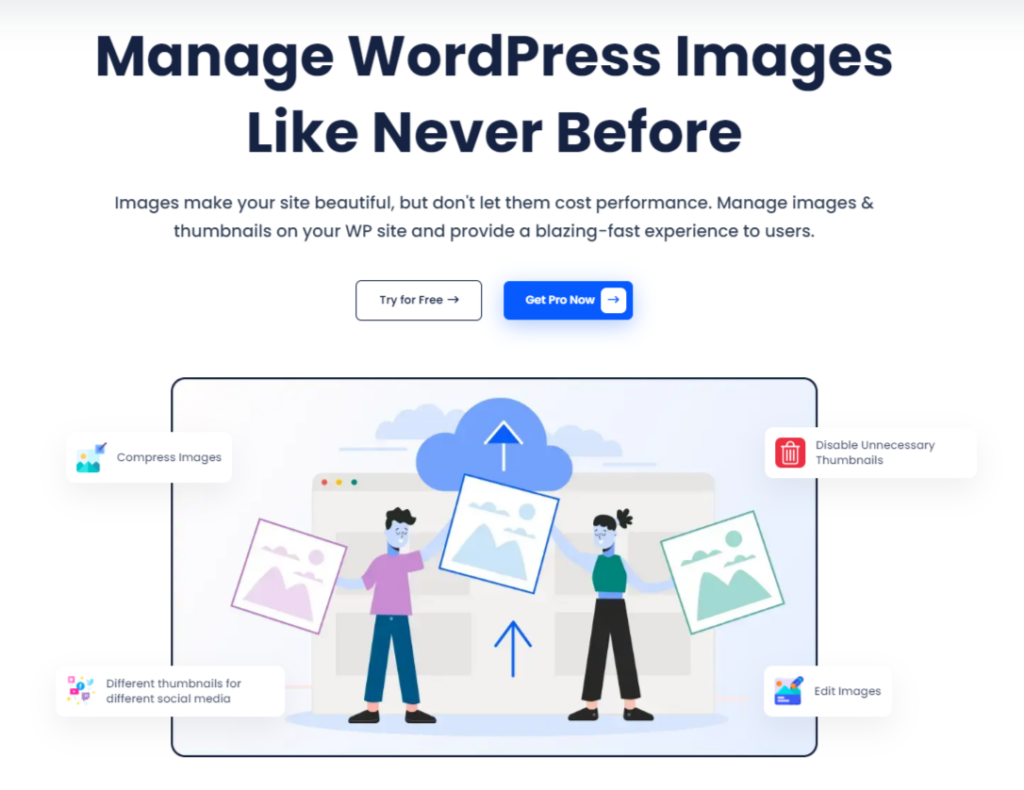
ThumbPress is a powerful and user-friendly image optimization plugin for WordPress designed to help its users easily optimize their images for better performance and faster load times.
It stands out with its extensive features and user-friendly interface, making it a top choice among website owners and developers.
Key Features
- Delete Unnecessary Thumbnails: Automatically remove unused thumbnails to free up server space and reduce clutter in your media library.
- Regenerate Thumbnails: Easily regenerate thumbnails for existing images to keep them optimized for the latest themes and updates.
- Delete Unused Images: Identify and delete images that are no longer used on your website to maintain a clean and efficient media library.
- Set Maximum Image Upload Size: Prevent oversized images from being uploaded by setting a maximum upload size and keep all your image sizes consistent.
- Detect, Compress/Delete Large Images: Automatically detect large images, compress them to reduce file size, or delete them if they are unnecessary.
- Convert Images to WebP: Convert images to the WebP format, which offers superior compression rates while maintaining high quality.
- Compress Images: Use both lossy and lossless compression techniques to reduce image file sizes without significantly affecting quality.
- Disable Right-Click on Images: Protect your images from unauthorized downloads by disabling right-click functionality.
- Replace Image with New Version: Easily replace existing images with updated versions without changing the URLs to keep consistency across your site.
- Set Social Media Thumbnails: Designate specific images as thumbnails for social media sharing and boost your content’s appearance on social platforms.
- Image Editor: Edit images directly within WordPress, including cropping, resizing, adjusting image settings, and more for optimal visuals.
Why Choose ThumbPress?
ThumbPress provides a comprehensive solution for image optimization and combines powerful features with ease of use. Its ability to optimize images, manage and clean up the media library, and compress images in bulk makes it a useful tool for making images load faster on your website.
Pricing Plan
ThumbPress’ yearly plans start from $39 and lifetime plans start from $99, depending on your requirements.
2. Optimus
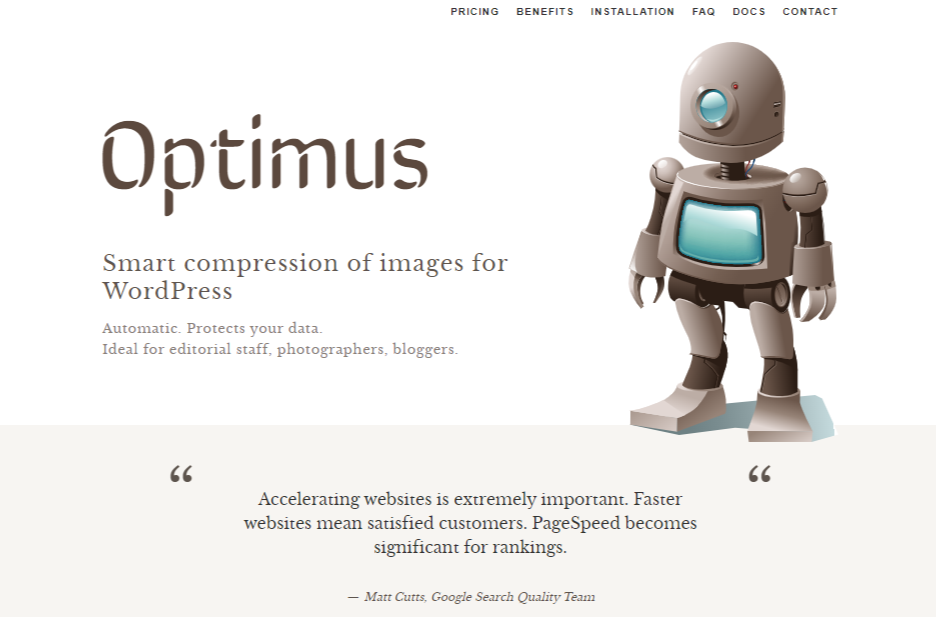
Optimus is another excellent image optimization plugin that helps reduce the file size of images without compromising quality. It’s known for its clever functionality, simplicity, and limitless conversion ability.
Key Features
- Automatic Optimization: Optimus automatically compresses images as you upload them to your WordPress site.
- Lossless Compression: Optimus focuses on lossless compression to ensure that your images retain their original quality while reducing file size.
- WebP Support: Optimus converts images to the WebP format, which is supported by most modern browsers and offers better compression.
Why Choose Optimus?
Optimus is ideal for users who want a straightforward, no-fuss solution to image optimization. Its focus on lossless compression and compliance with data privacy standards make it a reliable choice for most website owners.
Pricing Plans
Optimus’ HQ package is $39 and the HQ pro package will cost you $169 – both are based on a one-time charge.
3. ShortPixel
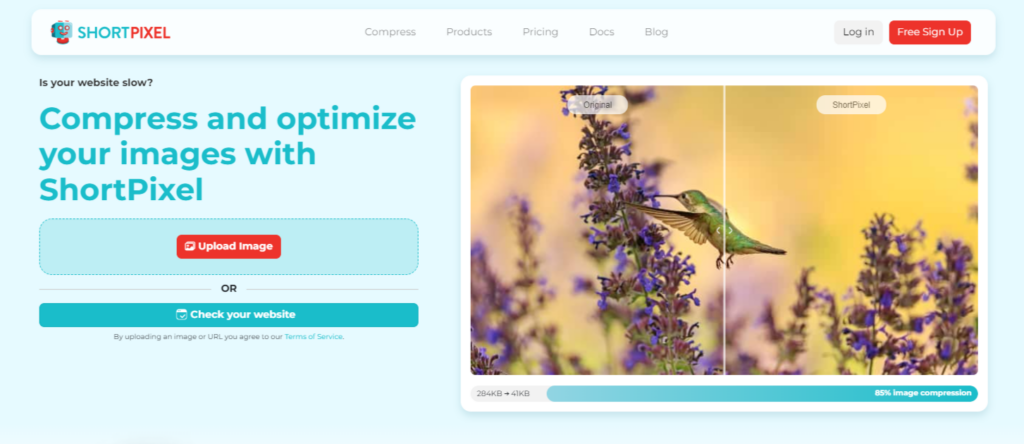
ShortPixel is a simple image optimization plugin known for its versatility and high compression rates. It’s best known for its automatic image resizing, conversion to WebP format, and seamless integration with CDN services.
Key Features
- Multiple Compression Options: ShortPixel offers both lossy and lossless compression, which lets you choose the best option for your needs.
- WebP and AVIF Support: With ShortPixel, you can convert images to modern formats like WebP and AVIF to get even better compression.
- Automatic and Bulk Optimization: ShortPixel automatically optimizes images on upload and offers bulk optimization for existing images.
Why Choose Optimus?
ShortPixel is highly versatile and has extensive options for image optimization, which is perfect for users with diverse needs. Its ability to optimize various media types and support for modern image formats sets it apart from many other plugins.
Pricing Plans
ShortPixel has unlimited monthly plans for $10, yearly plans for $100, and one-time payments starting at $20 with a credit system for image optimization.
Get Faster Load Times Instantly with Optimized Images!
High-quality images, while visually appealing, can be culprits of slow loading times. However, if you’re wondering how to make images load faster on website, use the strategies outlined in this guide to transform your website into a speed machine.
Remember, a faster website translates to happier visitors, improved search engine ranking, and ultimately, a thriving online presence
Frequently Asked Questions (FAQs)
There are several ways to tackle slow loading times. Optimizing images (resizing, compression, format), enabling browser caching, and getting a reliable hosting provider can effectively get the job done.
Large unoptimized images, heavy scripts, and inadequate server resources are common culprits behind slow loading times.
Employ image optimization techniques, minimize plugins and scripts, leverage browser caching, and consider a website speed test to pinpoint specific areas for improvement.
Resize images to match display size, choose the right format (JPEG, PNG, WebP), enable lazy loading (prioritizes loading visible images), and use a CDN for faster image delivery.
Subscribe to Our Newsletter
Get the latest WordPress tutorials, trends, and resources right in your inbox. No Spamming, Unsubscribe Anytime.

Thank you for subscribing to our newsletter!

Table of Content
- Why Image Optimization Matters?
- Increased Bounce Rates
- Reduced User Experience
- Impact on SEO
- 8 Simple Ways to Make Images Load Faster
- 1. Edit Image Size and Dimensions
- 2. Select the Right Image Format
- 3. Compress Images
- 4. Make Images Responsive
- 5. Enable Lazy Loading
- 6. Get a Good CDN
- 7. Use Reliable Hosting
- 8. Enable Browser Caching
- Top 3 Image Optimization Plugins
- 1. ThumbPress
- 2. Optimus
- 3. ShortPixel
- Get Faster Load Times Instantly with Optimized Images!
- Frequently Asked Questions (FAQs)


