How to Convert Images
to WebP
Learn how to convert WordPress images to WebP using ThumbPress and
supercharge your website user experience instantly!
Install and Activate ThumbPress
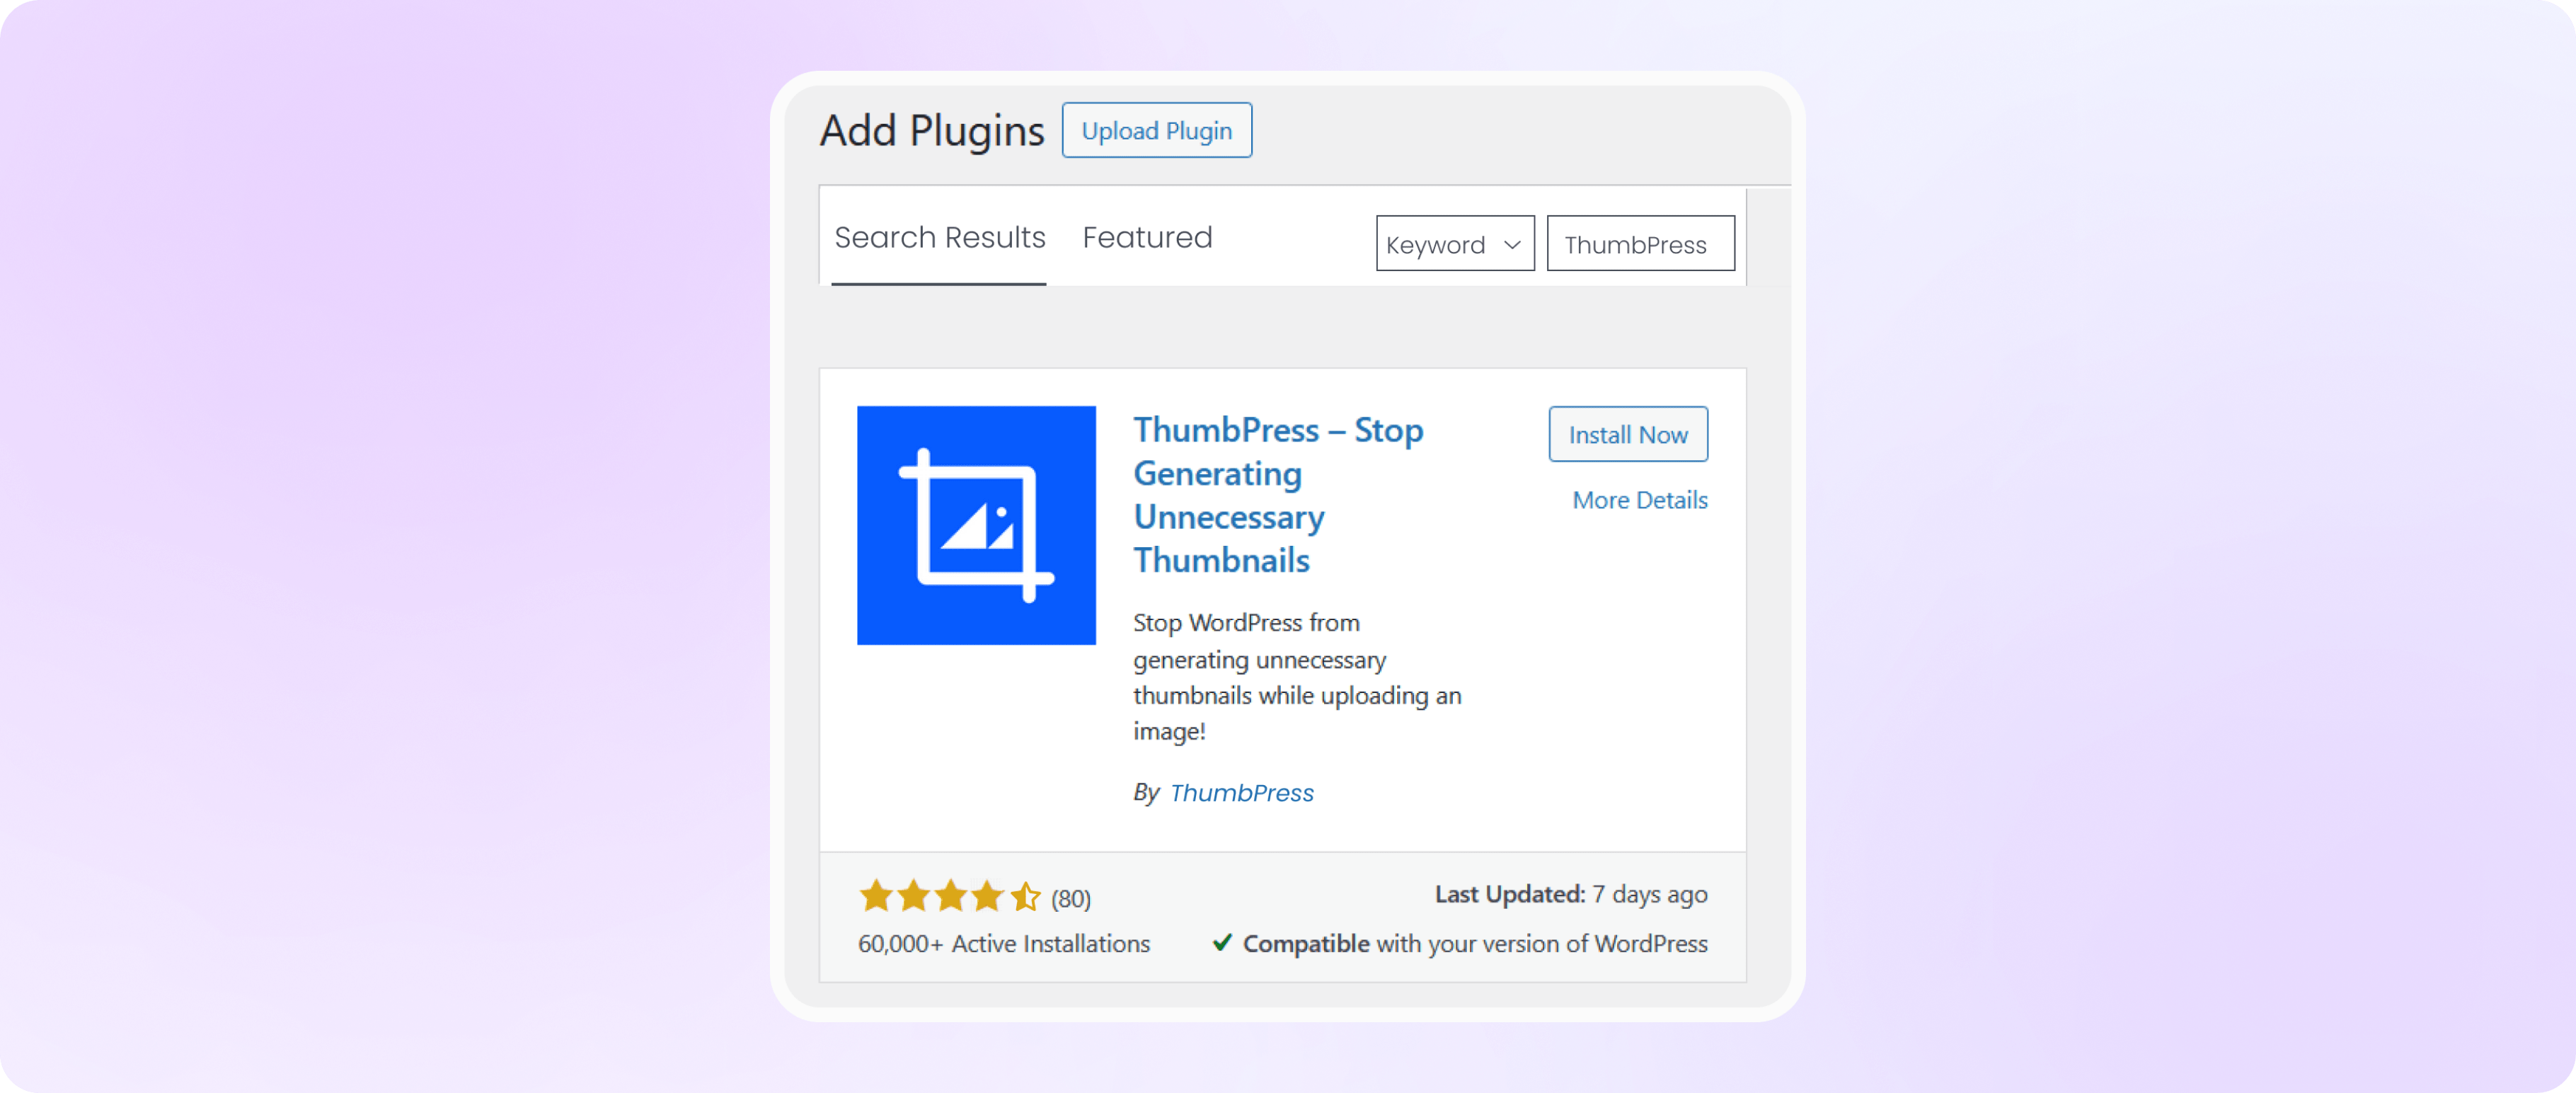
First, you need to install ThumbPress on your dashboard. To install and activate ThumbPress
Go to Dashboard > Plugins > Add New Plugin and search for ThumbPress in the search bar on the top right of the screen.
Click Install Now and then Activate ThumbPress.
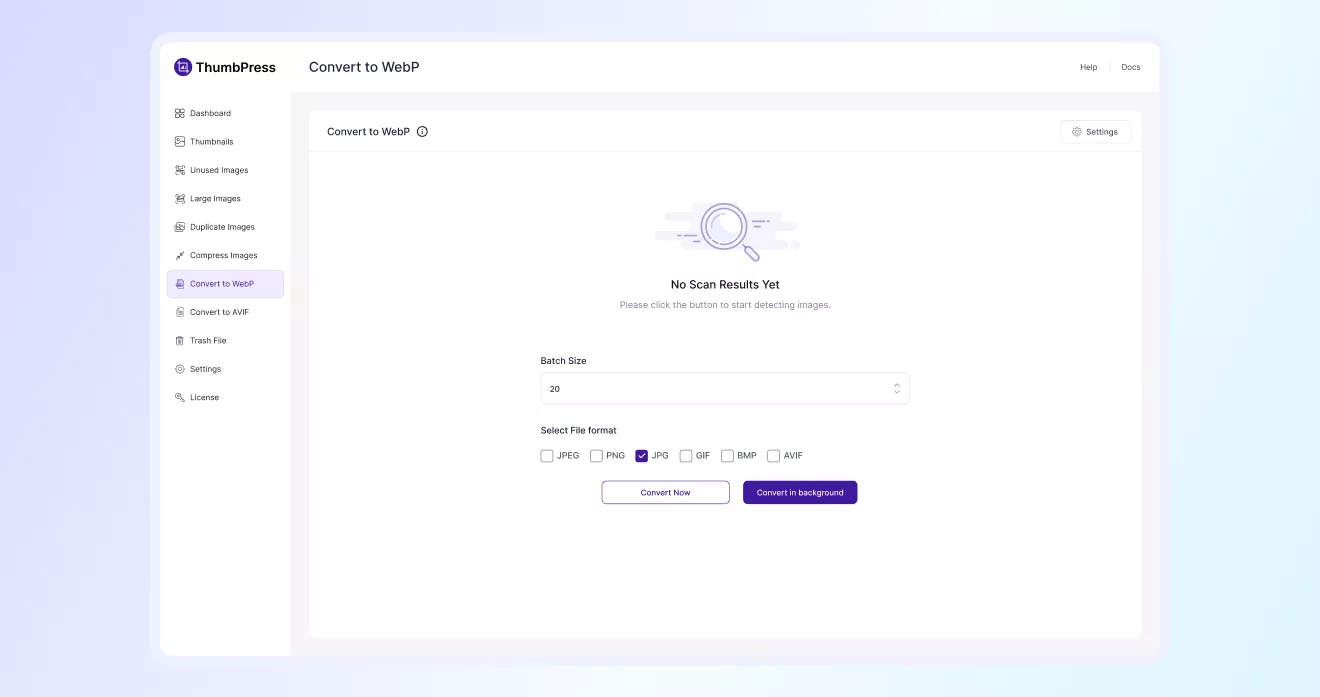
Provide File Format & Chunk Size
Navigate to ThumbPress > Convert to WebP. In the ‘Convert Images to WebP’ section, select the file format,
provide the Chunk Size, and click the Convert button to convert all existing JPG and PNG other formats to WebP.
You will see a progress icon on the right to notify you when the conversion is done.
Review the Conversion Results
Once the conversion process finishes, ThumbPress displays a detailed summary of the results. You can quickly see
how many images were processed, how many were successfully converted to WebP, and the total storage space saved after optimization.

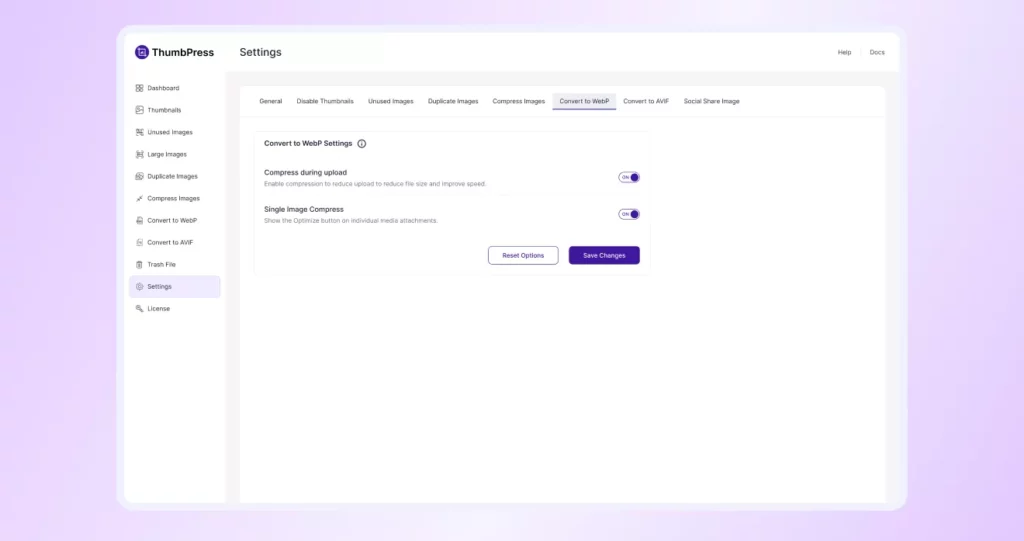
Advanced Settings for Image Conversion
In the ‘Convert Images to Webp’ settings, you can enable the option to ‘Convert Image on Upload’. Or simply,
convert your images one by one by enabling the ‘Single Image Conversion’ option from here.