WordPress Featured Image Size: A Complete Guide [2026]


Have you ever uploaded an image to WordPress, only to find it’s cropped weirdly, stretched out, or just doesn’t look right?
Many WordPress users struggle with getting their featured images to display perfectly across different devices and themes. If your featured images aren’t sized correctly, they can make your website look unprofessional, slow it down, and even hurt your SEO. The wrong dimensions can take away from the visual impact of your blog posts and pages.
That’s why we’ve put together this complete guide for you. We’ll walk you through the best image dimensions, how to add featured images in WordPress, and how to optimize images, so your site always looks sharp and professional.
By the end, you’ll have everything you need to make your featured images look clean, polished, and perfectly formatted every time. Let’s get started!
Why Properly Sized Featured Images Matter?
Every image size matters for your website. There are several reasons why having properly sized featured images is important for your WordPress site. Let’s take a look:
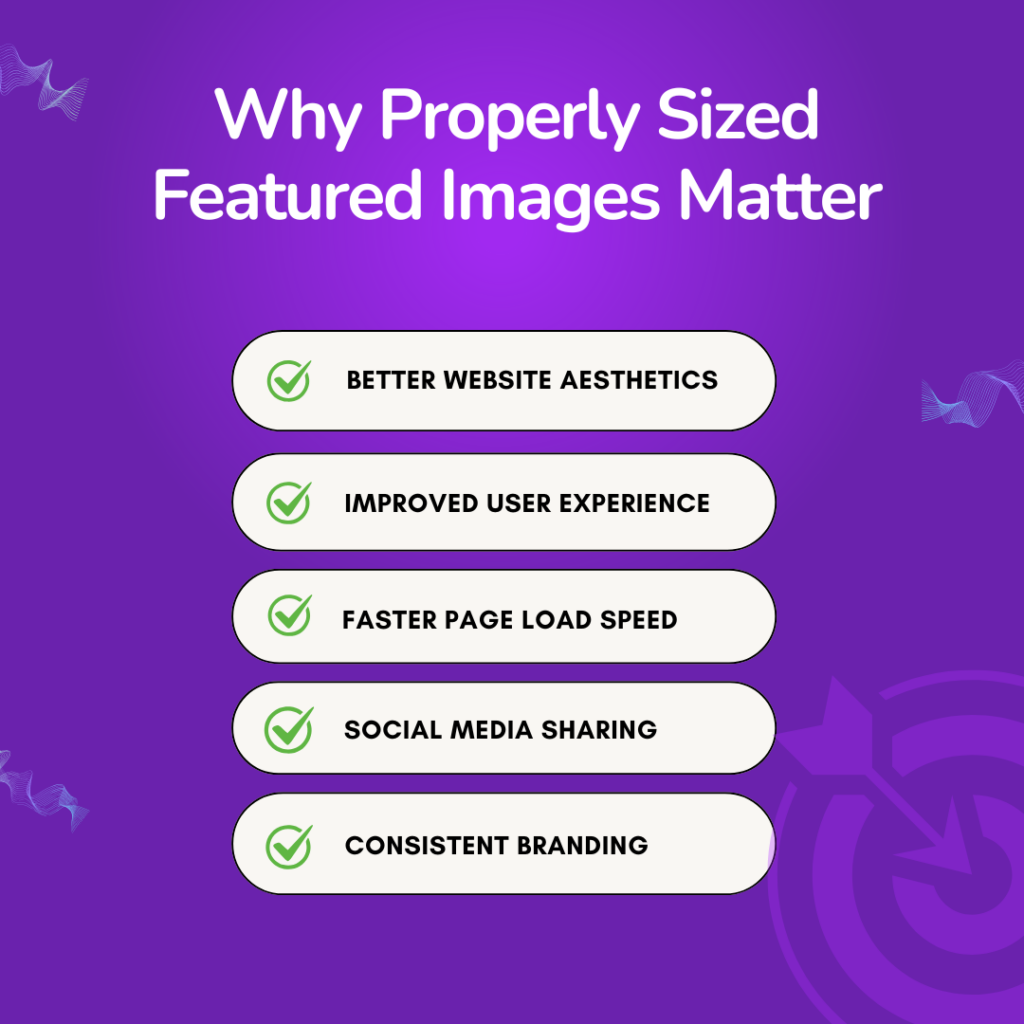
1. A More Professional Look
A well-sized featured image ensures your website looks polished and professional. If the image is too small, it may appear pixelated. If too large, it will look cropped. And your website aesthetics will be gone.
2. Improved User Experience
Your site-featured images set the visual tone for your posts and pages. Properly sized images help maintain consistency across different screen sizes and devices. This will make your site more visually appealing and user-friendly.
3. Faster Page Load Speed
If you have so many oversized images on the site, it could slow down your website. It will lead to poor user experience and higher bounce rates. So, optimizing your featured images reduces file sizes without sacrificing quality.
4. SEO Benefits
Google loves fast websites, and images play a big role in that. If your featured images are too big, they can slow down your site and ultimately hurt your site SEO. By resizing and compressing images properly, your site loads faster ranks higher, and reaches more people.
5. Social Media Sharing
Social media platforms have their own image size requirements. When you use the right dimensions, your featured image looks perfect on Facebook, X, and LinkedIn. This will make your content more shareable and at the same time eye-catching.
6. Consistent Branding
Also, your featured images are part of your brand’s identity. Whether you are running a blog, an online store or a portfolio, using the right image sizes creates a polished and professional look. A consistent design builds trust and makes your website more recognizable.
WordPress Thumbnail Sizes Details
When you upload an image to WordPress, it automatically creates different sizes to fit various parts of your website. One of the most important parts is the thumbnail size, which is used for post previews, galleries, and widgets.
WordPress thumbnails and featured images have a default size of 150* 150 pixels.
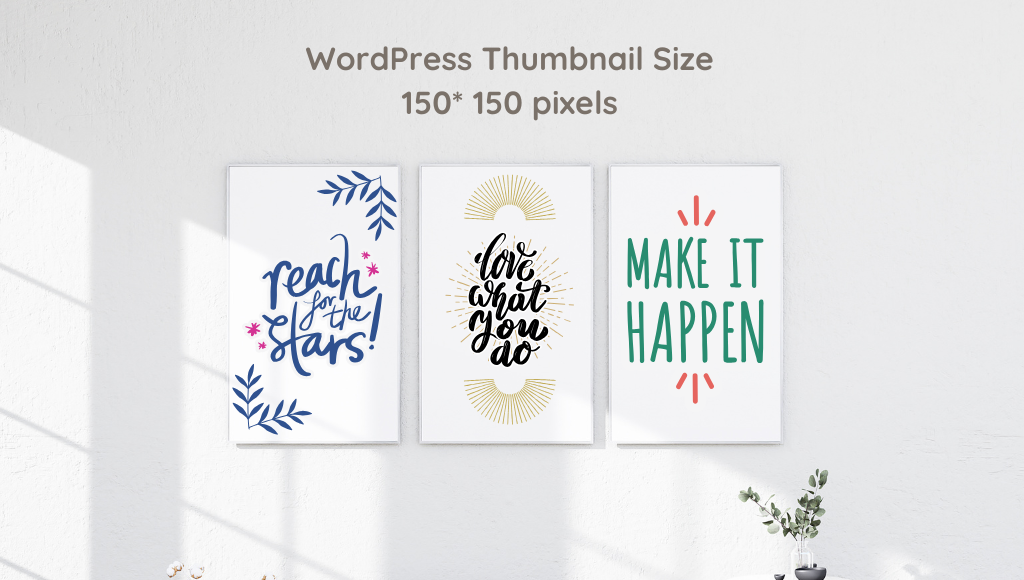
While the size Works for many users, it’s not a one-size-fits-all solution. Different website layouts and designs may require different thumbnail dimensions to look their best.
WordPress Image Size Explained
The pixel dimensions of an image are just as important as its file size. If an image is too small, it may appear blurry; if it’s too large, it can disrupt your page layout and slow down your website. WordPress automatically generates four preset image sizes when you upload an image on your website:
Thumbnail size – 150 x 150 pixels
Medium size – Maximum 300 x 300 pixels
Large size – Maximum 1024 x 1024 pixels
Full size – The original image dimensions
Steps to Add Featured Images in WordPress
It’s very easy to add a featured image in WordPress. You can add them with just a few clicks. Let’s find it out through the steps:
Step 1: Create a new post
First, log into your WordPress dashboard and create a new post/page. Or you can edit an existing one where you would like to add your featured image.
Step 2: Set the featured image
Next, search for the Set Featured Image meta box on the right corner of the page in your editor screen. This section is located right below the Publish settings.

Click the Set Featured Image button, and your site’s WordPress media window will open. Either you upload a new image or select from your existing media library.
Step 3: Save the changes
Now your featured image is set. Once your featured image is set, click on the Publish button to save the changes.
How to Customize Featured Image Size in WordPress
WordPress allows you to customize and set featured images to meet your needs. Simply navigate to the Settings>> Media section in your WordPress dashboard to adjust the image dimension.
However, resizing the featured image may affect how it appears within your theme’s design. So it’s a good idea to preview any changes before finalizing them. Here is how you can do it:
Step 1: Navigate to Media Settings
Go to your WordPress dashboard and navigate to Settings >> Media.
Step 2: Set Image Sizes
On the media page, you will discover the options for the images you upload on your WordPress sites. There are three options available.
- Thumbnail Size,
- Medium Size,
- and large size.
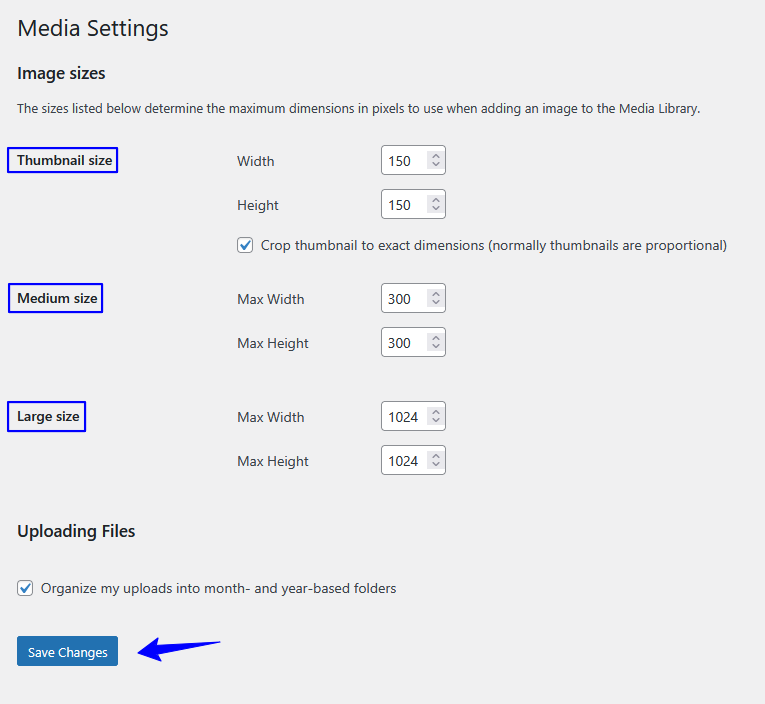
Changing these settings will affect how WordPress creates images for various uses, including featured images.
The Thumbnail size setting is crucial for featured images, as WordPress often uses this size to display them in different contexts. Set the thumbnail size to your preferred dimensions, then scroll down and click the Save Changes button to apply the new settings.
You have to remember that, changing these settings can affect how images appear throughout your site, not just the featured images. If your theme or plugins rely on specific image sizes for certain features, altering these settings could impact those functionalities. It’s a good idea to thoroughly test your site after making changes to ensure everything looks right.
Step 3: Save Changes
Finally to adjust the image changes click on the Save button to apply the changes to your Future uploaded images.
Optimizing Featured Image Size: Best Practices
Your featured images are more than just visuals. They impact your website’s appearance, loading speed, and even search engine ranking. To make sure they enhance your site instead of slowing it down, follow these simple best practices:
Keep Image Quality High (But Not Too Large)
Your featured image should be clear, high-quality, and visually appealing, but that doesn’t mean it should be unnecessarily large. The goal is to find a balanced image that looks great without slowing down your site. Use tools like Photoshop, Canva, or online editors to enhance colors, contrast, and sharpness while keeping the file size reasonable.
Compress Images for Faster Load Times
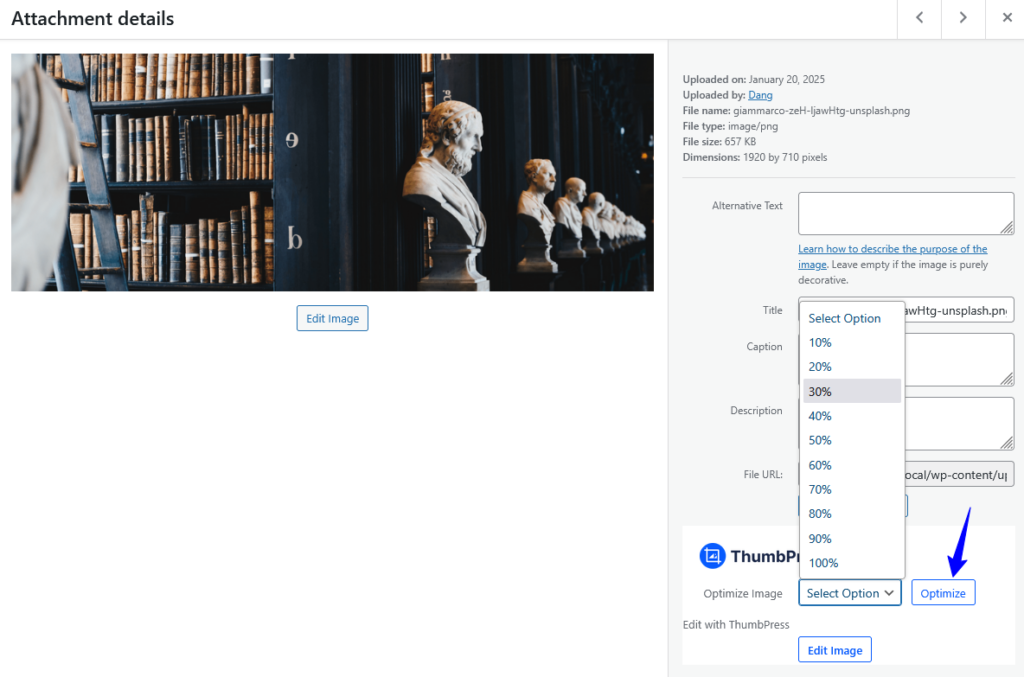
Large images can make your website load slowly, which can frustrate users and hurt your SEO rankings. Use image compression tools like TinyPNG to reduce file size without losing quality. For WordPress, use the ThumbPress plugin to automate the compression process, making optimization quick and easy.
Add Alt Tags for SEO & Accessibility
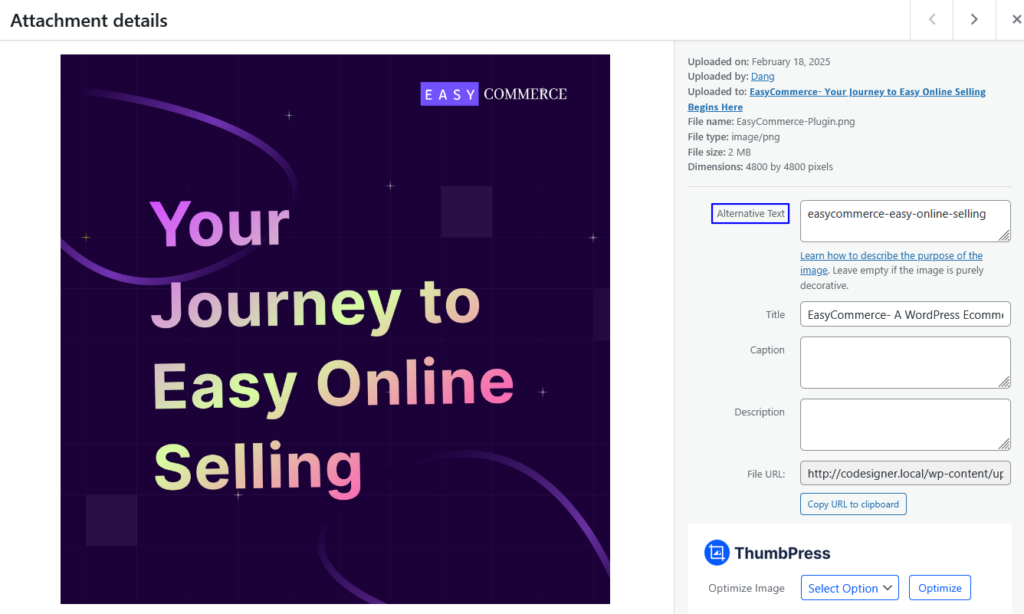
Alt tags describe your images to search engines and assist visually impaired users. Instead of a generic filename like “image1.jpg,” use a descriptive phrase like “WordPress featured image size guide” to improve both SEO and accessibility. So make sure when you upload an image to your site the Alt Tags are included.
Maintain a Consistent Style
For a cohesive, professional look, keep your featured images uniform. Use the same dimensions, color schemes, and fonts (if adding text overlays) across your site. A consistent visual identity helps strengthen your brand and makes your website more visually appealing.
Final Words
Your website is your responsibility, and making sure your featured images are the right size is a big part of that. Properly sized images make your site look professional, improve user experience, and help with SEO. They also ensure your content looks great on social media and aligns with your brand identity.
To keep your images looking their best, follow these best practices like choosing the right dimensions, optimizing image quality, compressing media files, and always adding alt tags for accessibility. These small steps can make a big difference in how your site performs.
Now that you know what to do, it’s time to take action. You need to apply these tips to your blog, portfolio, or online store and create a smooth experience for your visitors.
Frequently Asked Questions (FAQs)
Q. How do I fix the feature image size in WordPress?
If your featured images appear too large, too small, or cropped incorrectly, follow these steps to fix the size:
- Check Your Theme Settings if it allows you to set featured image sizes in the theme customizer.
- If you recently changed the image size, use the Regenerate Thumbnails feature in the ThumbPress plugin to update older images.
- You can manually resize and upload your images before uploading using tools like Photoshop, Canva, or TinyPNG.
Q. What is the best feature image size in WordPress?
The ideal featured image size depends on your theme, but the most common dimensions are:
1200 x 628 pixels (recommended for social sharing & blog posts)
1600 x 900 pixels (for full-width images)
800 x 600 pixels (for smaller thumbnails)
Always check your theme’s documentation for specific recommendations.
Q. What is the size of the WordPress icon image?
The WordPress site icon (favicon) should be 512 x 512 pixels in PNG format. You can upload it under Appearance > Customize > Site Identity > Site Icon. WordPress will automatically resize it for different devices.
Subscribe to Our Newsletter
Get the latest WordPress tutorials, trends, and resources right in your inbox. No Spamming, Unsubscribe Anytime.

Thank you for subscribing to our newsletter!


Table of Content
- Why Properly Sized Featured Images Matter?
- 1. A More Professional Look
- 2. Improved User Experience
- 3. Faster Page Load Speed
- 4. SEO Benefits
- 5. Social Media Sharing
- 6. Consistent Branding
- WordPress Thumbnail Sizes Details
- WordPress Image Size Explained
- Steps to Add Featured Images in WordPress
- Step 1: Create a new post
- Step 2: Set the featured image
- Step 3: Save the changes
- How to Customize Featured Image Size in WordPress
- Step 1: Navigate to Media Settings
- Step 2: Set Image Sizes
- Step 3: Save Changes
- Optimizing Featured Image Size: Best Practices
- Keep Image Quality High (But Not Too Large)
- Compress Images for Faster Load Times
- Add Alt Tags for SEO & Accessibility
- Maintain a Consistent Style
- Final Words
- Frequently Asked Questions (FAQs)
- Q. How do I fix the feature image size in WordPress?
- Q. What is the best feature image size in WordPress?
- Q. What is the size of the WordPress icon image?