How to Clean Up Your WordPress Media Library (Step-by-Step Guide)


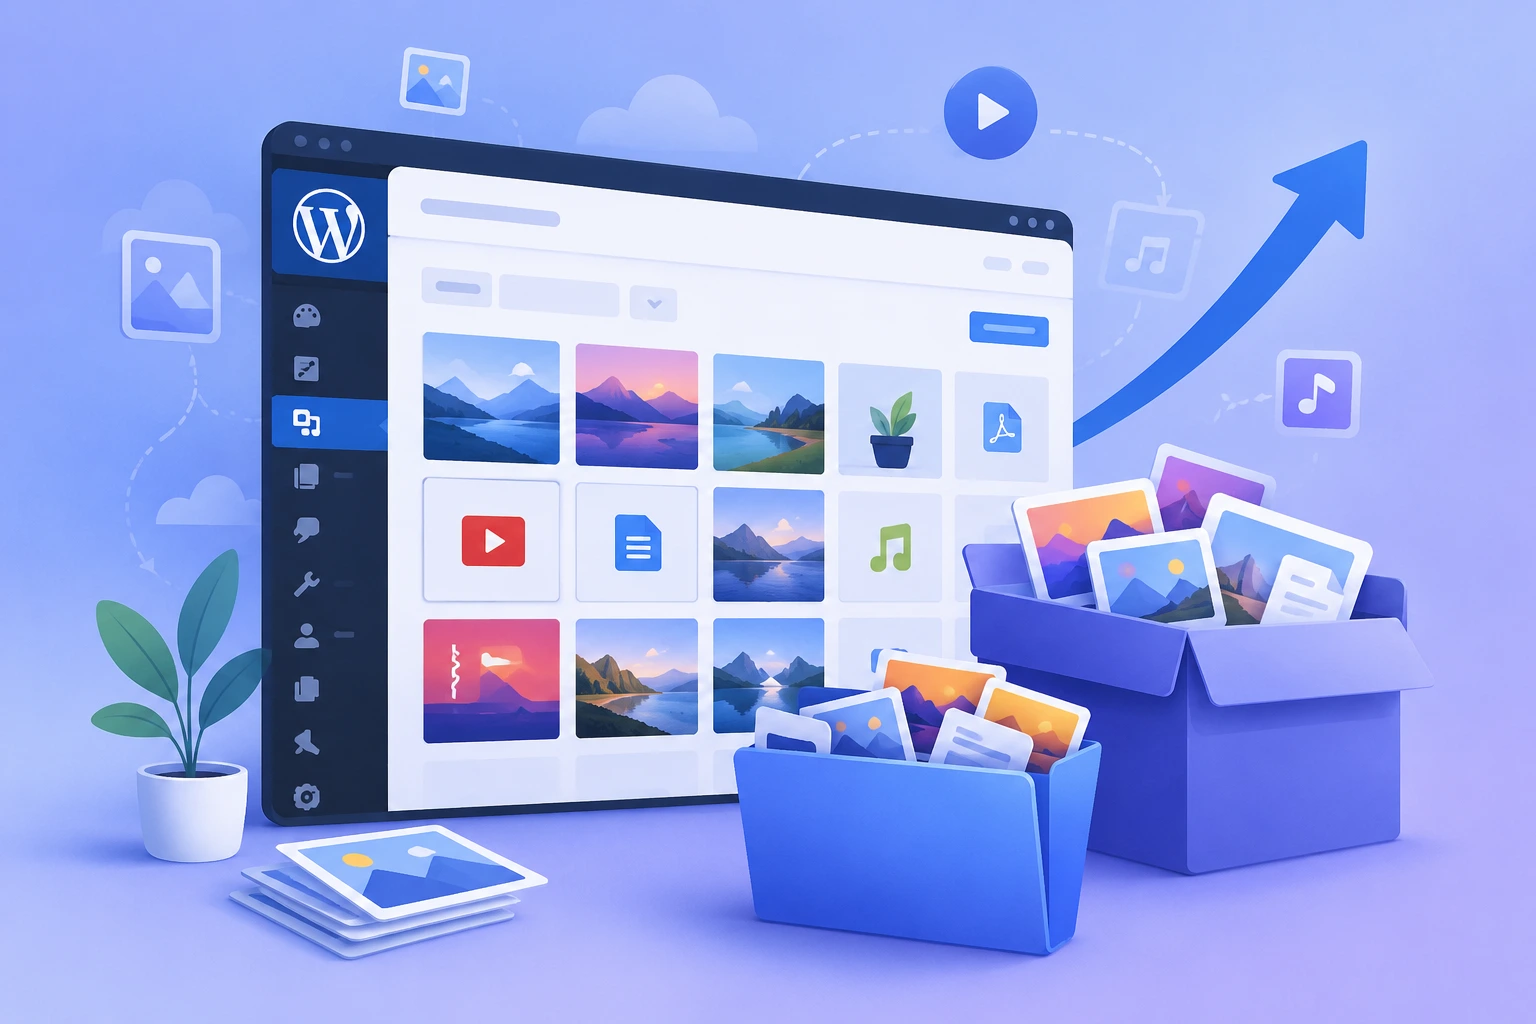
Open your WordPress media library. Look at the file count. If it’s five or ten times higher than the number of images you actually remember uploading, you’re not looking at an anomaly. That’s just how WordPress works.
Every image upload produces multiple files. Themes and plugins add their own. Deleted posts leave their images behind. Over time, and it doesn’t take long, a site with a few hundred published images can accumulate thousands of files it no longer needs.
The cost isn’t always visible on the front end. But it shows up in slower backups, a sluggish admin dashboard, and hosting storage limits you hit earlier than expected. Hosting upgrades aren’t cheap. And backup failures have real consequences.
This guide covers what causes the bloat, how to clean it up without breaking anything, and how to stop it from piling back up.
Why the WordPress Media Library Gets So Big?
The reasons go beyond simply uploading images. Understanding what happens behind the scenes can help you manage your media library more efficiently.
WordPress Creates Multiple Files for Every Upload
Most WordPress users don’t realize this. When you upload one image, WordPress doesn’t save one file. It saves several.
Per the WordPress.org support forums: by default, WordPress generates three additional size copies on every upload, thumbnail (150×150), medium (300×300), and large (1024×1024), plus the original. That’s four files from a single upload. Themes and plugins register their own additional sizes on top of those. One community member noted that 479 items in their media library produced 2,058 actual files on disk.
Files Are Never Removed Automatically
When you delete a post, update a banner, or discontinue a WooCommerce product, the images attached to that content stay in the media library. WordPress doesn’t clean them up.
Replaced banners, draft post attachments, old campaign images, product photos from discontinued stock; they all accumulate silently. The longer a site has been running, the bigger this problem gets.
What a Bloated Media Library Actually Costs You?
A bloated media library causes more than just headaches and chaos.
1. Storage
Most shared hosting plans cap storage at 10-20GB. Per WP Engine’s media library guide, unused files and multiple image size versions consume that limit faster than most site owners expect. When storage fills up, performance degrades. The only options are to clean up or pay for an upgrade.
2. Backup Time and Size
Every unused file in your uploads folder goes into every backup. Larger media libraries mean larger archives, slower completion times, and more storage consumed in your backup destination. On a site with thousands of orphaned image files, this adds up to significant time and cost on every backup cycle.
3. Dashboard and Database Performance
The WordPress media library grid loads a thumbnail for every attachment record in the database. Thousands of orphaned entries slow down media library browsing, search, and selection. Routine tasks, finding an image, and inserting it into a post take longer than they should.
If something in your media library feels off beyond just orphaned files, the guide to fixing common WordPress image issues covers the broader set of problems that accumulate on busy sites.
Before You Start: Back Up Your Site (Non-Negotiable)
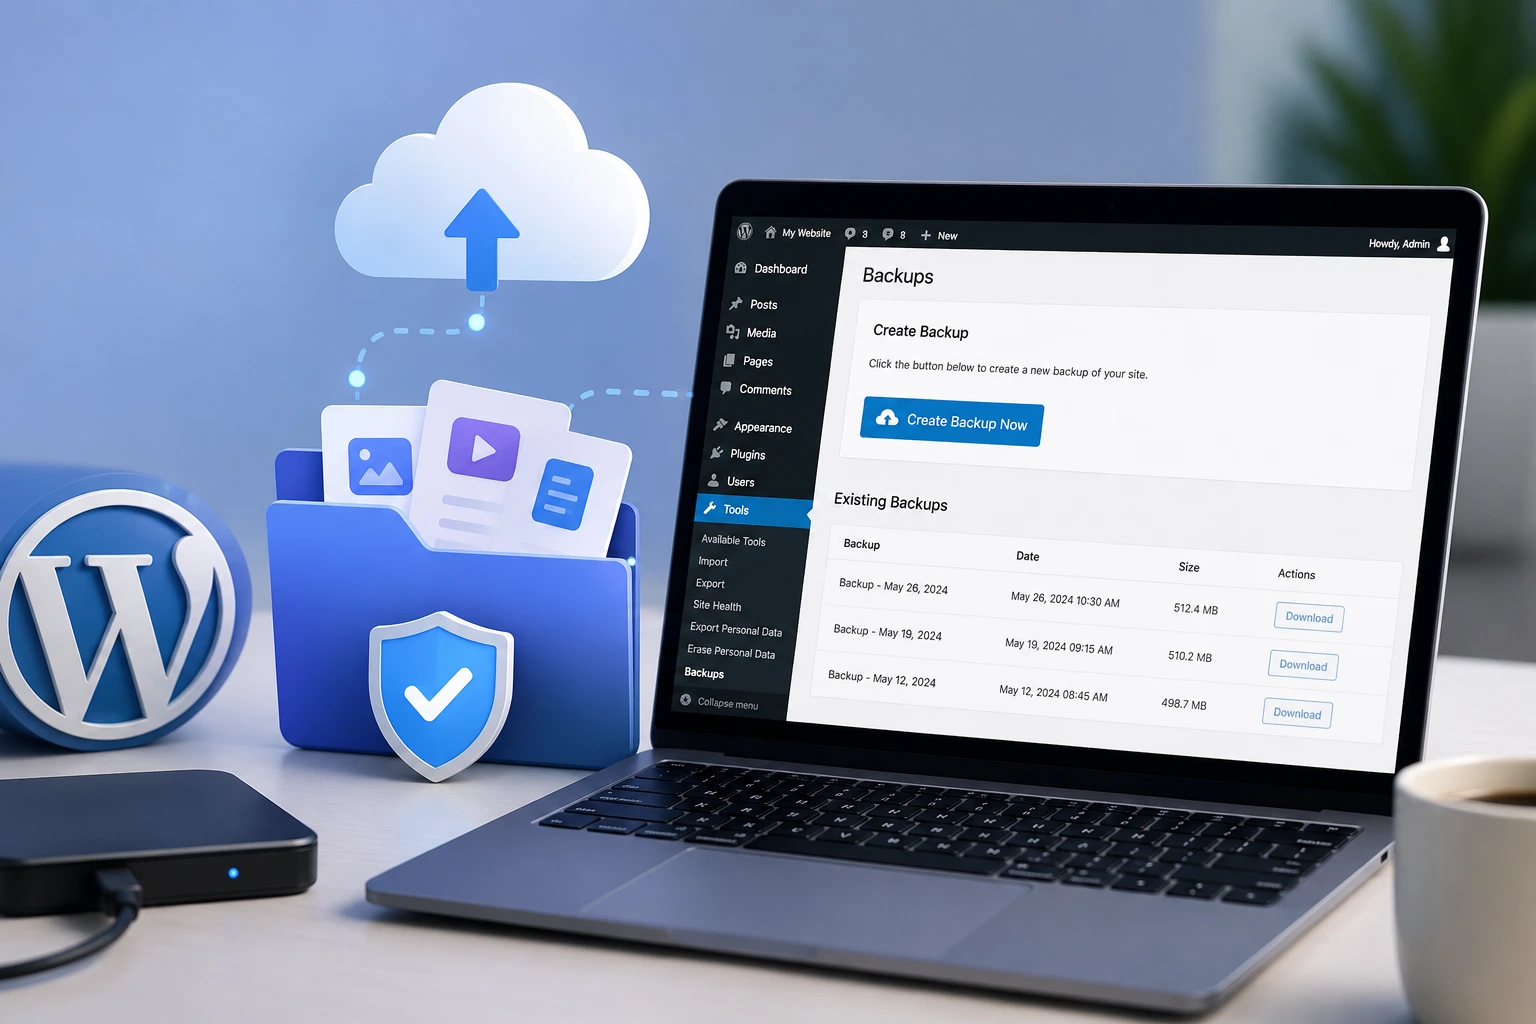
Deleting images from the WordPress media library is permanent. Per WPBeginner’s media cleanup guide, there is no native recycle bin; deleted files cannot be recovered from within WordPress. If you delete something you still need, it’s gone.
A full site backup, including your uploads folder and database, is the required first step before any cleanup method. Use your hosting provider’s snapshot tool, UpdraftPlus, or whichever backup plugin you use. Run it, confirm it completed, and then proceed.
The cleanup process is safe when done carefully. A backup makes it safe regardless.
How to Clean Up Your WordPress Media Library
Follow these steps to keep your WordPress media library neat and clean
Step 1: Delete Unused Images
Using the WordPress dashboard:
Go to Media → Library, switch to List View, and use the Unattached filter from the dropdown. This surfaces files not linked to any post or page. Review carefully before deleting; some files appear unattached but are still in use via theme settings, widgets, or navigation menus. For bulk deletion, click Bulk Select, choose the files, and click Delete Permanently.
The limitation here is real: the native Unattached filter only catches files not connected to a post record in the database. Images used via page builders, WooCommerce product galleries, or custom fields don’t show up. You can miss a lot.
Using a WordPress Image Management Plugin, ThumbPress:
The ThumbPress Detect Unused Images module scans your entire site, including page builders and WooCommerce galleries, and surfaces every image not actively displayed anywhere.
Go to WordPress Dashboard → ThumbPress → Unused Images, run the detection, and review results before deleting anything. For WooCommerce stores specifically, the guide to deleting unused WooCommerce images walks through the full process.
If you want to compare options before committing to a plugin, this roundup of the best plugins for deleting unused WordPress images covers the main choices side by side.
Step 2: Remove Duplicate Images
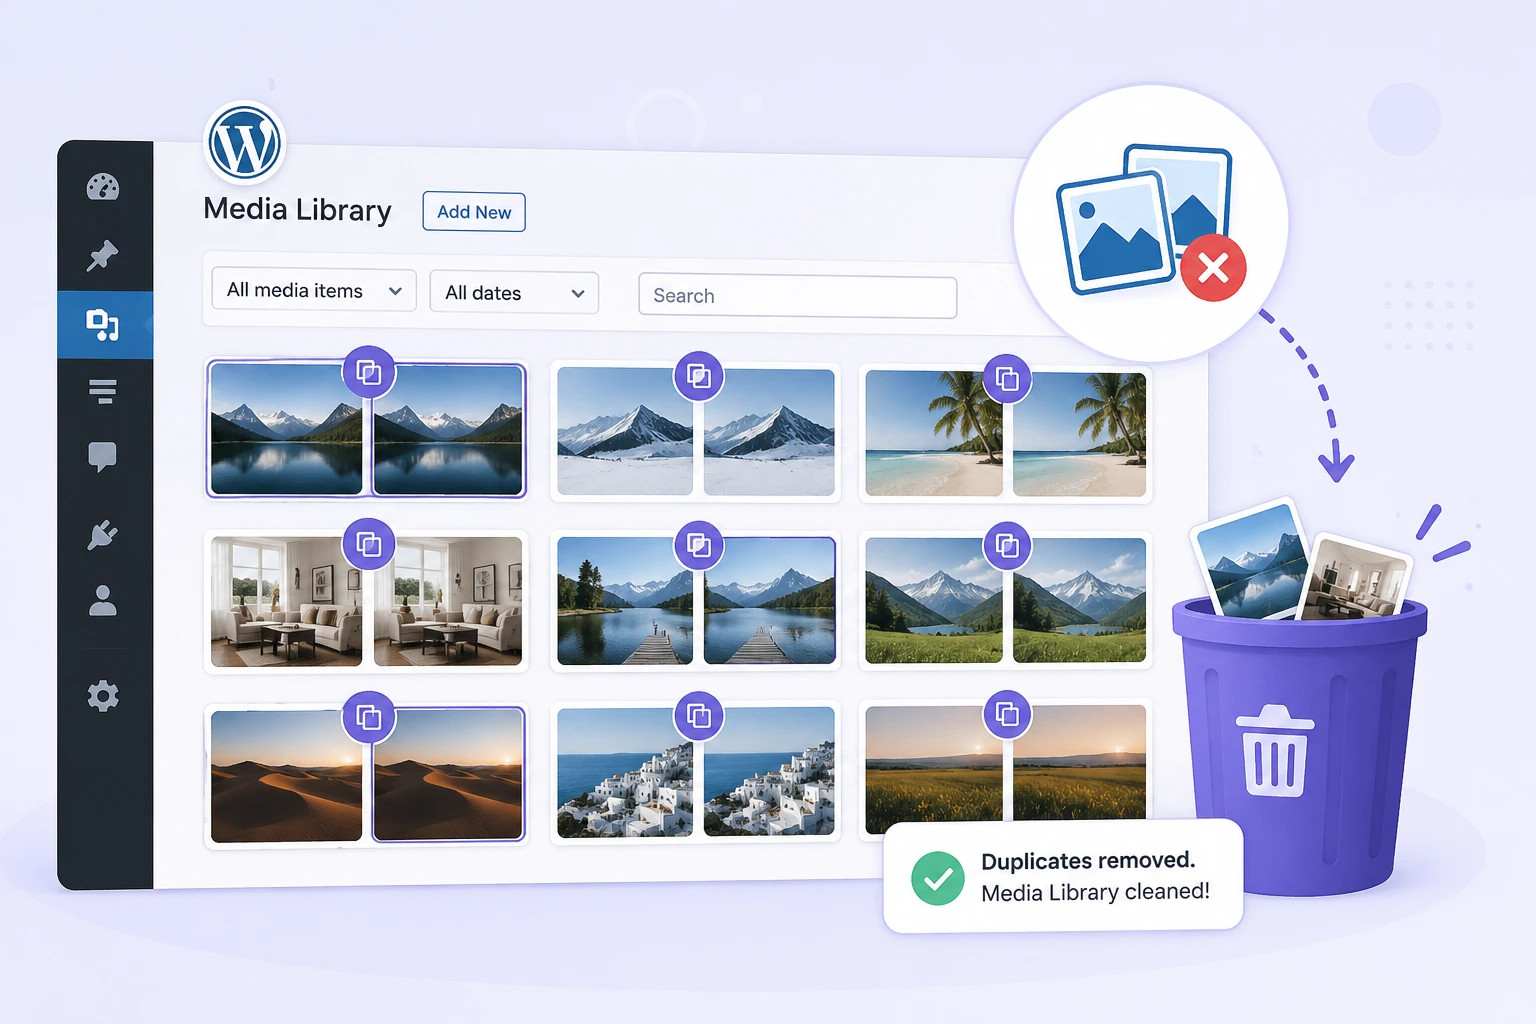
Duplicates build up when the same file gets uploaded multiple times, by different users, different posts, same photo. They’re easy to miss because each one has a separate entry in the media library.
ThumbPress, another feature, the Detect Duplicate Images module scans for identical files and shows you the matches before anything is removed. Go to WordPress Dashboard → ThumbPress → Detect Duplicate Images, run the scan, and remove the confirmed duplicates. The originals stay. Only the redundant copies go.
Step 3: Disable Unnecessary Thumbnail Sizes
Most of the website owners ask this question: “Is this really the biggest source of bloat”? For most sites, yes. And it’s the most overlooked.
Every theme you’ve ever activated on your WordPress site registered its own set of image sizes. When you switched themes, those old size slots didn’t disappear. Your current theme has no use for them, but WordPress kept generating files in those dimensions for every new upload since.
A site that has gone through two or three theme changes can easily have 15-20 registered size slots per image, most producing files no one ever sees.
“Over the years, WordPress and our themes/plugins gathered 21 different types of thumbnails, so the size was increasing at an alarming speed. By disabling all thumbnails, all 6,000 thumbnails are gone for good.”
-ThumbPress user on WordPress.org
Go to ThumbPress → Modules → Disable Thumbnails. ThumbPress lists every registered image size on your site. Choose which sizes your current theme actually uses and disable the rest. You can also clean up existing copies of disabled sizes already sitting on your server.
For managing thumbnail regeneration alongside this cleanup, the guide to regenerating thumbnails in WordPress covers how to refresh existing images after changing size settings.
Step 4: Compress and Convert Oversized Originals
Raw camera photos uploaded without resizing can be 4-8MB each. WordPress scales them visually on the page, but the full original file stays on your server and goes into every backup.
WebP images are 25-34% smaller than JPEG at equivalent visual quality. Converting existing originals to WebP and compressing them reduces their file size without altering their appearance or requiring re-uploads.
ThumbPress handles bulk compression and WebP conversion directly from the WordPress dashboard. The full process, settings, compression levels, and handling of existing images are covered in the guide to compressing images in WordPress.
How to Stop the Bloat from Coming Back
Cleaning the library once is good. Keeping it clean is better. Three habits make the difference.
Set a Maximum Upload Size

ThumbPress’s Upload Limits feature lets you cap the maximum file size and pixel dimensions allowed on upload. Oversized files, those 6MB camera shots, get rejected before they enter the library. Go to ThumbPress → Settings → Upload Limits to configure this.
It’s a small setting with a compounding effect. Every oversized upload caught at the gate is a bloated original you never have to compress, a thumbnail batch that never gets generated, and a file that never inflates your backups.
Compress and Convert Images on Upload
Auto-compression on upload means every new image arrives in the library already optimized. No manual step, no batch job later. Enable this under ThumbPress → Settings → Compress Images → Enable Compress During Upload. Set a compression percentage, and it runs silently on every upload from that point forward.
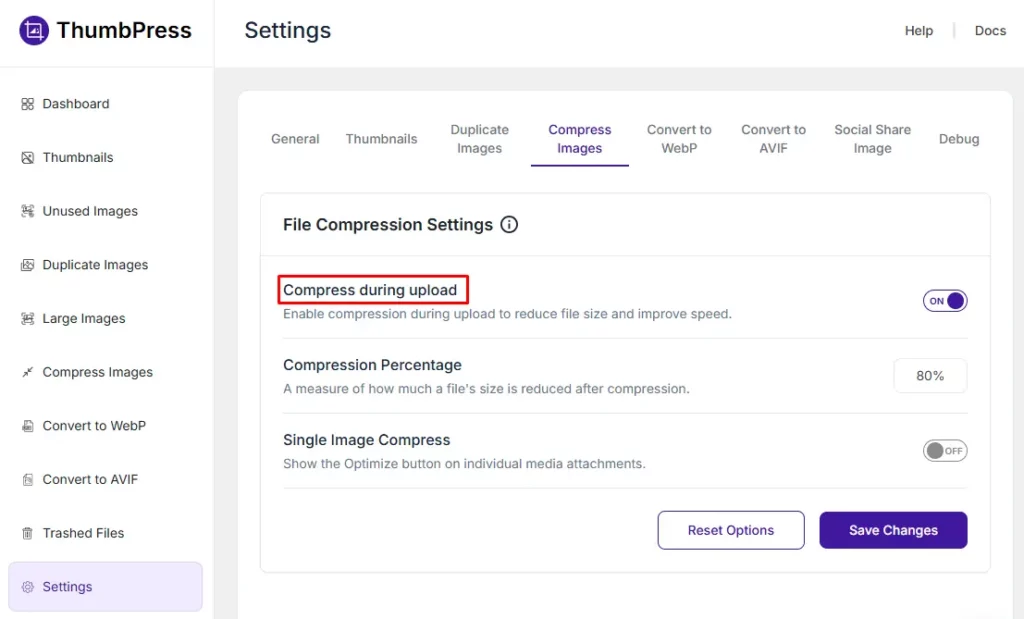
You can also convert images to WebP and AVIF during upload, so your site stores modern, lightweight image formats from the start.
This will help you reduce file sizes, improve page load speed, and deliver a better experience for your site visitors.
Audit Thumbnail Sizes After Every Theme Change
Any time you switch themes, run the Disable Thumbnails module again. New themes register new sizes. The previous theme’s sizes become orphans immediately. Catching this right after a theme change prevents months of unnecessary files being generated on every upload.
When ThumbPress is installed on your site, you can easily monitor how many images are not optimized or how many unused images are allocating your server space, etc.
Conclusion
The WordPress media library doesn’t get bloated because of bad decisions. It gets bloated because that’s how WordPress works by default. Every upload multiplies. Every theme switch leaves files behind. No automatic cleanup runs in the background.
The fix is straightforward once you know the steps: back up first, delete unused images, remove duplicates, disable thumbnail sizes your current theme doesn’t use, and compress oversized originals. Then set upload limits and auto-compression so the library doesn’t accumulate as fast going forward.
ThumbPress handles the cleanup and the prevention in one plugin, unused image detection, duplicate removal, thumbnail management, upload limits, and compression on upload. Download the free version on WordPress.org and start with the Disable Thumbnails module. For most sites, that single step reclaims the most space the fastest.
Frequently Asked Questions (FAQs)
1. How do I clean up my WordPress Media Library?
Clean up your WordPress Media Library by deleting unused images, videos, PDFs, and other media files. You can do this manually or with a media cleanup plugin. Always back up your website before removing files.
2. What is the best way to remove unused media files in WordPress?
The easiest way to remove unused media files in WordPress is to use a trusted media cleanup plugin like ThumbPress. It scans your site for unused files so you can safely review and delete them.
3. Does cleaning the WordPress Media Library improve website performance?
Yes. Cleaning the WordPress Media Library frees up storage space, reduces backup size, and makes media management easier. While it has little direct impact on page speed, it helps keep your website optimized.
4. How often should I clean my WordPress Media Library?
Clean your WordPress Media Library every few months or after major content updates. Regular cleanup removes unused files, saves storage space, and keeps your website organized.
Subscribe to Our Newsletter
Get the latest WordPress tutorials, trends, and resources right in your inbox. No Spamming, Unsubscribe Anytime.

Thank you for subscribing to our newsletter!


Table of Content
- Why the WordPress Media Library Gets So Big?
- WordPress Creates Multiple Files for Every Upload
- Files Are Never Removed Automatically
- What a Bloated Media Library Actually Costs You?
- 1. Storage
- 2. Backup Time and Size
- 3. Dashboard and Database Performance
- Before You Start: Back Up Your Site (Non-Negotiable)
- How to Clean Up Your WordPress Media Library
- Step 1: Delete Unused Images
- Step 2: Remove Duplicate Images
- Step 3: Disable Unnecessary Thumbnail Sizes
- Step 4: Compress and Convert Oversized Originals
- How to Stop the Bloat from Coming Back
- Set a Maximum Upload Size
- Compress and Convert Images on Upload
- Audit Thumbnail Sizes After Every Theme Change
- Conclusion
- Frequently Asked Questions (FAQs)
- 1. How do I clean up my WordPress Media Library?
- 2. What is the best way to remove unused media files in WordPress?
- 3. Does cleaning the WordPress Media Library improve website performance?
- 4. How often should I clean my WordPress Media Library?