How to disable unnecessary thumbnails using ThumbPress


Optimize your website’s performance by removing unnecessary thumbnails, making it faster and more efficient. This not only enhances the user experience by reducing load times but also keeps your website lightweight and accessible. With the help of the Disable Thumbnail feature, you can easily disable thumbnails of your choice. Here are the steps to disable thumbnails in your website:
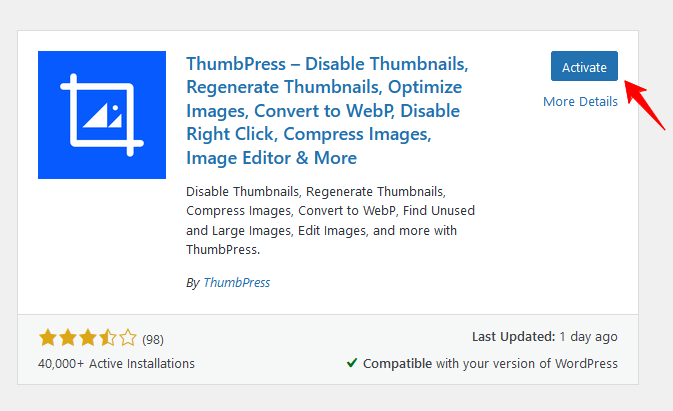
Step 1: First, Install and activate the ThumbPress plugin by going to Plugins > Add New.
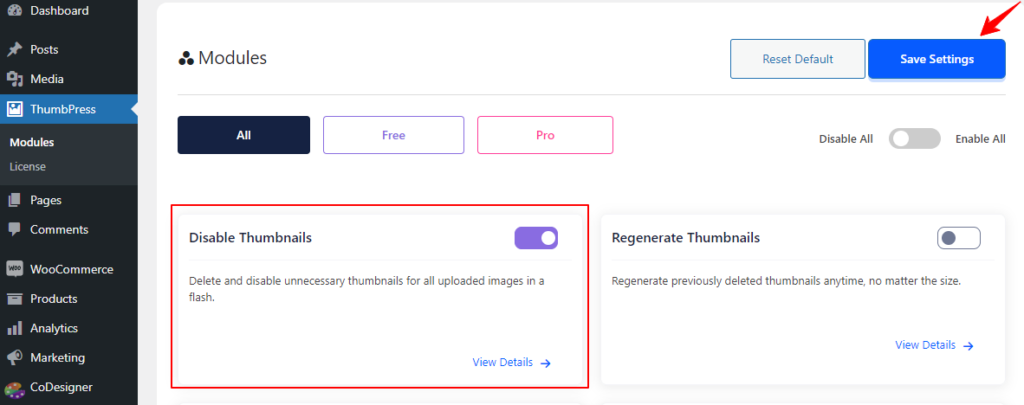
Step 2: Navigate to the ThumbPress > Modules and enable the Disable Thumbnails widget. Then, click the Save Settings button to apply the changes.
Step 3: To stop generating specific thumbnails, Drag the thumbnail sizes you wish to disable from the Size Enable section to the Size Disable section.

Step 4: After selecting the desired thumbnails, click Save Settings. Thumbnails in the Size Disabled section will no longer be generated for future images.
This helps keep your storage clean and your website running efficiently by preventing the creation of unnecessary thumbnails. If you require any assistance feel free to reach out to us from our Support Live Chat.
Was this doc helpful?
Subscribe to Our Newsletter
Get the latest WordPress tutorials, trends, and resources right in your inbox. No Spamming, Unsubscribe Anytime.

Thank you for subscribing to our newsletter!