How to Set Maximum Image Upload Size with ThumbPress


Setting an image upload limit on your website helps keep your images size consistent, all over your website. Here the steps how you can set the image upload limit using ThumbPress and maintain a consistent approach
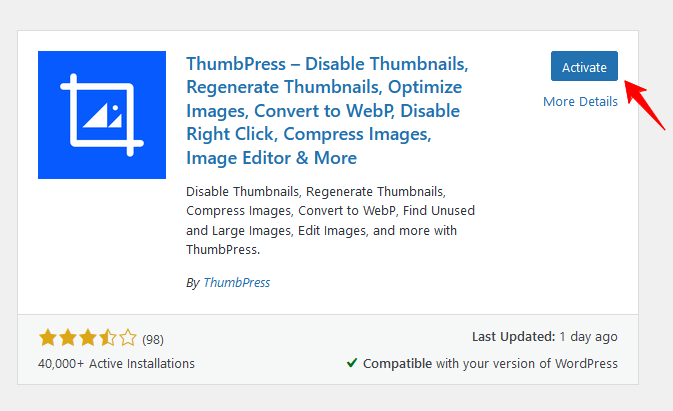
Step 1: First, Install and activate the ThumbPress plugin by going to Plugins > Add New.
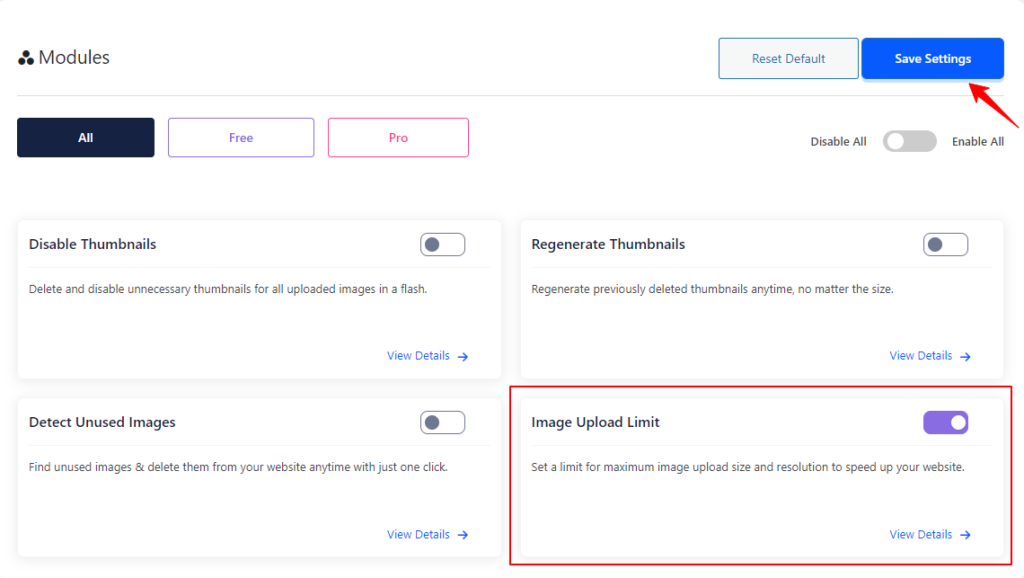
Step 2: Navigate to the ThumbPress > Modules to enable Image Upload Limit and click Save Settings to apply the feature on your website.
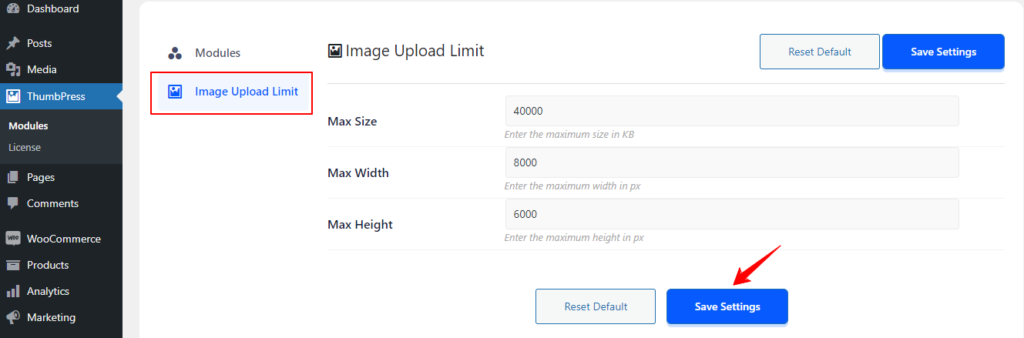
Step 3: Go to the ThumbPress dashboard. Click the Image Upload Limit option. Here, you can set the maximum resolution, width, and height for images uploaded to your website. Just set the size and click the Save Settings button.
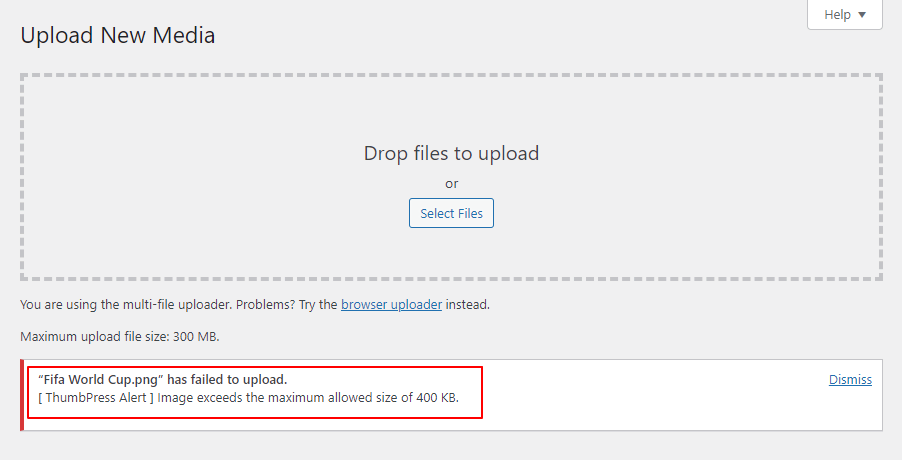
Step 4: Now every time you upload an image that exceeds the maximum size limit that you have set, you will be notified via this error message. Simply set the size and click on Save Settings.
Now you can limit the size of your uploaded images and save server space in a flash! If you require any assistance feel free to reach out to us from our Support Live Chat.
Was this doc helpful?
Subscribe to Our Newsletter
Get the latest WordPress tutorials, trends, and resources right in your inbox. No Spamming, Unsubscribe Anytime.

Thank you for subscribing to our newsletter!