Most WordPress owners never think about image management until something forces them to. Storage fills up. The hosting bill jumps. PageSpeed hands back a red score with no obvious cause.
Nine times out of ten, the culprit is sitting in the media library: hundreds of bloated, unlabeled, duplicated images nobody ever went back to clean up. And it stays easy to ignore right up until it starts costing you conversions, not just load time.
Image management is not just about making pictures load faster. It is the whole lifecycle: how images get organized, compressed, sized, and kept from turning into a mess again six months later.
This guide walks the full workflow, start to finish.
How WordPress Handles Images Behind the Scenes
Before you can fix a bloated media library, it helps to know what WordPress is actually doing every time you hit upload. It is doing more than you think, and that is where the mess starts.

Why One Upload Becomes Five Files or More
Drag one photo into WordPress, and it does not save one file. It quietly makes a stack of copies at different sizes. Thumbnail, medium, large, and usually a few extras your theme asks for.
That is on purpose. WordPress wants to serve a right-sized image for wherever it shows up, instead of shoving a full-res photo into a tiny 150px slot.
The catch is storage. One 5MB photo can balloon into 15 to 20MB once all the variants exist. Multiply that across a few hundred uploads, and the number gets ugly fast, especially on shared hosting with a tight cap.
Where the Clutter Actually Comes From
Themes and plugins pour fuel on the fire. Page builders, gallery plugins, and WooCommerce all love registering their own custom image sizes on top of the defaults.
Switch themes, and the old sizes do not pack up and leave. They just sit there, unused, eating space. Deactivate a plugin, and the sizes it generated often get left behind, too.
There is a sneakier layer as well. Some setups keep the original every time you edit an image, so you end up with both versions side by side. Add a few duplicate uploads, the same photo saved twice because someone forgot it was already there, and a folder that started at a few hundred megabytes quietly sails past several gigabytes in a year or two. Your site looks identical the whole time.
This is exactly what people googling WordPress image sizing best practices keep tripping over without realizing it is the real source of their bloat. The fix is not more storage. It is registering only the sizes your current theme and plugins actually use, and reviewing that list every time you change themes or add a page builder.
Organize and Clean Up Your Media Library
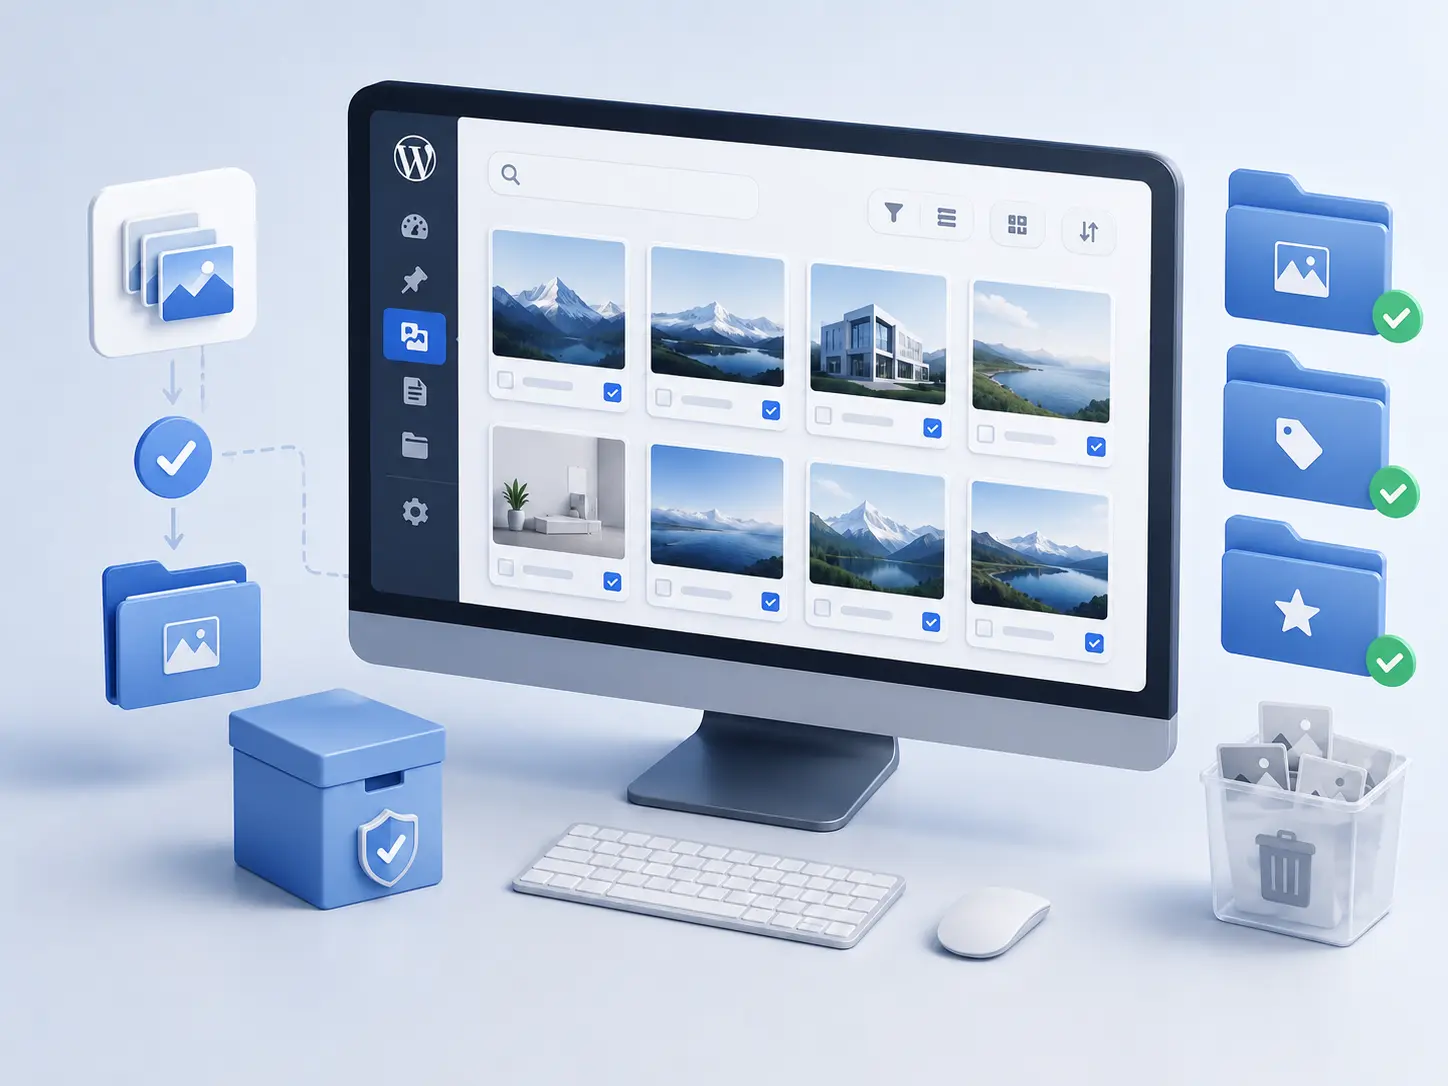
A messy media library is one of the most common gripes among WordPress users, and it only gets worse the longer a site has been live. You start with a tidy folder of 50 images. Fast forward, and it is thousands of files named IMG_4839.jpg, no categories, no way to tell what is being used where.
A Name System That Scales
By default, WordPress does not use folders. Everything lives in one flat, date-based pile. Fine for a small blog, rough for a store or a content-heavy site.
Set up a simple naming habit early, something like category-descriptive-name.jpg, and searching or auditing later gets so much easier. It quietly helps your SEO too (more on that below).
Consistency beats cleverness here. A blog might sort by content pillar (guides-image-optimization-hero.jpg). A store might go by product and variant (running-shoes-blue-side-view.jpg), on top of using the correct product image dimensions from the start. Whatever you pick, write it down. When more than one person is uploading, an unwritten convention stops being a convention.
Find Unused and Duplicate Images
Give it enough time, and every media library collects junk. Old featured images you swapped out. Duplicates from re-saving the same file. Screenshots someone swore they would delete. None of it does anything except hog server space and drag out your backups.
Doing this by hand is fine on a small site. Past a few hundred images, it is a slog. We dig into this more in our guide to fixing common WordPress image problems, including how to safely find and remove unused files without breaking anything live.
Audit Without Breaking Your Site
One rule matters above all else: never delete an image just because it looks unused.
An image tucked into a theme template, a CSS background, or a page builder’s saved layout may not show as “attached” anywhere in the media library. A real audit checks how images are actually used across the site, not just WordPress’s attachment metadata, before it deletes a thing.
For bigger libraries, work in batches. Flag your suspects, move them to a temporary holding folder instead of nuking them, and let them sit a couple of weeks. That window catches the weird edge cases, like the image used only in an email template or the dusty legacy page nobody visits, that a quick scan would happily delete and regret.
Optimize Images for Speed and Core Web Vitals
Images are almost always the heaviest thing on a page. Across the web, they make up roughly 36 to 37 percent of total page weight, with the median mobile homepage hauling close to 911KB in images alone. On an image-heavy WordPress site, that share climbs even higher, which is why nailing this does more for speed than just about any other single fix.

Lossy vs. Lossless Compression
Lossless compression strips out junk metadata and repacks the file without touching anything you can see. It is the safe default for product shots, portfolios, or anything where detail is the point.
Lossy compression goes harder, tossing some image data to shrink the file more. For blog images and background visuals where a tiny quality dip is invisible, lossy is usually the smarter play. Most people end up mixing both, image by image, rather than forcing one rule on everything.
Here is the common mistake: over-compressing to chase a perfect PageSpeed score. Push a JPEG too far and the artifacts show up, especially around text or fine detail, and now the ugly image is hurting the visitor’s impression more than those extra kilobytes ever would. Start most photos somewhere in the 70 to 85 quality range, then trust your eyes and adjust.
If compression is new territory, our breakdown of what image compression actually is and how it works covers it in plain English.
Choose a Format: WebP, AVIF, JPEG, PNG
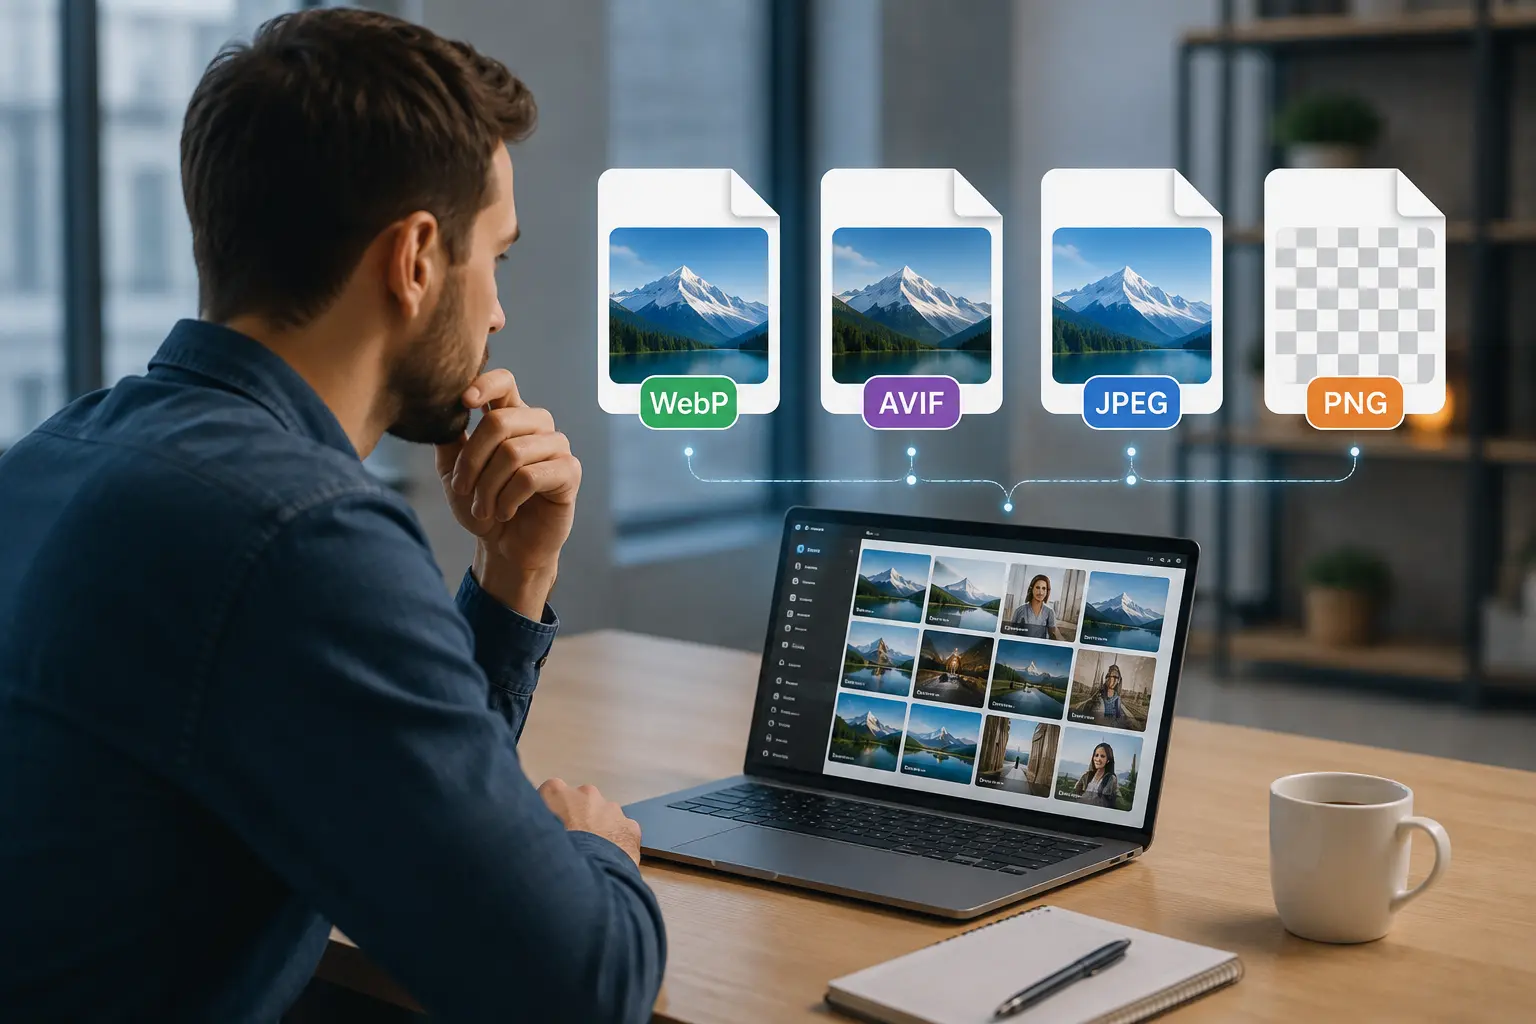
JPEG still earns its keep for photos. PNG is your pick for logos, icons, and anything that needs transparency.
WebP has become the practical default for most WordPress sites, typically running 25 to 35 percent smaller than the same JPEG at comparable quality. AVIF squeezes even harder and is gaining ground, but check that your theme and CDN handle it before you flip everything over. For most sites in 2026, WebP with a JPEG or PNG fallback is still the safest, most compatible choice.
Want the side-by-side? Our comparison of AVIF vs. WebP vs. JPEG breaks down which format fits which job.
Resize and Make Images Responsive (Srcset, Lazy Loading, LCP)
Uploading a 5,000px camera photo when your content area is 1,200px wide wastes bandwidth for every visitor, every single load. Resize before upload, then let WordPress’s built-in srcset serve the right size per device.
Lazy loading, baked into WordPress core since version 5.5, holds off on offscreen images until someone scrolls near them. It genuinely helps initial load. But there is a trap: never lazy-load your Largest Contentful Paint image, usually the hero or featured photo above the fold.
Google’s Core Web Vitals thresholds want LCP under 2.5 seconds, INP under 200 milliseconds, and CLS under 0.1. A lazy-loaded hero is one of the most common, most avoidable ways sites blow past that LCP target. Pair that with explicit width and height on every image so the page does not jump around as it loads.
For how images feed into all three metrics, see our Core Web Vitals guide for WordPress, and for the full hands-on setup, our complete image optimization guide.
Image SEO Best Practices Most Sites Get Wrong
Optimized images do not just load faster. They are also more likely to show up in Google Images and shape how your pages get understood and ranked in the first place.
File Names and Alt Text That Pull Their Weight
Alt text describes how an image relates to the content around it, and it matters for both accessibility and how search engines read your page.
“IMG_4839.jpg” with no alt text tells Google nothing. A descriptive file name paired with alt text that actually says what is in the image, without keyword stuffing, does real work for both people and rankings.
Image Sitemaps and Structured Data, Briefly
Google finds and indexes images differently from regular page content. Standard HTML <img> tags are crawlable. Images loaded purely through CSS backgrounds are not indexed at all, so if your site leans hard on background images for anything meant to rank, that is worth a look.
Submitting an image sitemap can help surface images that Google might otherwise miss. But for most WordPress sites, nailing the basics (format, compression, alt text) matters far more first.
Building an Image Management Workflow That Sticks
Here is the trap with a one-time cleanup: it fixes today and does nothing about tomorrow, when new images keep rolling in unoptimized, unnamed, and unwatched. Six months later you are right back where you started.
The sites that stay fast are the ones where image handling becomes part of publishing, not an occasional panic. That means compressing and converting on upload automatically, because you will not remember to do it by hand every time. It means checking for unused files now and then instead of letting them pile up for another two years. And it means seeing what is eating your storage before your host sends the warning email.
Publishing regularly? Put a tiny checklist in front of whoever uploads:
- Resize before upload
- Name the file like a human
- Fill in the alt text
None of those takes more than a minute. Skip them all year, and they are the whole difference between a library that stays sane and one that needs another full audit next December.
And when an image just needs a quick crop or resize, having an image editor built into the dashboard saves the trip out to a separate tool.
This is where a plugin earns its spot instead of being one more thing to babysit. ThumbPress handles the parts that are easiest to forget under deadline: automatic compression and WebP conversion on upload, spotting unused and duplicate images, control over which thumbnail sizes even get made, and bulk cleanup for the library you already have. No code required. Want to kick the tires first? The free version is on WordPress.org.
Final Thoughts
Image management in WordPress is not a one-and-done chore. It is an ongoing part of running a healthy site.
Get the organization right, and you kill the clutter that eats storage and slows backups. Get the optimization right, and you protect Core Web Vitals and page speed. Get the SEO basics right, alt text, file names, proper indexing, and your images actually pull their weight instead of just sitting there.
None of this has to be complicated. Audit what is already in your library, fix the compression and format issues, then build a workflow that stops new uploads from recreating the same mess.
WordPress Image Management FAQ
Does image optimization really affect SEO rankings?
Yes. Images are usually the biggest factor in Core Web Vitals, a confirmed Google ranking signal, and descriptive alt text and file names help your images show up in Google Image Search, too.
How often should I clean up my media library?
Quarterly for most sites, monthly for stores or high-volume blogs. Better yet, automate compression and sizing at upload so cleanup mostly stops being necessary.
Do I need a plugin, or can I manage images by hand?
By hand is fine on a small site. It falls apart past a few dozen posts or a few hundred products, because staying consistent manually is hard. A plugin keeps the same good habits running on every upload.
Is WebP still worth using in 2026, or should I move to AVIF?
WebP is still the safer default. AVIF compresses more, but support across older themes and CDNs is still spotty, so stick with WebP plus a JPEG or PNG fallback unless you have tested AVIF across your whole stack.