Large Images


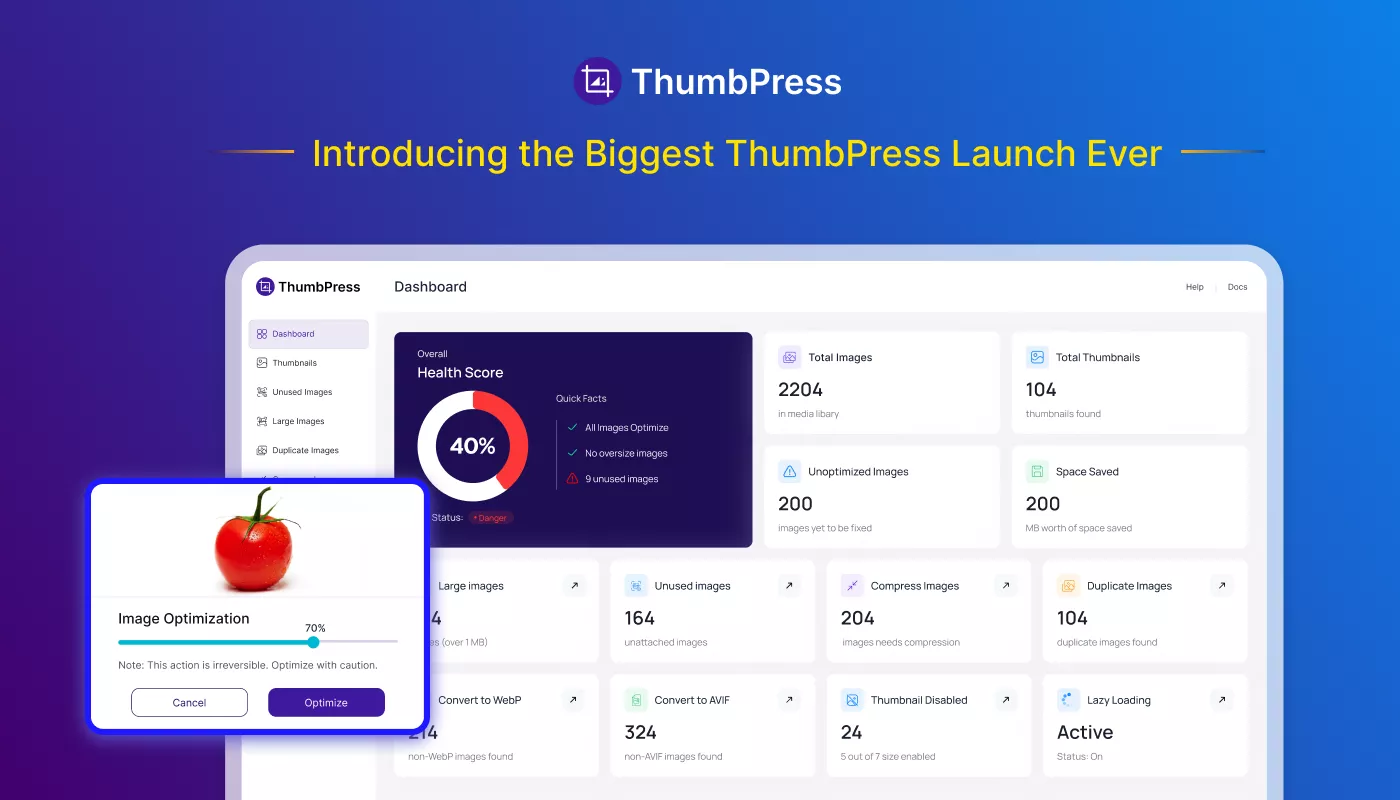
The Large Images feature in ThumbPress helps you identify images in your WordPress media library that exceed a specific file size. Large images can slow down your website, increase page load time, and negatively affect user experience and SEO. This tool allows you to quickly scan and find those heavy files so you can optimize or remove them.
Accessing Large Images
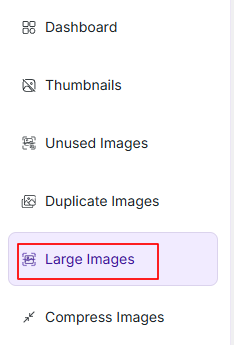
To open the large image scanner, navigate to:
WordPress Dashboard → ThumbPress → Large Images
Overview
When you open the Large Images section you will see a simple interface with scan options. If no scan has been performed yet, a message will appear indicating that there are no results available.
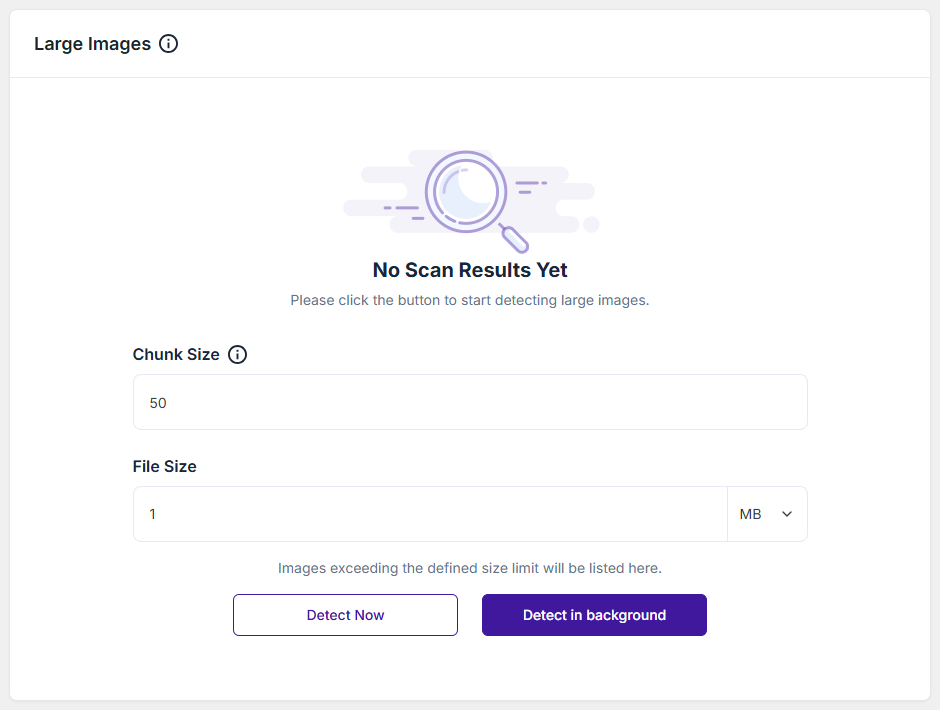
To begin, you need to configure a couple of options and start the scan.
Chunk Size
- The Chunk Size determines how many images are processed at once.
- The default chunk size has been kept at 50. You can adjust this based on your server performance.
Tip: We recommend keeping low chunk size values. For Detect Now: 5-10, For Detect in Background: 15-20)
File Size Limit
This sets the threshold for detecting large images.
- Default value: 1 MB
- You can change the unit (e.g., KB, MB depending on availability)
- Any image larger than this value will be listed in the results
Once you set your preferred Chunk Size, File Size Limit, and click one of the scan buttons, Detect Now or Detect in Background, you will see all images exceeding the defined size limit will be displayed in a list
Convert Now
- Starts the conversion process immediately.
- Runs in the current session.
- Best for smaller image libraries.
Convert In Background
- Recommended for large media libraries.
- Runs the conversion process in the background.
- Allows you to continue working without interruption.
Scan Results Summary
Once the scan is complete, a summary report is displayed showing:
- Total Images – Number of images analyzed
- Images Processed – Number of images scanned
- Large Image Detected – Total duplicate images found
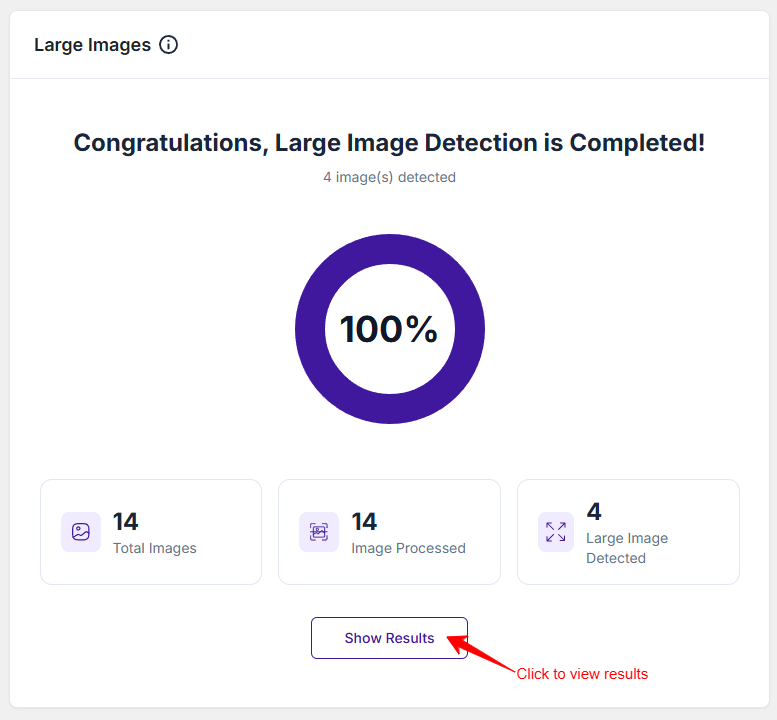
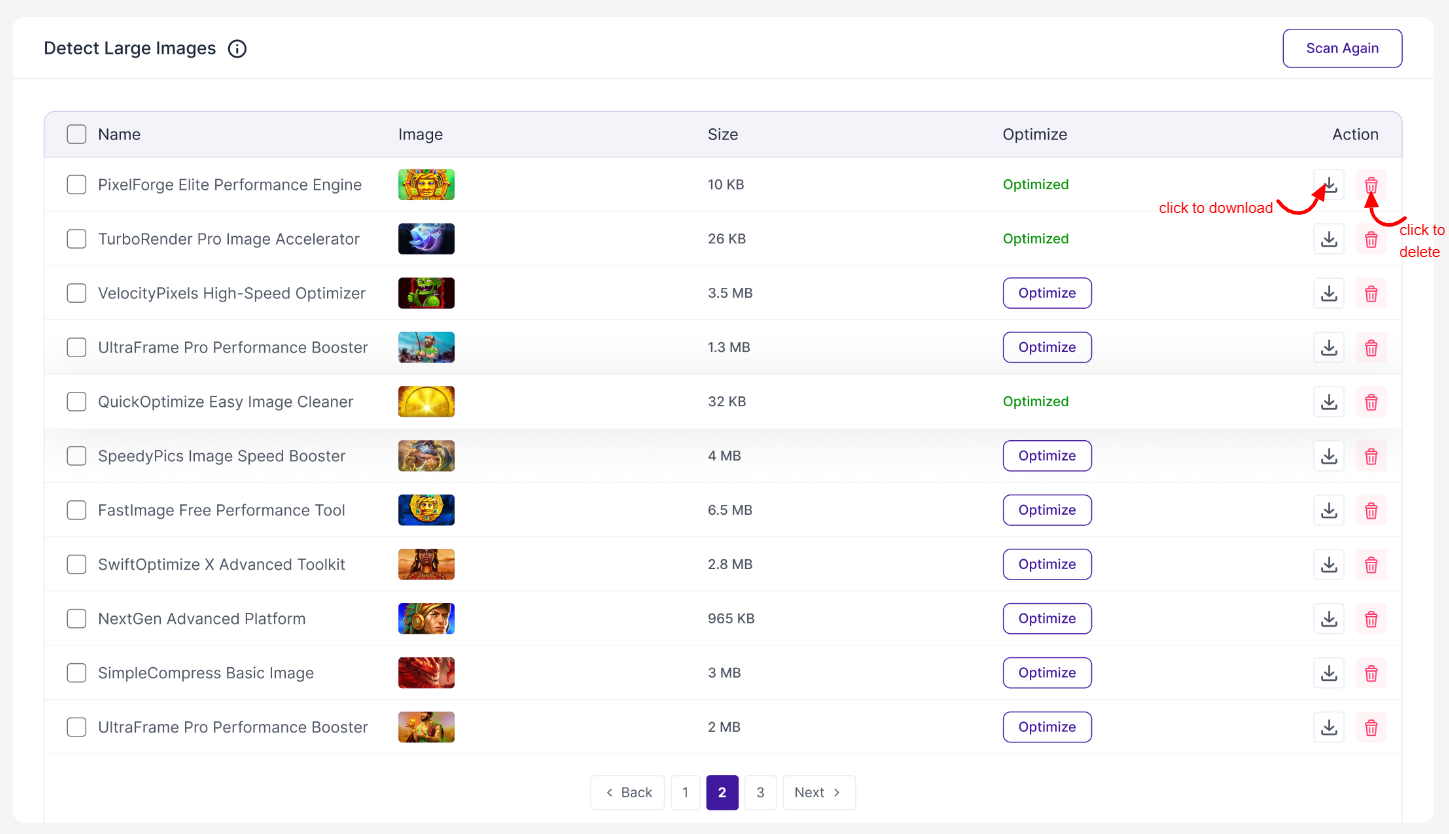
Click the Show Results button to view detailed, large image records. Each entry includes:
- File Name – Name of the original image
- Image – A preview or reference of the image for quick recognition
- File Size – Shows the current size of the image (e.g., KB or MB). This allows you to understand how large the file is compared to your defined limit
- Optimize – Indicates the optimization status of the image
- Action – Option to manage large images, where you can download the image or delete the image
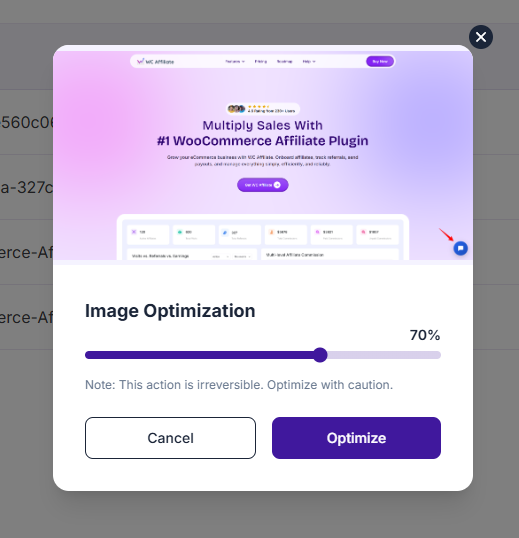
Optimize or Delete The Images
1. Optimize: After clicking the Optimize button, a pop-up will appear. It lets you optimize large images using a set compression percentage. Just set the optimization level and click the ‘Optimize‘ button. This results in the image to be approx. 70% ligher in size.
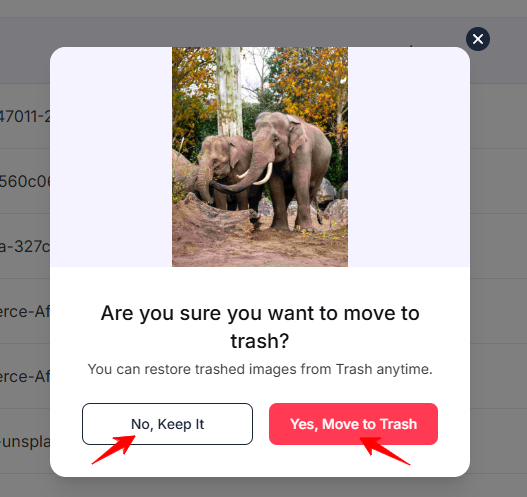
2. Delete: After clicking the Delete icon, a pop-up will appear with options to delete or keep the large image. Deleted images will be moved to Trashed Files.
Supporting Feature
Although not directly connected, you can prevent large images – both in file size and dimensions – from being uploaded. You’ll find these options under General Settings. Read more here.
Was this doc helpful?
Subscribe to Our Newsletter
Get the latest WordPress tutorials, trends, and resources right in your inbox. No Spamming, Unsubscribe Anytime.

Thank you for subscribing to our newsletter!